7-16 Structure and Assembly/Disassembly
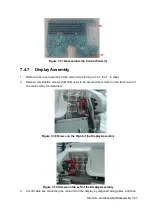
Figure 7-5 Disassembly of Rear Cover Assembly of Main Unit (2)
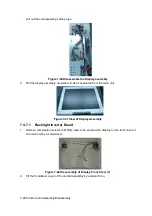
5. Remove panhead screws with washers (2 M3X6) fixed on the main unit box, and then take off
the battery connecting board.
Figure 7-6 Removing the Battery Connecting Board
7.4.2
Power Supply Module
1. Remove rear cover assembly of the main unit (referring to 7.4.1 the 1
~
4 step)
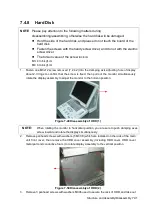
2. Remove panhead screws with washers (4 M3X6) fixed on the main unit box.
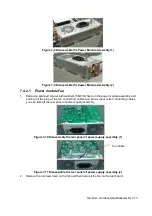
Figure 7-7 Removing the power shielding box
3. Then take off the power shielding box. Pull out the plug of the battery connecting board
cables on the power module assembly.
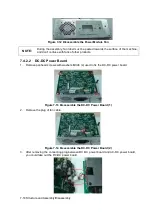
4. After removing panhead screws with washers (6 M3X6) fixed on the main unit box and one
panhead combination screw (M4X8), and pulling out the plug of the cables connecting the
power module and main board, you can take out the power board assembly backward.
Содержание Z6
Страница 2: ......
Страница 14: ......
Страница 16: ...2 2 Product Specifications Left side 9 4 7 5 6 8 ...
Страница 72: ......
Страница 119: ...Structure and Assembly Disassembly 7 35 图 7 59 Disassembly of Speaker 8 ...
Страница 120: ......
Страница 132: ......
Страница 142: ......
Страница 152: ......
Страница 168: ......
Страница 171: ...Phantom Usage Illustration B 3 ...
Страница 172: ......
Страница 173: ...P N 046 010452 00 5 0 ...


