3-12 System Preparation
6.
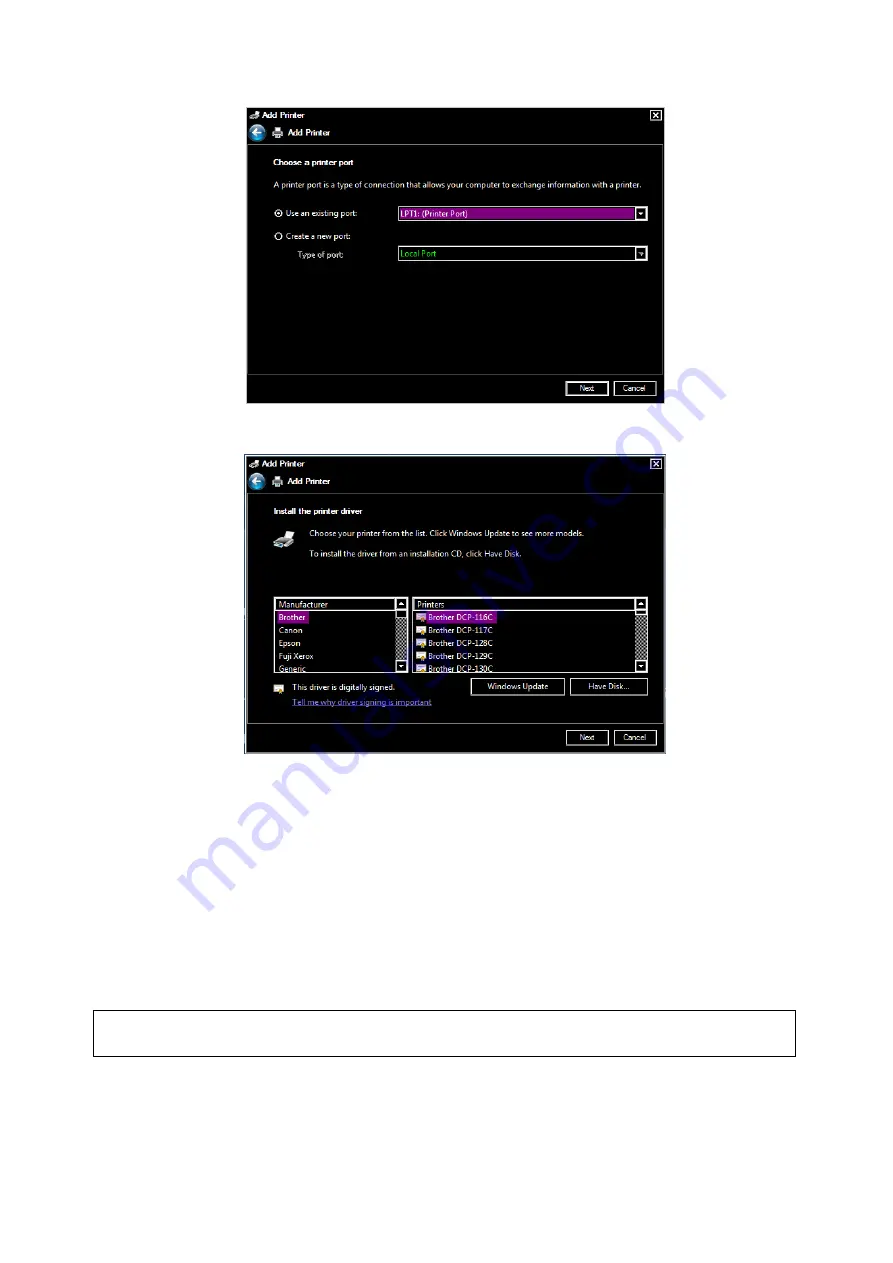
Click [Have Disk] to find the driver path (the installation type should be WIN64), and then click [Next]
to install the driver.
7.
Complete the operation according to the tips on the screen. Click [Finish] to end the installation.
Add network printer
1. As the system is connected into a LAN, open [Setup]
[Print] screen.
2. Click [Add Printer], select [Add a network, wireless or Bluetooth printer].
3. The system starts to search all available printers within the network. Select the target printer and click
[Next], the system tries to connect to this printer.
4. When the connection is successful, the system prompts the dialogue box; click [Next] according to the
screen tips and then click [Finish].The printer is installed successfully.
Tips: the network printer functions depending on the configured network environment in the hospital,
please consult the network configuration administrator in case of failure.
NOTE:
When you install the printer
’s driver, you must specify the specific path for installation;
otherwise, vague path may result in longer time for searching.
Both report and image can be printed on a graph/text printer
.
Set the default report printer and its attribute:
Содержание Resona 7
Страница 2: ......
Страница 24: ......
Страница 232: ......
Страница 278: ......
Страница 320: ...12 22 Setup Click I Accept Select I do not want to join the program at this time and click Next...
Страница 326: ......
Страница 386: ......
Страница 396: ......
Страница 424: ......
Страница 442: ......
Страница 451: ...P N 046 007807 02 3 0...


