5-66 Image Optimization
5.11.10 Smart Volume
The system provides a fast volume calculation method, using computer technology to define and
enclose a boundary of the target within the ROI area (the computer technology allows the ultrasound
system to fit an ellipsoid that can be most approximate to the target) and then calculating this volume. It
can be used to measure the volume of mass, gestational sac, bladder or gall bladder.
Smart Volume is an option, and it is not available in Smart 3D mode.
CAUTION:
Smart Volume result is provided for reference only, not for confirming a
diagnosis.
5.11.10.1 Basic Procedure for Smart Volume
1. Acquire necessary 3D/4D data.
2. Tap [Smart-
V] tab on the touch screen to enter Smart Volume, and the system is in the “Adjust ROI”
status ([Edit ROI] button is highlighted in green);
3. Set ROI position and size, and tap [Calc] (after touching the button, the button is highlighted in green
to indicate the status);
4. The system starts to calculate;
5. Auto calculation is finished:
There are green solid curves enclosing target region on each MPR image (A, B, C) window.
3D image (VR) displays image of the target region in red;
Parameter area on the right upper screen displays the calculation result.
NOTE:
To ensure the accuracy of the result, please make sure that the ROI position and size
setting has entirely enclosed the target and is approximate to the target before using the
Smart Volume function.
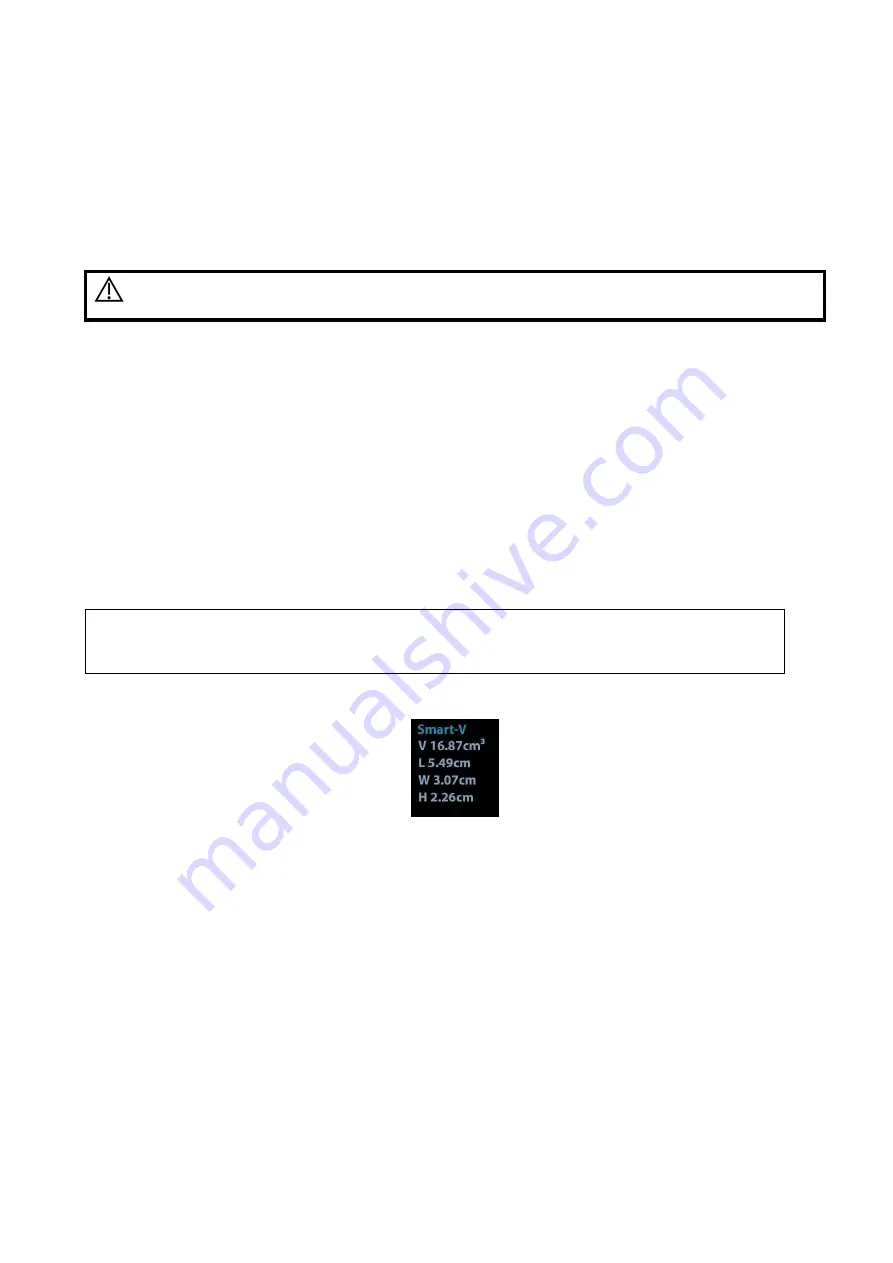
5.11.10.2 Result Display
After calculation, the following result will be displayed on the upper right part of the screen.
Whereas, L, W and H represent 3 diameter lengths of the fitting ellipsoid.
V represents calculated volume value.
5.11.10.3 Operation Controls
Edit ROI (Region of Interest)
Adjusting the ROI box size and position is to select the volume data needed for calculation.
Tap [Edit ROI] on the touch screen to be on (green highlighted status).
Select a desired MPR image by tapping [A], [B] or [C].
Roll the trackball to adjust ROI position and size, and press <Set> to switch between the
adjusting status; or you can rotate <4D> knob on the control panel to adjust section image
position.
Содержание Resona 7
Страница 2: ......
Страница 24: ......
Страница 232: ......
Страница 278: ......
Страница 320: ...12 22 Setup Click I Accept Select I do not want to join the program at this time and click Next...
Страница 326: ......
Страница 386: ......
Страница 396: ......
Страница 424: ......
Страница 442: ......
Страница 451: ...P N 046 007807 02 3 0...


