53
206-4341
Cloning Procedures (Cont.)
(Continued from previous page)
• If the wizard is displayed, you can complete the import procedure via the EZ-Manager Wizard,
as indicated above (see “Before You Begin”). However, to continue with this procedure and
access the “Import Clone File” option from the TV menus, exit the First Use Wizard. Then,
continue with step 3.
• If the wizard is not displayed, go directly to step 3.
3. If applicable (see also “Before You Begin” above), make sure to set the appropriate TV Zone #
in the Target TV at this time.
Note: In order for the proper TV Zone profile data to be applied, the appropriate
TV Zone # must be set in the Target TV BEFORE importing is initiated.
4. Insert the USB memory device with the Clone/Configuration (.tlx) file into the USB port on the
Target TV.
5. Press
MENU SETTINGS
on the Installer Remote to display the TV setup menus (TV is in
Pass-through Mode) or the Function Menu (TV is already in FTG Mode).
6. (TV in Pass-through Mode only) From the Quick Settings Menu displayed at the left of the
screen, select the
All Settings
menu icon and press
OK
to access the advanced TV setup
menus.
7. Use the arrow navigation keys to select/highlight either the
General
menu icon from the TV
setup menus or the
Safety
menu icon from the Function Menu. Then, press the number “
7
” key
a total of seven times to access the TV Manager.
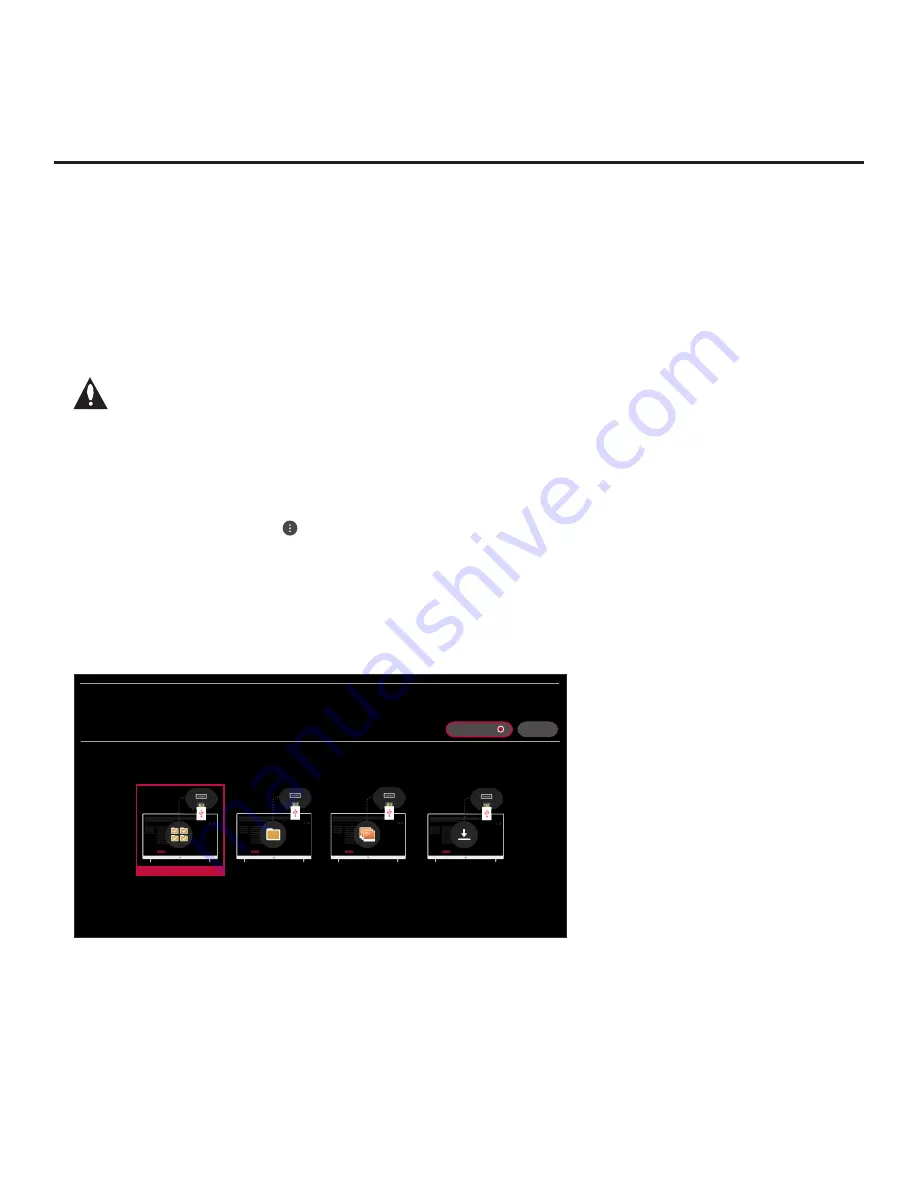
Note:
Ez Download is always selected by default when you initially access the TV Manager.
Also note that Diagnostics is for service use only.
X
TV MANAGER
USB 1:
Device Name
Select the desired option below.
USB DEVICE
DIAGNOSTICS: ON
Ez Download
Data Cloning
Image Download
Software Update
8. Use the arrow keys to select
Data Cloning
, and then press
OK
.
When the Data Cloning screen is initially displayed, the “Import Clone File” option is selected
by default, and a list of the “.tlx” files stored in the root folder of the USB memory device is
displayed on the screen.
(Continued on next page)


