Innovation, Science and Economic Development Canada compliance
statement
This Class A digital apparatus meets all requirements of the Canadian Interference-Causing Equipment
Standard ICES-003.
Avis de conformité aux normes de l’Innovation, Sciences et
Développement économique Canada
Cet appareil numérique de classe A est conforme aux exigences de la norme canadienne relative aux
équipements pouvant causer des interférences NMB-003.
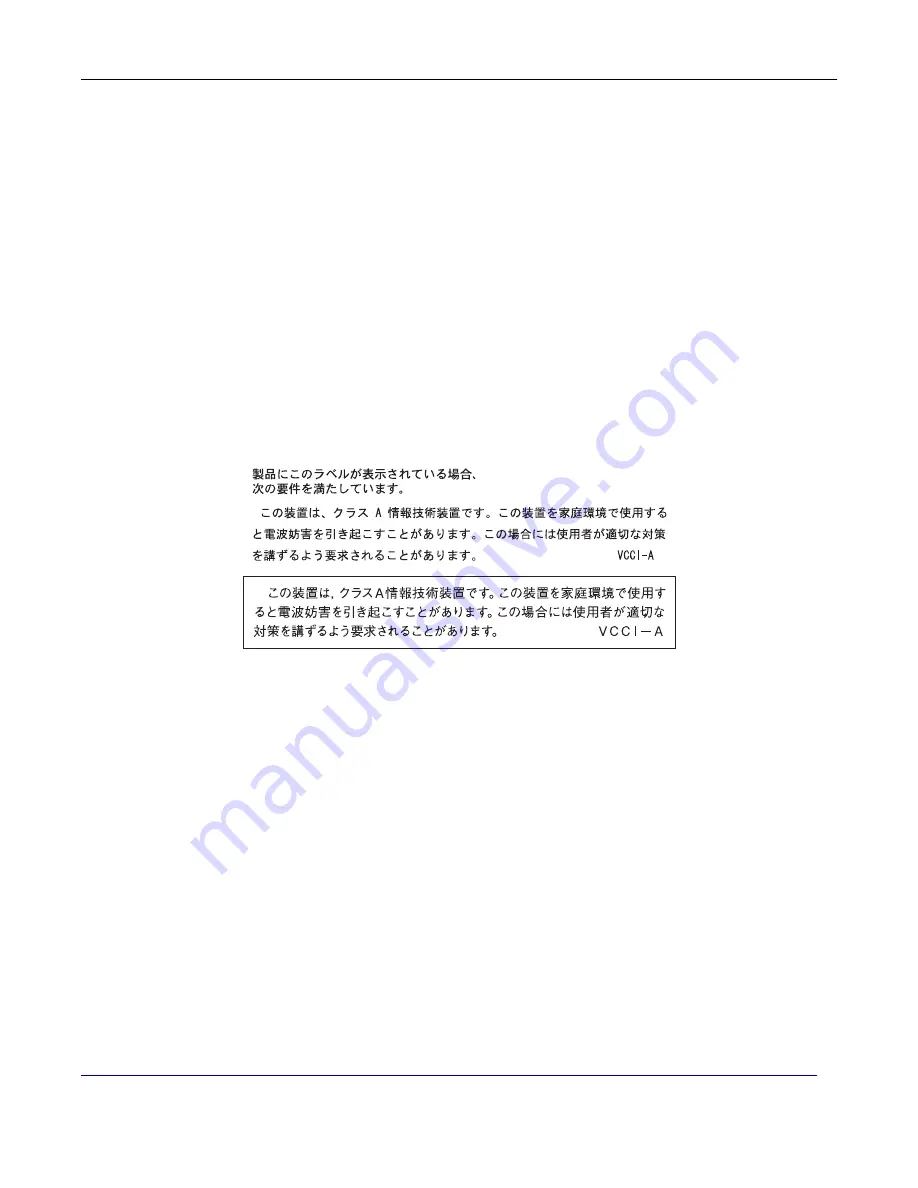
Japanese VCCI notice
Notice to users of Class A products in Brazil
Este produto não é apropriado para uso em ambientes domésticos, pois poderá causar interferências
eletromagnéticas que obrigam o usuário a tomar medidas necessárias para minimizar estas interferências.
European Community (EC) directives conformity
This product is in conformity with the protection requirements of EC Council directives 2014/30/EU, 2014/35/EU,
and 2011/65/EU as amended by (EU) 2015/863 on the approximation and harmonization of the laws of the
Member States relating to electromagnetic compatibility, safety of electrical equipment designed for use within
certain voltage limits, and on the restrictions of use of certain hazardous substances in electrical and electronic
equipment.
The manufacturer of this product is: Lexmark International, Inc., 740 West New Circle Road, Lexington, KY,
40550 USA. The EEA/EU authorized representative is: Lexmark International Technology Hungária Kft., 8
Lechner Ödön fasor, Millennium Tower III, 1095 Budapest HUNGARY. The EEA/EU Importer is: Lexmark
International Technology S.à.r.l. 20, Route de Pré-Bois, ICC Building, Bloc A, CH-1215 Genève, Switzerland. A
declaration of conformity to the requirements of the Directives is available upon request from the Authorized
Representative or may be obtained at
www.lexmark.com/en_us/about/regulatory-compliance/european-union-declaration-of-conformity.html
This product satisfies the Class A limits of EN 55032 and safety requirements of EN 62368-1.
Notices
227
Содержание C4342
Страница 46: ...4 Install the ISP into its housing Set up install and configure 46 ...
Страница 47: ...5 Attach the housing to the controller board shield Set up install and configure 47 ...
Страница 48: ...6 Connect the ISP extended cable to the ISP connector in the controller board Set up install and configure 48 ...
Страница 52: ...Set up install and configure 52 ...
Страница 55: ...Set up install and configure 55 ...
Страница 56: ...3 Install the wireless module into its housing Set up install and configure 56 ...
Страница 57: ...4 Attach the wireless module to the controller board shield Set up install and configure 57 ...
Страница 58: ...5 Connect the wireless assembly to the ISP connector in the controller board Set up install and configure 58 ...
Страница 122: ...Replacing parts and supplies Replacing a toner cartridge 1 Open door B Maintain the printer 122 ...
Страница 123: ...2 Remove the used toner cartridge 3 Unpack the new toner cartridge Maintain the printer 123 ...
Страница 124: ...4 Insert the new toner cartridge 5 Close door B Maintain the printer 124 ...
Страница 125: ...Replacing the black imaging unit 1 Open door B Maintain the printer 125 ...
Страница 127: ...3 Remove the toner cartridges Maintain the printer 127 ...
Страница 128: ...4 Disconnect the imaging kit cable Maintain the printer 128 ...
Страница 132: ...9 Insert the imaging kit Maintain the printer 132 ...
Страница 134: ...Replacing the color imaging kit 1 Open door B Maintain the printer 134 ...
Страница 136: ...3 Remove the toner cartridges Maintain the printer 136 ...
Страница 137: ...4 Disconnect the imaging kit cable Maintain the printer 137 ...
Страница 138: ...5 Remove the used imaging kit Maintain the printer 138 ...
Страница 141: ...8 Insert the black imaging unit into the new imaging kit Maintain the printer 141 ...
Страница 142: ...9 Insert the new imaging kit Maintain the printer 142 ...
Страница 144: ...Replacing the waste toner bottle 1 Open door B Maintain the printer 144 ...
Страница 153: ...2 Remove the used separator bracket 3 Unpack the new separator bracket Maintain the printer 153 ...
Страница 200: ...Jam locations 1 Standard bin 2 Door A 3 Trays 4 Multipurpose feeder Troubleshoot a problem 200 ...
Страница 203: ...2 Remove the jammed paper Note Make sure that all paper fragments are removed 3 Open door A1 Troubleshoot a problem 203 ...


