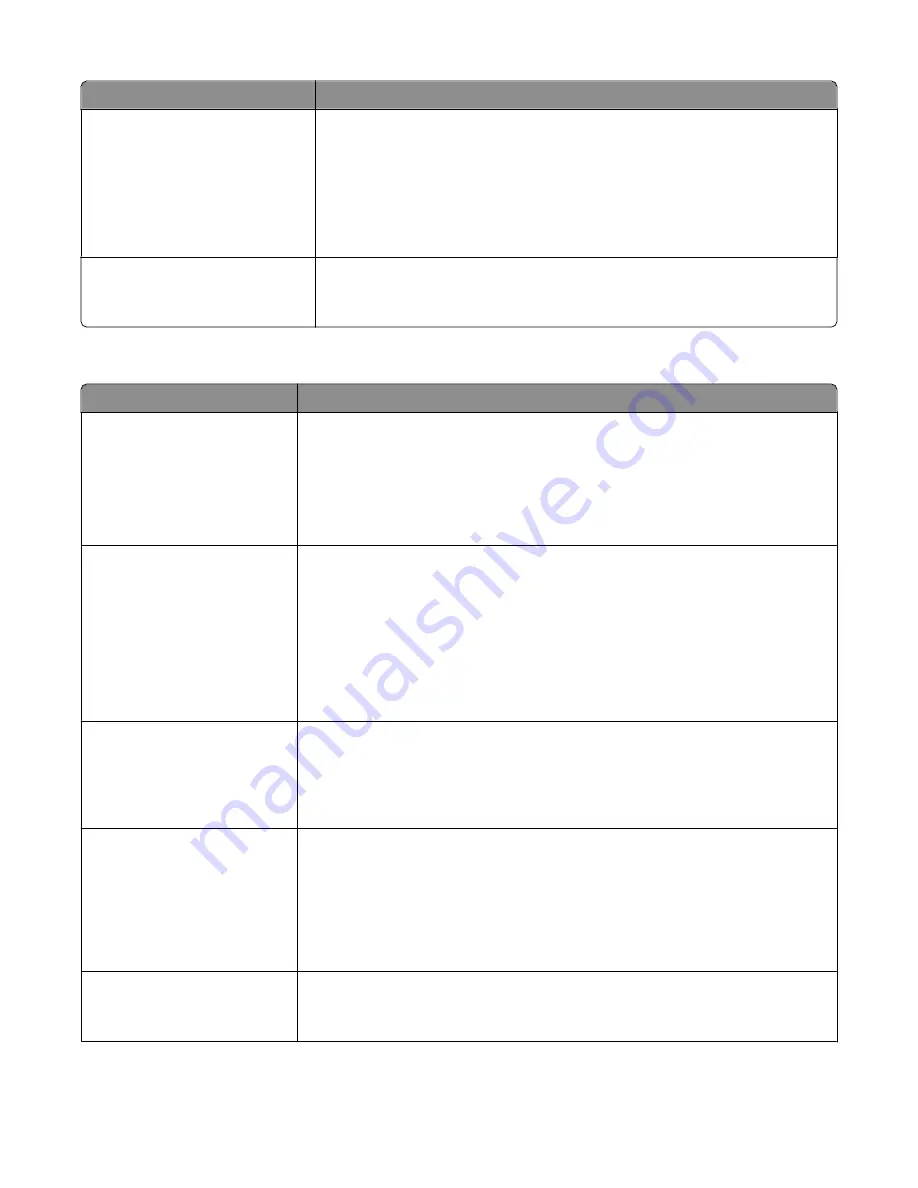
Menu item
Description
Orientation
Auto
Landscape
Portrait
Specifies the orientation of a multiple-page sheet
Notes:
•
Auto is the factory default setting. The printer chooses between portrait and
landscape.
•
Long Edge uses landscape.
•
Short Edge uses portrait.
N-Up Border
None
Solid
Prints a border around each page image
Note:
None is the factory default setting.
Quality menu
Menu item
Description
Print Resolution
300 dpi
600 dpi
1200 dpi
1200 Image Q
2400 Image Q
Specifies the printed output resolution
Note:
600 dpi is the factory default setting. The printer driver default is 1200 IQ.
Pixel Boost
Off
Fonts
Horizontally
Vertically
Both Directions
Enhances the printed quality of small fonts and graphics
Notes:
•
Off is the factory default setting.
•
Fonts applies this setting only to text.
•
Horizontally darkens horizontal lines of text and images.
•
Vertically darkens vertical lines of text and images.
•
Both Directions darkens horizontal and vertical lines on text and images.
Toner Darkness
1–10
Lightens or darkens the printed output
Notes:
•
8 is the factory default setting.
•
Selecting a smaller number can help conserve toner.
Enhance Fine Lines
On
Off
Enables a print mode preferable for files such as architectural drawings, maps, electrical
circuit diagrams, and flow charts
Notes:
•
Off is the factory default setting.
•
To set Enhance Fine Lines using the Embedded Web Server, type the network
printer IP address in a browser window.
Gray Correction
Auto
Off
Adjusts the gray value of printed output
Note:
Auto is the factory default setting.
Understanding printer menus
139
Содержание 13B0500
Страница 6: ...6...
Страница 89: ...3 Connect the answering machine or telephone to the adapter Answering machine Telephone Faxing 89...
Страница 167: ...4 Close the rear door 5 Close the front door 6 Press 233 paper jam 1 Remove the tray from the printer Clearing jams 167...
Страница 169: ...242 paper jam 1 Remove the optional tray from the printer 2 Remove the jam 3 Insert the tray 4 Press Clearing jams 169...
Страница 172: ...4 Remove the separator roll 5 Remove the jammed paper 6 Reinstall the separator roll Clearing jams 172...
Страница 173: ...7 Lock the separator roll 8 Close the ADF cover 9 Press Clearing jams 173...


