61
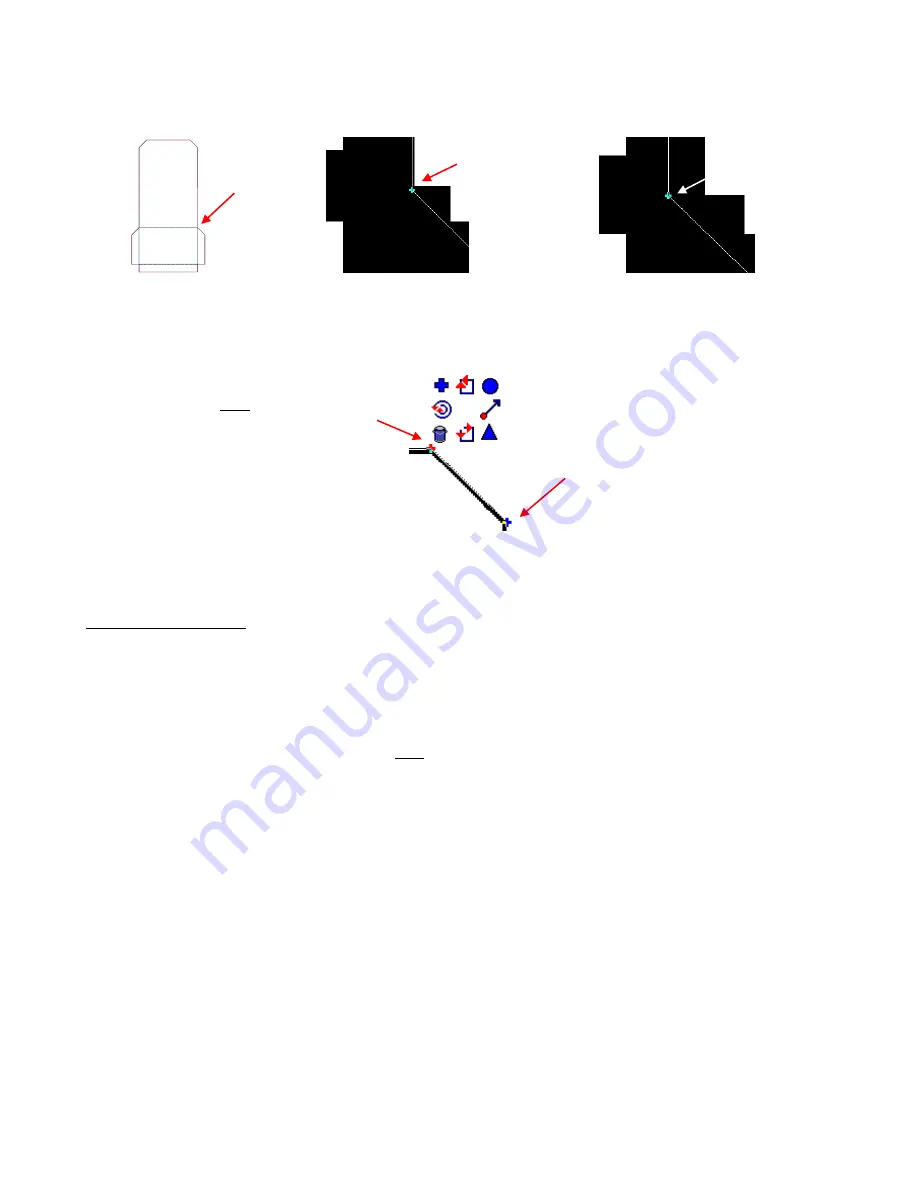
(10) Double click along one of the trace lines of the selected image to bring up the nodes (or use
Edit>Edit
Path
). O
ne can then just drag a node to the center of the template’s lines.
(11) To delete a node, select it and click on the
Delete
key on your keyboard or right click to bring up a popup
menu where you can then drag your mouse over the trash can icon to delete the node. To add a node, just
double click anywhere along a path line. More information on node editing is covered in
Section 7.2 Basic
Node Editing.
(12) To then convert the blue line to a dashed line for perforated cutting (called pouncing), refer to
Section 4.5
Using the Pounce Feature to Cut Dashed Lines.
Curved Line Tracing
(1) The flower image, in this example,
is made up of curves. The tracing method is very similar. As with the
pocket template, choose the
Graphics Edit Tools
and then the first
Node Edit
icon. (Since you may need
to reenter the menu over and over, follow the instructions from step (2) in the previous section to keep the
submenu of tools readily available.)
(2) Select a color from the
Shop Palette
for the tracing line.
(3) Click once to place your first node. Then, right click and select the upper right circle icon (
Curve Node
).
(Refer to the popup diagram above.) From this point forward, curved lines will be drawn as you trace
around the outside of the flower.
(4) In general you will need more nodes when tracing around tight curves and far fewer nodes when tracing
along gentle curves. As you practice this technique, you will see that a node only needs to be placed when
the trace curve begins to deviate from the original curve of the imported graphic. Again, do not fret if you
see mistakes occurring, as you can move, add, and delete nodes in the editing phase. Just focus on
click/click/clicking your way around the image.
(5) Once you return to the first node, press the
spacebar
to end or click on
Apply
. Note that you don’t have to
end at the first node. At any point, you can simply stop and then click on the
Node Edit
icon to start tracing
at a different location. If you do end at the first node, then you can begin tracing at a different location
without clicking on the
Node Edit
icon.
(6) Below is part of the tracing showing the nodes. Note that the nodes with sharp pointed turns were changed
to corner nodes. Also note that the stem was separately traced and the top extended by a small amount.
This gives you the option of cutting the two paths separately for a paper piecing: the flower bulb in one
color and the stem in another.
Click on a node to turn it red.
Then right click to bring up this
menu. Hold down mouse and
move cursor over trash can to
delete the node, if desired.
Double click anywhere along
a path to add a node.
Node is outside the
center of the
original line.
Node is dragged to
the center.
Zoom in close
on this
intersection.


