24
Use
Edit>Copy
and
Edit>Paste
from the top menu. A small
“L” shaped
cursor appears. Go to any area
inside or outside of your document boundaries and drag the mouse to draw a rectangle. The image will
appear when you release the mouse button. Note that the size of the image will depend on the size of the
rectangle, rather than duplicating the original. If you do want the exact same size then, instead of dragging
the mouse, just click once on the screen and the same size copy will appear.
Hold down the
Alt
key and begin dragging the center of the selected image as if moving it. A copy of the
image will move leaving the original in place. OR, you can hold down the
Alt
key and click once in the
center of the selected image and a duplicate will be placed precisely on top of the original.
Go to
Layout>Array
. A new menu of choices will appear in the Smart Bar. Under
Total X:
and
Total Y:
,
you can choose the number of duplicate images to appear in any row or column relative to the original. On
the left side you can select how the images will be arranged, as well as the spacing between the images.
Resizing and Stretching
With the image selected, use your mouse to drag any corner of the image to resize proportionately.
Dragging a square not in a corner will allow you to resize either vertically or horizontally while leaving the
other dimension constant. Also, if you hold down the
Ctrl
key while dragging a square, it will instantly
double the size of the image.
You can also resize the image from the Smart Bar. Enter values directly into the
Image Dimensions
setting. Note that if you do not want to hold the aspect ratio, click the lock box icon to unlock. You can also
resize percentage-wise (scaling) using the two boxes just to the left of the lock icon. To keep the center of
the object from changing locations in the Sign Blank, be sure to turn the middle box red in the little diagram
of 9 boxes up on the Smart Bar.
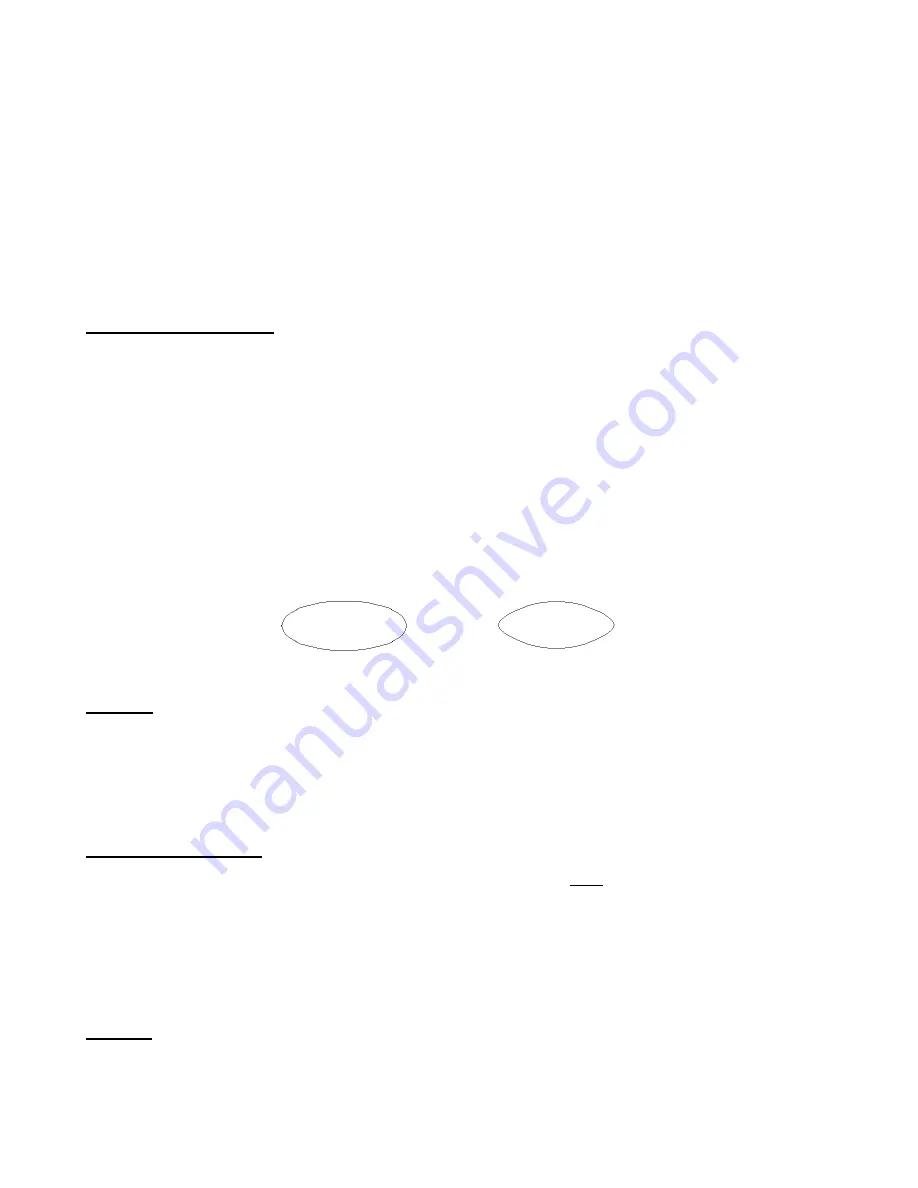
Stretching is similar to resizing but with a different algorithm that appears to apply more change to outer
regions, rather than uniformly. To stretch an object, select it and go to
Arrange>Stretch
. Enter the percent
change and choose either horizontal or vertical (or drag the square handle on the image). In the following
example, the same circle is resized in width only and the difference in the outcomes shown:
Normal Resize
Stretched
Rotating
With the image selected, you will notice a curved arrow in the upper right region of the image. Hold down
your left mouse button and drag that arrow either clockwise or counterclockwise to rotate the image
manually.
Alternatively, you can specify the number of degrees of rotation in the Smart Bar and then press the
Enter
key on your keyboard. A positive number rotates clockwise; a negative number rotates counter-clockwise.
Mirroring and Flipping
Select the image and go to
Layout>Size/Move>Mirror
. Or you can right click on any of the little squares
surrounding the image and select
Mirror
from the list. Then select either
Vertical
or
Horizontal
to flip the
image accordingly. The vertical mirror function is also an icon on the
Operations
toolbar.
To flip an object, go to
Layout>Size/Move>Flip
and choose to flip the object either horizontally or
vertically. Note that a guideline will appear which can be moved to set the location of the flipped object.
There is also an option to keep the original image. Note that this is the same as Mirroring, but with a little
more functionality and can be very handy in designing.
Slanting
To slant an object, go to
Layout>Size/Move>Slant
and either drag one of the two handles, which will
appear on the selected object or change the setting on the Smart Bar. Note that either a horizontal or a
vertical slant can be chosen.
Slant
is also an icon on the
Operations
toolbar.


