23
o
Objects: 5 (a total of five different objects are selected)
To select all objects of a particular color, double click that color on the
Job Palette
. To select objects of a
second color, hold down the
Shift
key and click once on another color to add those images to the
selection.
To turn off or hide images of a particular color, hold down the
Ctrl
key and then click on one of the colors
from the
Shop Palette
or
Job Palette.
All objects of that color will immediately change to a dotted line
indicating they are “hidden” and no longer selectable. Repeating this step will return objects of that color to
a normal state. Alternatively, holding down the
Alt
key while selecting a color will hide all objects that are
NOT that color. Again, this is a toggle process.
One can also select objects based on size. Go to
Edit>Select By Size
and the Smart Bar provides a
number of options such as the biggest, smallest, bigger than an object you select, or smaller than an
object you select. If you pre-select an object before going to this window, the Smart Bar will show the
dimensions of the selected object in the top left corner.
Deleting
To delete an image, select it and press the
Delete
key or go to
Edit>Clear
. One can also use
Ctrl-X
or
Edit>Cut to Clipboard,
which will make the deleted item available for pasting elsewhere.
Moving
Click on the
Select
Tools
icon (top icon) on the
Tools
toolbar.
If your image is not already selected, click once on any of the image’s trace lines and nine small squares
will appear.
Hold down your left mouse button on the center square. A new cursor with double-headed arrows will
appear. You can now move the image to another location on the screen. If you hold down the
Ctrl
key
while moving the object, it will be forced to move only horizontally or vertically.
You can also move a selected object in small increments by pressing the arrow keys on the keyboard.
Further, if you hold down the
Shift
key while pressing these arrows keys, the object will move in larger
increments with each keystroke.
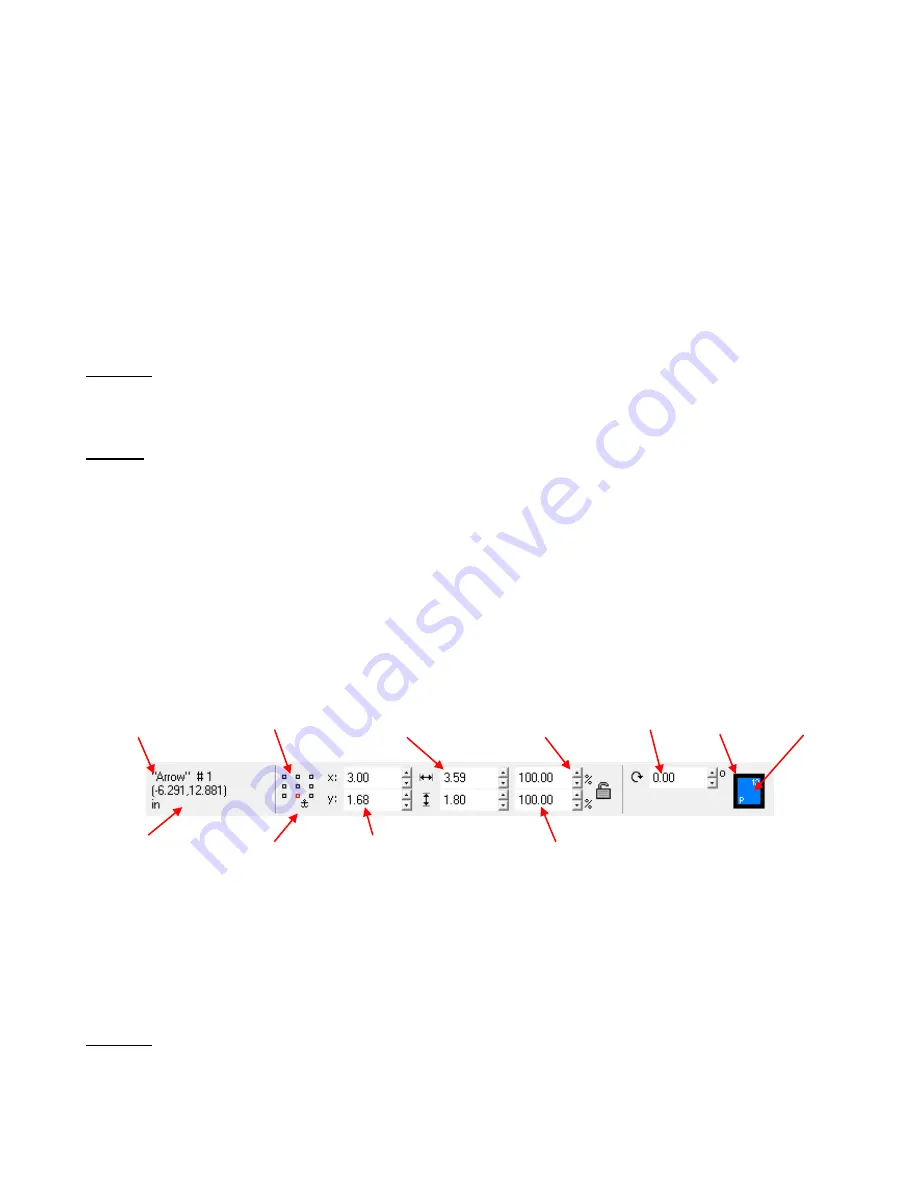
While an object is selected, the Smart Bar at the top allows you to specify an exact location for your image
under
x:
and
y: (
which corresponds to the
Origin
selected under
Layout>Blank Size).
Note the tiny array of boxes to the left of the
Image Location
settings. The red box indicates which
particular location of your image corresponds to the
x:
and
y
: settings. You can click on another box of
your choice to use in positioning.
The
Anchor Nub
can be used to move objects to a particular location. Click on this icon and an anchor
will appear on your selected object. Move the anchor to any part of the object, such as the center or an
outside line. Type in new values for
x
: and
y:
and the anchor and the image will move to that location.
Copying
With the image selected, you can copy in any of these possible ways:
Go to
Edit>Duplicate
or press
Ctrl-D
to make a duplicate copy, slightly offset to the top right of the
original. The amount of offset for a duplicate image can be changed under
Options>Klic-N-Kut
Setup>General Preferences
.
Image
Type
Mouse Cursor
Location
Anchor Nub
Image Location in Sign Blank
Image
Dimensions
Proportional Scaling
Locked/Unlocked
Fill Color
Line Color
Rotate Image
Change Size by %
Image Box Corresponding
To Location


