47
(4)
When the desired look is achieved, click on the
Arrow
icon on the
Tools
toolbar to complete the process.
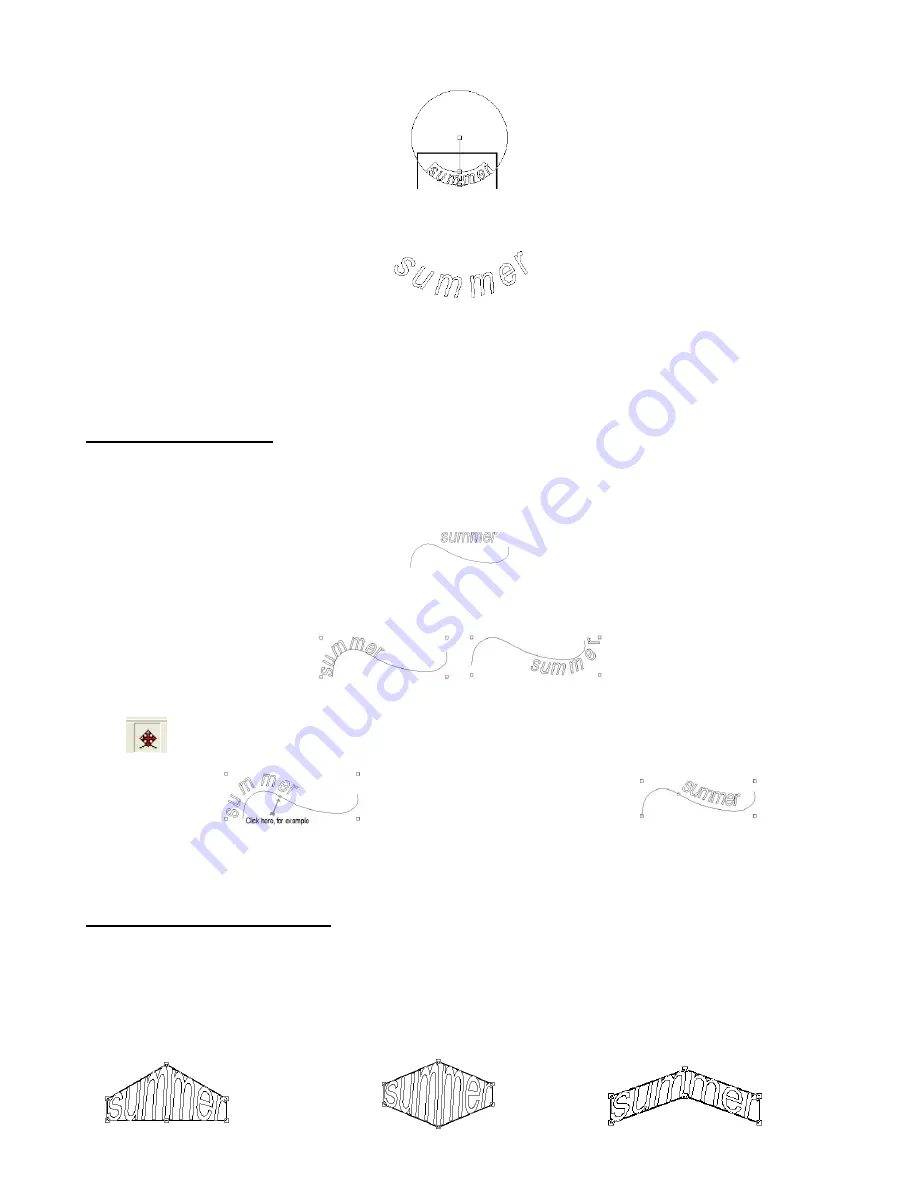
The arc will disappear leaving the curved word:
(5)
To put a welded title on a curve, select the image and go to
Transform>Transformation.
Note the
various transformation options that now appear on the Smart Bar. Use the last set on the right to curve
your welded title. Adjust the little handles on the ring to customize the look.
5.7 Fitting Text to Paths
(1)
In this case, the
Graphics Edit Tools
icon is first picked from the
Tools
toolbar and the middle (
Free
Edit
) icon selected. Holding down the left mouse button, a curve is drawn by hand and the letters are
typed using the steps described in
Section 5.2 Text Basics.
(2)
Select both objects and go to
Transform>Fit Text to Path
. Pick any of the available options for a variety
of looks:
(3)
To specifically set the starting point of the text along a path, click on the
double headed arrows
icon:
and then click on any particular point along the path.
to then move the text to that position:
(4)
Click on
Close
when the desired look is achieved. Delete the hand-drawn path.
5.8 Other Text Transformations
Shaping a title into variations formations is also available by going to
Transform>Transformation
.
Twenty icons appear on the Smart Bar, providing a vast assortment of shapes for the text. Additionally, a
different look will be achieved depending on which of the nodes surrounding the title is selected to drag.
Further, holding down the
Ctrl
key or the
Shift
key will also change how the text is transformed (whether
the bottom moves in the opposite direction or with the top):


