Series 3700A System Switch/Multimeter Reference Manual
Section 3: Instrument description
3700AS-901-01 Rev. D/June 2018
3-7
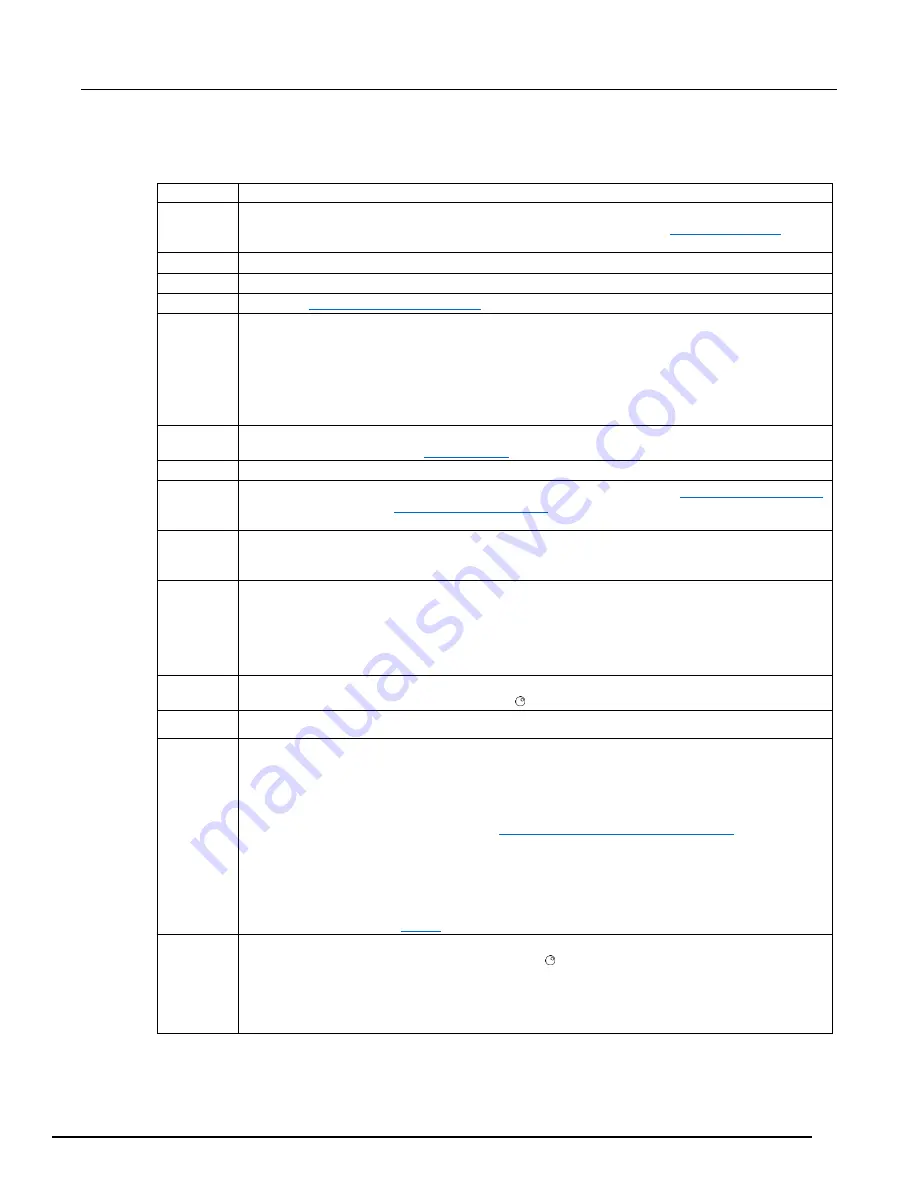
General function keys
STORE
Selects, clears, and saves reading buffer data and creates and deletes reading buffers.
REC
Recalls stored readings for the selected reading buffer. Use the
CURSOR
keys or turn the
navigation wheel to scroll through the buffer. For more information, see
page 6-5).
RATE
Sets measurement speed (fast, medium, or slow) for the active or selected function.
FUNC
Displays a menu that allows you to scroll through the available DMM functions.
DMM
(on page 3-15).
LIMIT
Set the limits. Press multiple times to cycle through the four combinations of limit settings:
▪
Limit1 and Limit2 off
▪
Limit1 on and Limit2 off
▪
Limit1 off and Limit2 on
▪
Limit1 and Limit2 on
REL
Enable or disable relative offset for the selected DMM function. REL is shown on the display when
relative offset is enabled. See
(on page 4-47).
FILTER
Enables or disables the digital filter; you can use this filter to reduce reading noise.
TRIG
Generates a trigger that can be used in a script or the trigger model. See
(on page 5-23). Also see
(on page 11-142).
MENU
Opens the Main menu options, which allows you to manage scripts, manage communications,
select channel connections, test the keys, test the display, manage digital I/O settings, set up the
beeper, and display instrument information.
EXIT
(LOCAL)
▪
Cancels the current selection and returns to the previous menu item.
▪
Exits remote operation so you can control the instrument from the front panel.
▪
Stops a scan that is running.
▪
Stops a script that is executing.
ENTER
Accepts the current selection or brings up the next menu option. In most cases, pressing ENTER
is the same as pressing the navigation wheel .
AUTO
Enables or disables autorange for the selected function.
RANGE
keys (up
and down
arrows)
Selects the next higher or lower measurement range on the measurement display for the selected
function.
If the Series 3700A displays the overflow message on a particular range, select a higher range
until an on-range reading is displayed. Use the lowest range possible without causing an overflow
to ensure best accuracy and resolution. You can also use these keys when entering a range
value from the front panel. For details, see
Set up autoranging from the front panel
(on page 4-
56).
In addition to selecting range functions, the up and down range keys change the format for
non-range numbers (as an example, when editing the limit value).
If you select a range of channels, that range must stop when the channel type changes.
Therefore, you can never select a range of channels which includes different channel types.
For more information, see
(on page 4-55).
CURSOR
Use the CURSOR keys to move the cursor left or right. When the cursor is on the compliance
value digit to be edited, push the navigation wheel to enter edit mode, and turn the navigation
wheel to edit the value. Push the navigation wheel again when finished editing.
Use the CURSOR keys or the navigation wheel to move through menu items. To view a menu
value, use the CURSOR keys for cursor control, and then press the navigation wheel to view the
value or sub-menu item.


