Mirus for H2 Classic GrainGage
117
Harvest Mode
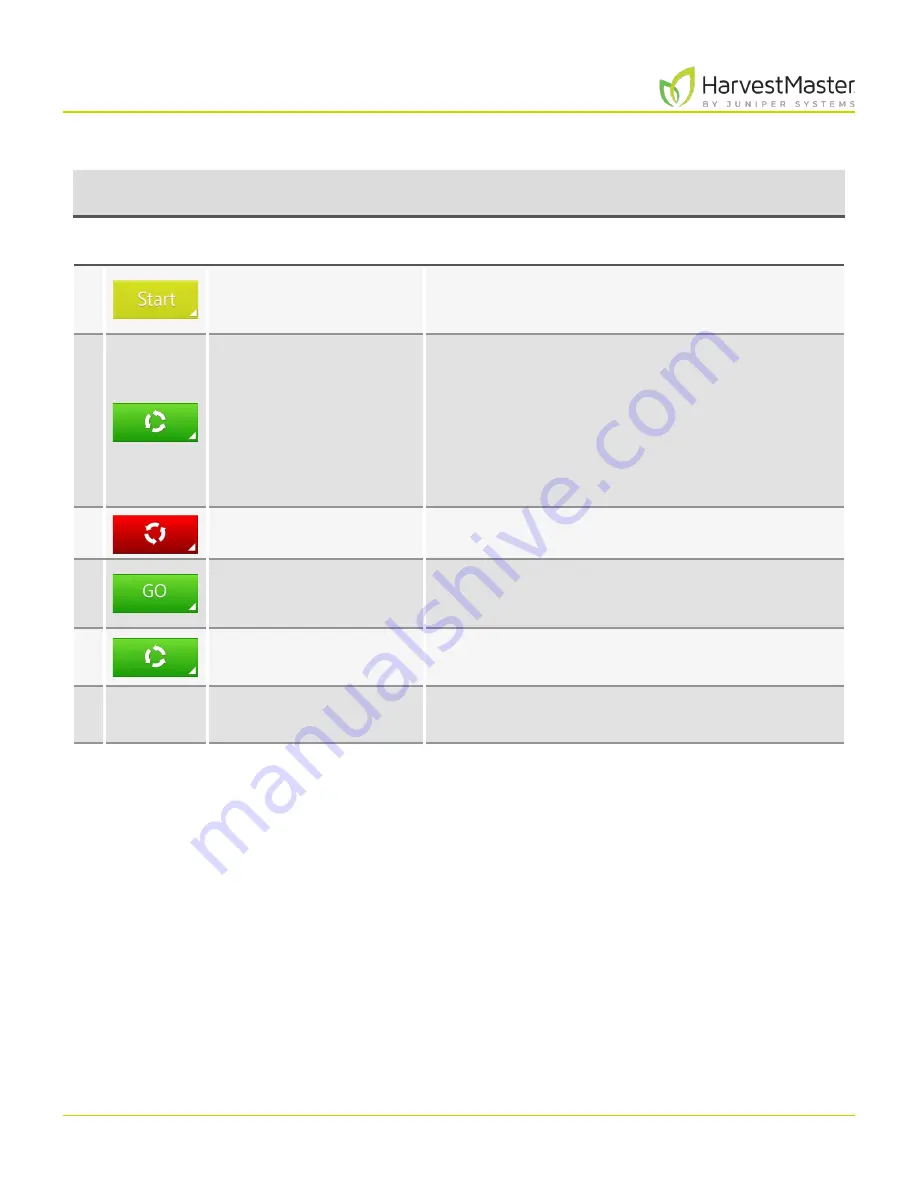
The following table explains each stage of the
Start/Cycle/Go
button during harvest.
Cycle Mode
Button
Stage
Operator Action
Harvest Stage
1 .
Enter press .
Harvest begins .
2 .
Enter press after all the
grain has been delivered
to the weigh bucket .
Isolation gate closes .
If the trip point is met, the GrainGage will
automatically cycle . The GrainGage can cycle several
times through the plot until the weight trip no
longer occurs .
Note: The amount of grain in the weigh bucket can be
seen on the Real Time Weight display. Make sure the
weight peaks and stabilizes before you press Cycle.
3 .
Wait for the cycle to end .
The red cycle indicator appears to show the ongoing
cycle .
4 .
Proceed to the next plot .
The isolation gate is closed . The GrainGage is
running the flush cycle and is ready to harvest the
next plot .
5 .
N/A
The isolation gate is opened . The GrainGage is ready
for the next plot .
6 .
Return to #2 at the end of
the next plot .
Mirus is ready to begin the cycle for the next plot .
Содержание HarvestMaster mirus H2
Страница 1: ......
Страница 7: ...CHAP TER ONE Mirus Ins tallation...
Страница 11: ...Mirus and GrainGage S etup CHAP TER T WO...
Страница 32: ...H2 Clas sic GrainGage Diagnos tic s and Aler t s CHAP TER THREE...
Страница 42: ...GrainGage Calibration CHAP TER FOUR...
Страница 71: ...Field Maps CHAP TER FIVE...
Страница 98: ...Har ves t Mode CHAP TER SIX...
Страница 111: ...Mirus for H2 Classic GrainGage 111 Harvest Mode 6 3 7 List View In List View you can see the data in the form of a chart...
Страница 120: ...Standard Grain Information APPENDIX A...
Страница 123: ...Troubleshooting APPENDIX B...
Страница 129: ...Limited Warrant y APPENDIX C...


