Mirus for H2 Classic GrainGage
116
Harvest Mode
6 .4 Collect Harvest Data
6.4.1 Harvest with Cycle Button
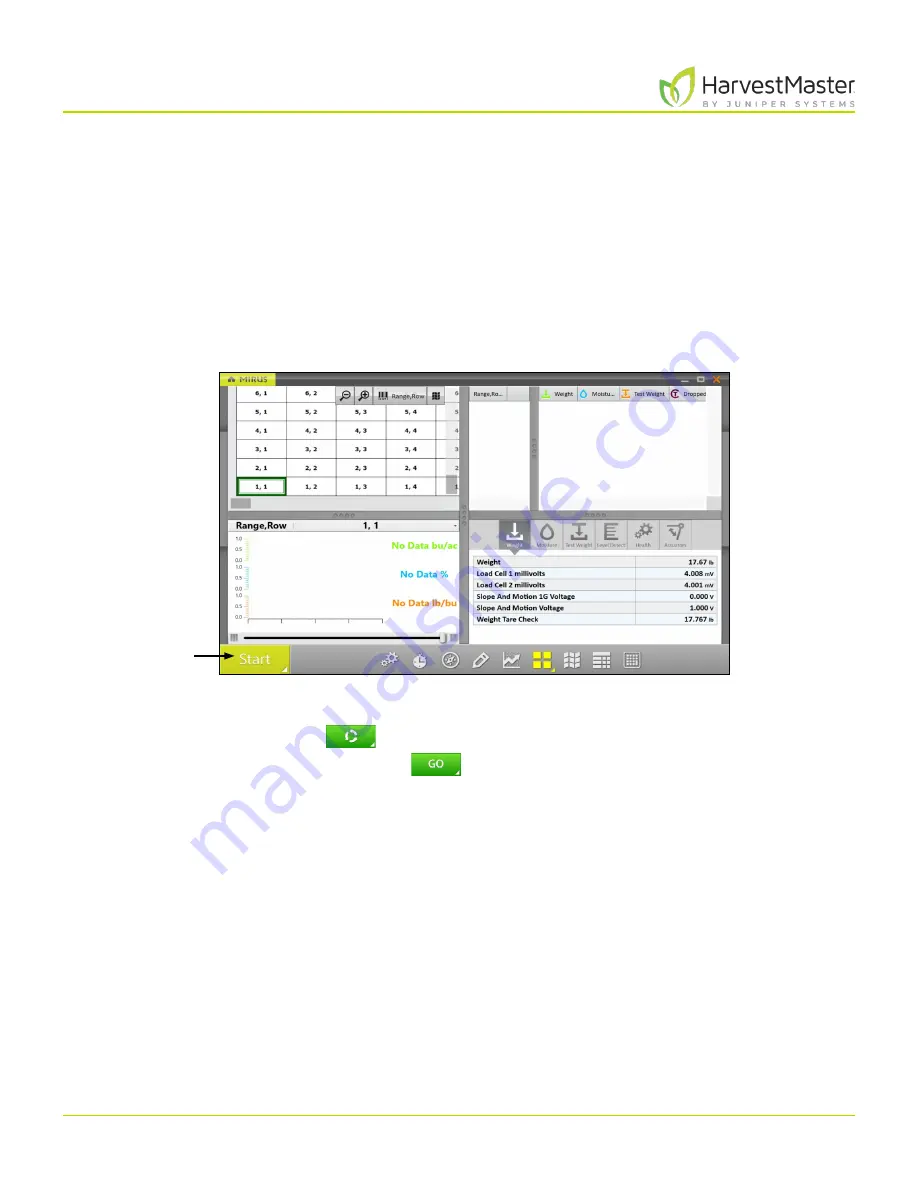
1. Open the Mirus Harvest screen.
2. Select a map, configure the harvest setup, choose traits, and a moisture curve. See
for specifics.
3. Start the thresher and throttle up.
4. Tare the GrainGage if necessary.
5. Tap the
Start
button in Mirus.
6. Harvest the first plot.
7. Press
Remote Enter
or
Cycle
when all the grain is in the GrainGage.
8. When prompted with a green
Go
button
, start into the next plot.
9. Repeat for each plot.
Start
Содержание HarvestMaster mirus H2
Страница 1: ......
Страница 7: ...CHAP TER ONE Mirus Ins tallation...
Страница 11: ...Mirus and GrainGage S etup CHAP TER T WO...
Страница 32: ...H2 Clas sic GrainGage Diagnos tic s and Aler t s CHAP TER THREE...
Страница 42: ...GrainGage Calibration CHAP TER FOUR...
Страница 71: ...Field Maps CHAP TER FIVE...
Страница 98: ...Har ves t Mode CHAP TER SIX...
Страница 111: ...Mirus for H2 Classic GrainGage 111 Harvest Mode 6 3 7 List View In List View you can see the data in the form of a chart...
Страница 120: ...Standard Grain Information APPENDIX A...
Страница 123: ...Troubleshooting APPENDIX B...
Страница 129: ...Limited Warrant y APPENDIX C...


