Capacitive Touchscreen
User Manual H12 / SCAMAX® 8x1 - Version 2019.12
If a patch code is detected on a sheet while Patch Code Detection (see c
hapter
) is en-
abled, both related document icons are provided with the symbol
(left)
and the indication of
the detected patch codes (PT, P2, P3, P1, P4, P6).
If barcode detection (
see chapter
) has been activated, in the current scan profile, image
icons will be marked with a black barcode symbol whenever a barcode is found. If the barcode
value is used for
triggering
, image icons will be marked with a turquoise barcode symbol.
4.3.1.3. Output Information
Just below the screen area for sheet information, there is a line with output information. For each
sheet, this line will list the output tray selected, at the time of processing. This will let you determine
the output tray each sheet has been sorted to, even later on.
1st Out
represents the lower output tray,
2nd Out
represents the upper, second output tray (
optional
),
Rear Out
identifies the rear output tray.
The entry in the rightmost column shows the output tray allocated to the next sheet to be processed,
provided the output route is not changed due to some pre-defined event.
4.3.1.4. Counter Information
The lower 5 lines are used to indicate the available counters. The top counter is always the sequen-
tial ID, means the unchangeable, continuing scanner counter. The four lines below, include the four
available counters of the system. How these counters are named or used depends on the respective
configuration
(see chapter
).
4.3.1.5. Button Bar
Whenever the scanner is ready, and provided this feature is supported by external scan-software, a
rounded turquois scan button will appear in the bottom right corner of the active scanning window.
You may use this button to start or stop scanning
(see chapter
). This button will also appear
when in Testscan mode.
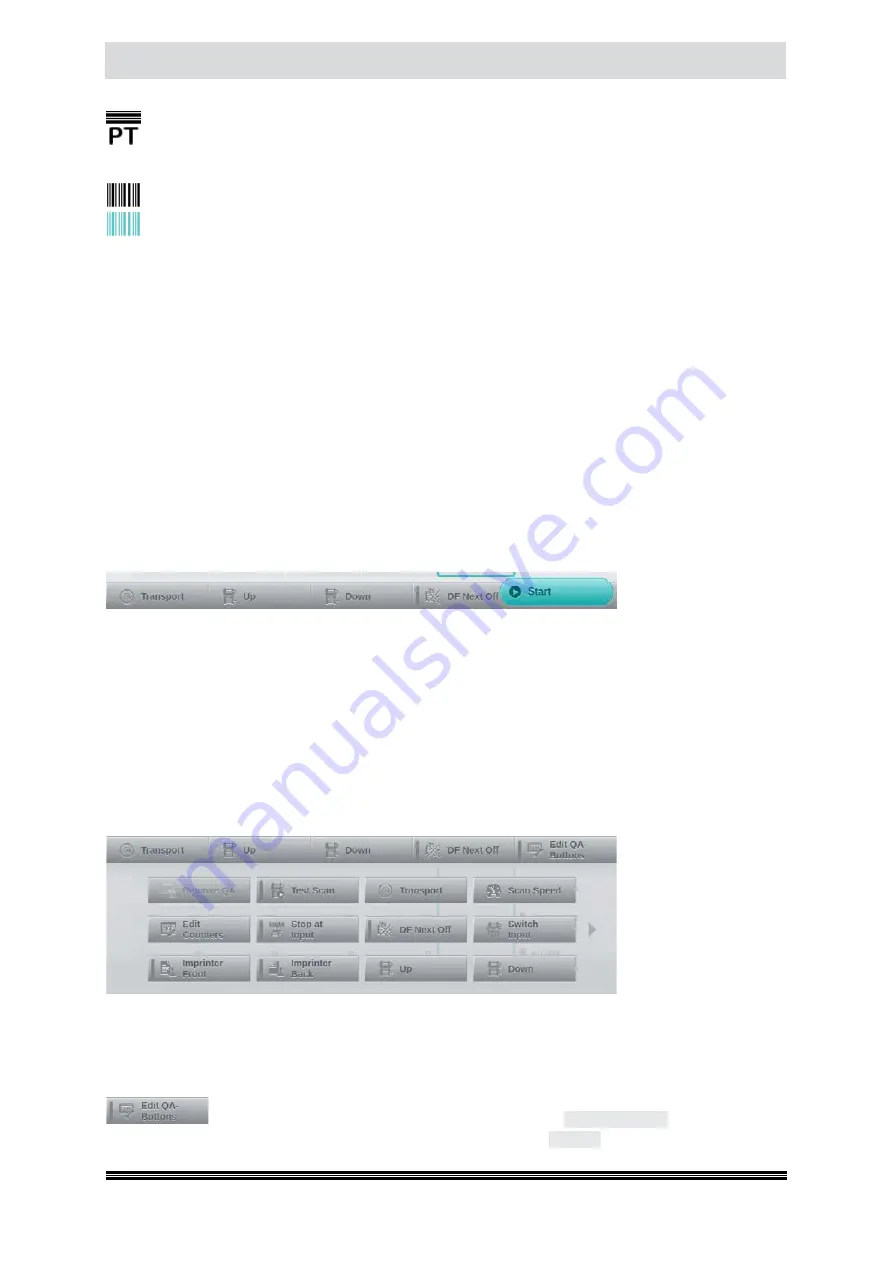
The four Quick-Access Buttons at the bottom edge of the scanning window may be assigned with
any of the function keys. This assignment is part of the scanning profile and is defined in the
General
Section
(see chapter
).
Touching the Button Bar and then dragging it upwards will reveal all of the available function keys.
This is known as the function key window. Some of the functions keys feature a vertical bar, to the
left of their icon which
lights up greene if the
respective function is
active. All functions keys
and their actions are do-
cumented in a separate
section in the chapter on
Profile Configuration (
see
chapter
). During
scanning, the four Quick-Access Buttons as well as all function keys available through the Button Bar
may be used directly from here, without having to switch to another menu screen.
4.3.1.5.1. Modifying Quick-Access Buttons
The assignment of Quick-Access buttons may be easily changed. After opening
the function key window, press additional button
Edit QA-Buttons
, right beside the
Quick-Access buttons. The labelling of this button will change to
End Edit
and a green indicator


