Chapter 4. Installation
161
Installation
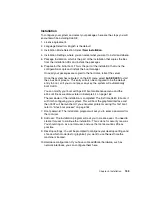
To configure your system and select your packages, here are the steps you will
encounter while installing Red Hat EL AS 3.0:
1. A message asking you to test your installation CDs appears. You can test the
disk or just skip to the next step. We recommend that you test your CDs to
avoid problems during the installation.
2. The Red Hat welcome screen appears. The installation procedure is like any
other version of Red Hat Linux.
3. Select the following:
– Language Selection.
– Keyboard Configuration.
– Mouse Configuration.
– Disk Partitioning Setup. (We recommend Automatically, which creates a
boot partition that is the EFI System Partition, then the Swap and Root as
default.)
– Network Configuration.
– Firewall Configuration.
– Additional Language Support.
– Time Zone Selection.
– Set Root Password.
– Select packages for the installation.
4. Follow the instructions for video card setup and monitor selection.
5. Once the installation is complete, reboot the server.
6. Once the system has rebooted, on the EFI menu select Red Hat Enterprise
Linux AS to start the Linux boot process. This entry will also be configured to
be the default entry to boot, so if you do not press any key, the system will
automatically boot Red Hat Enterprise Linux AS.
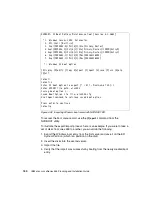
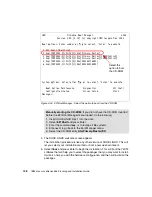
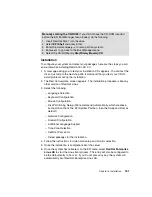
Manually starting the CD-ROM: If you did not have the CD-ROM inserted
before the EFI Boot Manager menu loaded, do the following:
1. Insert Red Hat Disk 1 into the drive.
2. Select EFI Shell and press Enter.
3. Enter the command
map -r
to remap all file systems.
4. Enter
exit
to go back to the Boot Manager menu.
5. Select the CD-ROM entry Ata(Primary,Master)/CD.
Содержание 88553RX
Страница 2: ......
Страница 214: ...200 IBM Eserver xSeries 455 Planning and Installation Guide Figure 5 14 Connect to the x455...
Страница 228: ...214 IBM Eserver xSeries 455 Planning and Installation Guide...
Страница 229: ...IBM Eserver xSeries 455 Planning and Installation Guide...
Страница 230: ......
Страница 231: ......

