43
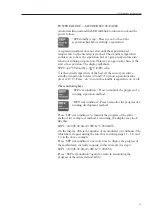
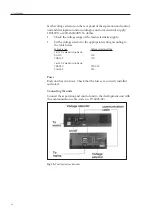
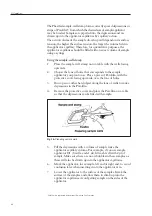
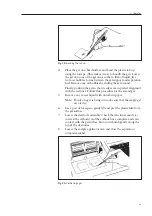
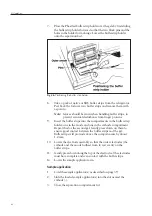
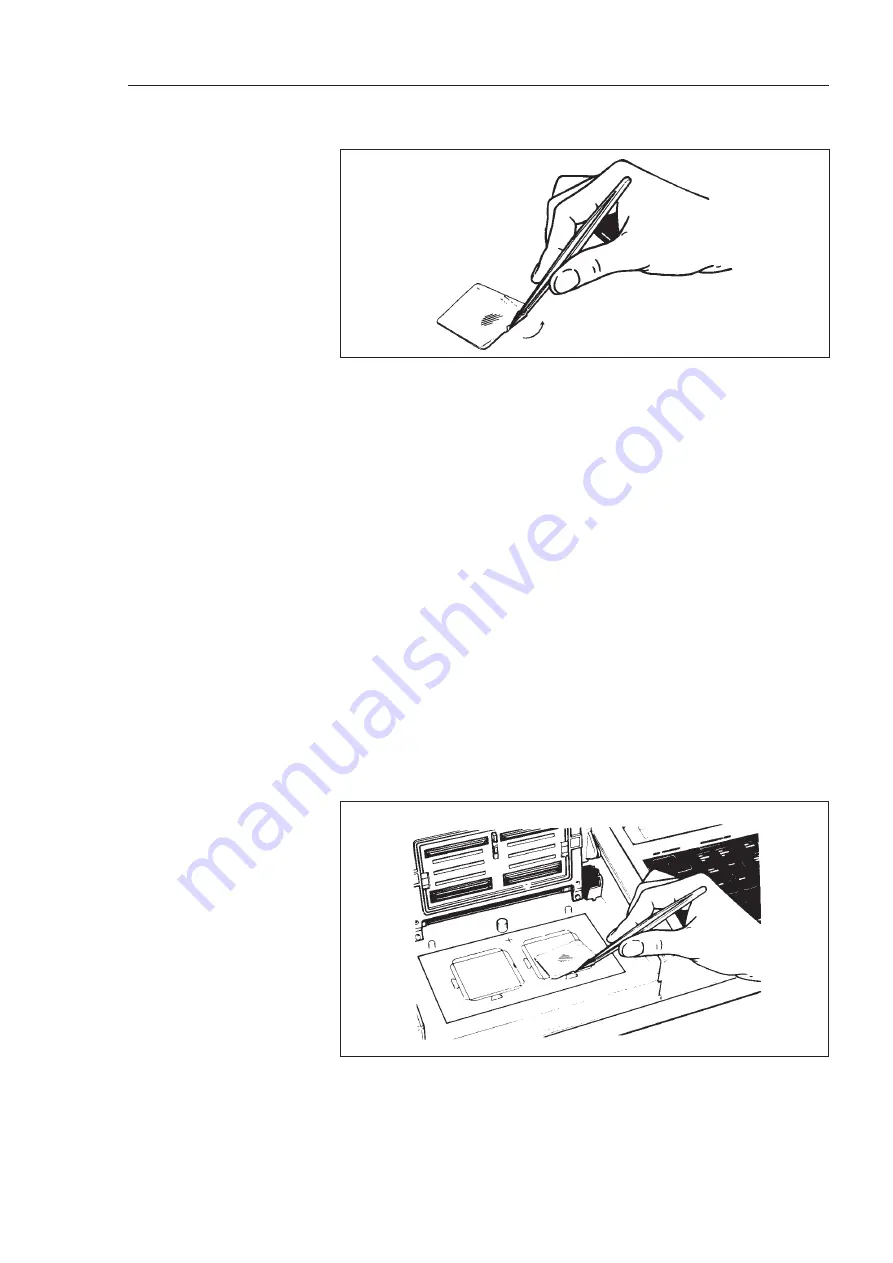
Fig. 19.
Bending the tab up.
4.
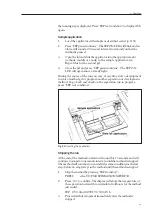
Place the gel on a hard surface and bend the plastic tab up
using the forceps. (This makes it easy to handle the gel.) Lower
the gel onto one of the gel areas so that a film of liquid, free
from air bubbles, forms between the gel support and separation
bed. Remove any air bubbles by sliding the gel around.
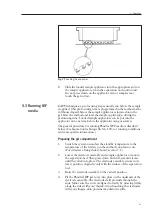
Finally, position the gel so that its edges are in perfect alignment
with the red lines. Follow this procedure for the second gel.
5.
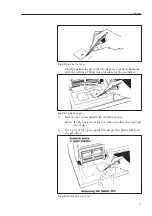
Remove any excess liquid with absorbent paper.
Note:
If only one gel is being run make sure that the empty gel
area is dry.
6.
Use a pair of forceps to gently lift and peel the plastic film from
the gel surface.
7.
Lower the electrode assembly. Check that the inner anode (+)
(nearest the cathode) and the cathode have complete and even
contact with the gel surface. Run your thumb gently along the
top of the electrodes.
8.
Lower the sample applicator arm and close the separation
compartment lid.
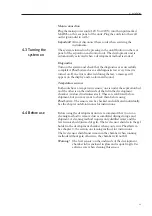
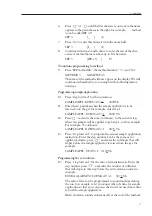
Fig. 20.
Positioning a gel.
5. Operation
Содержание PhastSystem
Страница 1: ...Phast System user manual automated electrophoresis um 80 1320 15 Edition AI ...
Страница 2: ......
Страница 8: ...8 ...
Страница 30: ...30 ...
Страница 34: ...34 ...
Страница 64: ...64 ...
Страница 96: ...12 ...
Страница 104: ......
Страница 105: ......
Страница 106: ...PRINTED IN SWEDEN BY TK I UPPSALA AB 2003 ...

