35
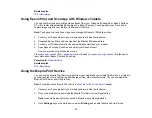
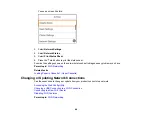
• Open a web browser and enter
chrome://devices
in the address bar. Skip to step 5.
• If you see a registration confirmation screen instead, click
Register
.
4.
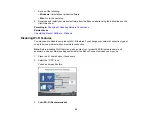
Click
Add Device
.
5.
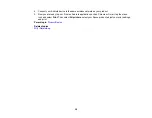
Click the
Register
button that appears next to your product.
6.
Click
Register
on the confirmation screen. Your product's LCD screen displays a confirmation
message.
7.
Select
OK
or press the
OK
button on your product to confirm the Google Cloud Print connection and
print a test page.
Your product is now linked to your Google Account and can be accessed from any Chromebook, iPhone,
or Android phone with Internet access. Visit
Epson Support for Google Cloud Print
(U.S) or
Support for Google Cloud Print
(Canada) for more information on using Google Cloud Print, or the
website for a list of
.
Parent topic:
Related topics
Android Printing Using the Epson Print Enabler
You can wirelessly print your documents, emails, photos, and web pages right from your Android phone
or tablet (Android v4.4 or later). With a few taps, your Android device will discover your nearby Epson
product and print.
1.
Connect your Epson product to your wireless network. See the link below.
2.
On your Android device, download the Epson Print Enabler plug-in from Google Play.
3.
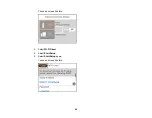
Go to
Settings
on your Android device, select
Printing
, and enable the Epson plug-in.
4.
Connect your Android device to the same wireless network as your product.
5.
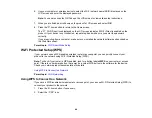
Now you are ready to print. From an Android application such as Chrome or Gmail, tap the menu
icon and print whatever is on the screen.
Note:
If you do not see your product, tap
All Printers
and select your product.
Parent topic:
Related topics
Содержание Expression Premium XP-6005
Страница 1: ...XP 6000 User s Guide ...
Страница 2: ......
Страница 13: ...13 XP 6000 User s Guide Welcome to the XP 6000 User s Guide For a printable PDF copy of this guide click here ...
Страница 24: ...24 Product Parts Inside 1 Document cover 2 Scanner glass 3 Memory card slot ...
Страница 57: ...57 1 Slide in the output tray 2 Open the front cover until it clicks ...
Страница 58: ...58 3 Pull on the front cover to slide out the lower paper cassette 4 Slide the edge guides outward ...
Страница 131: ...131 You see an Epson Scan 2 window like this ...
Страница 133: ...133 You see an Epson Scan 2 window like this ...
Страница 135: ...135 You see this window ...
Страница 178: ...178 2 Select Settings and press the OK button 3 Select Camera Print Settings and press the OK button ...
Страница 183: ...183 1 Open the front cover 2 Raise the control panel ...
Страница 264: ...264 Caution Do not touch the flat white cable or the metal bar inside your product 3 Close the scanner unit ...


