181
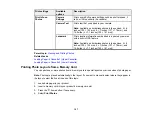
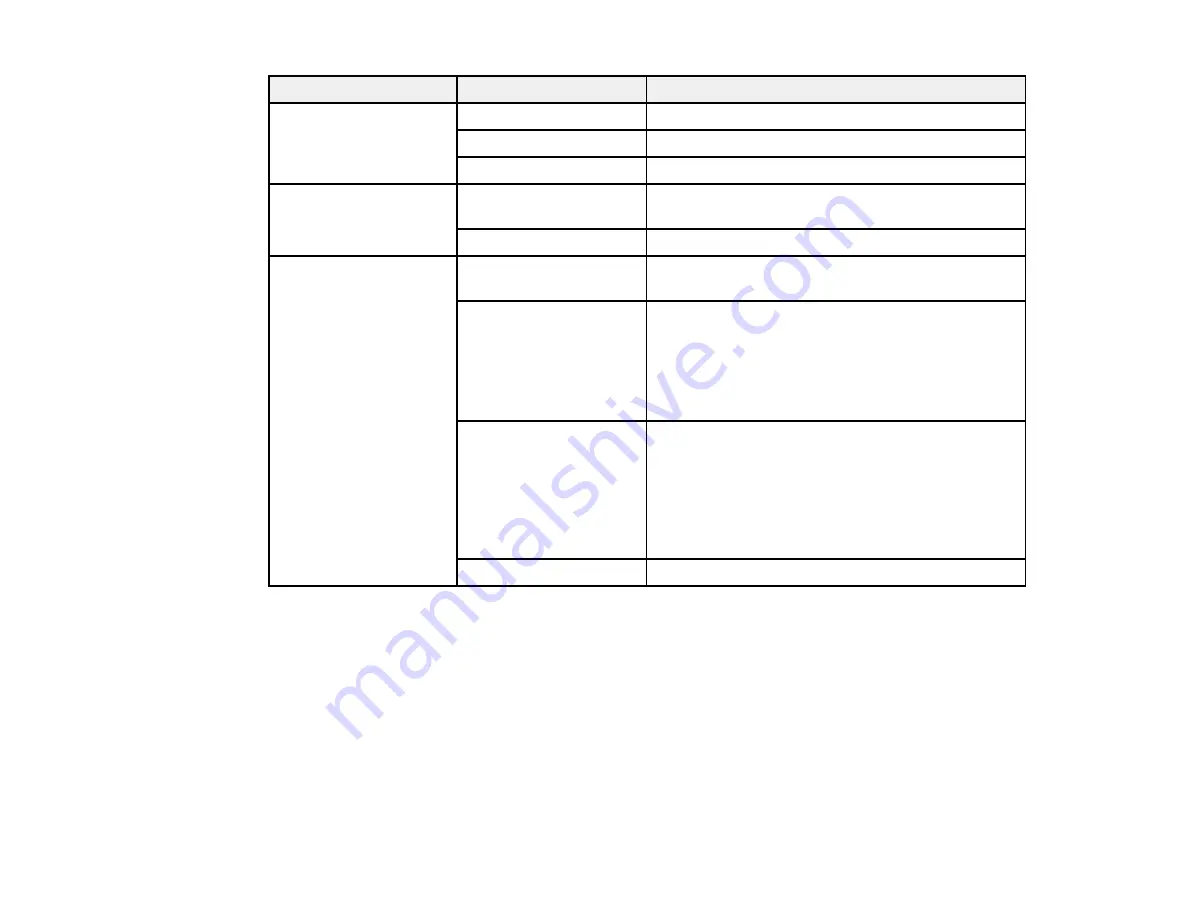
Print settings
Available options
Description
Quality
Draft
Provides lower quality for draft printing
Standard
Provides good quality for most prints
Best
Provides the highest quality for important prints
Date
Off
Does not print the date on which the photo was
taken
On
Prints the date on which the photo was taken
Print Info. on Photos
Camera Settings
Prints some Exif camera settings, such as shutter
speed, f-ratio, or ISO sensitivity (if available)
Camera Text
Prints text that you added in your camera
Note:
Available on borderless photos in these
sizes: 4 × 6 inches (102 × 152 mm), 5 × 7 inches
(127 × 178 mm), and 16:9 wide (4 × 7.1 inches
[102 × 181 mm])
Landmark
Prints location information embedded in a photo by
cameras that have a built-in GPS feature
Note:
Available on borderless photos in these
sizes: 4 × 6 inches (102 × 152 mm), 5 × 7 inches
(127 × 178 mm), and 16:9 wide (4 × 7.1 inches
[102 × 181 mm])
Off
Prints no information on photos
Parent topic:
Selecting Print and Photo Adjustment Settings
Photo Adjustments - Camera
Select these photo adjustment options when printing photos from your camera. The modifications affect
only the printed copy of the photo, not the original file.
Содержание Expression Premium XP-6005
Страница 1: ...XP 6000 User s Guide ...
Страница 2: ......
Страница 13: ...13 XP 6000 User s Guide Welcome to the XP 6000 User s Guide For a printable PDF copy of this guide click here ...
Страница 24: ...24 Product Parts Inside 1 Document cover 2 Scanner glass 3 Memory card slot ...
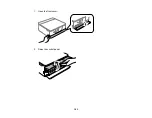
Страница 57: ...57 1 Slide in the output tray 2 Open the front cover until it clicks ...
Страница 58: ...58 3 Pull on the front cover to slide out the lower paper cassette 4 Slide the edge guides outward ...
Страница 131: ...131 You see an Epson Scan 2 window like this ...
Страница 133: ...133 You see an Epson Scan 2 window like this ...
Страница 135: ...135 You see this window ...
Страница 178: ...178 2 Select Settings and press the OK button 3 Select Camera Print Settings and press the OK button ...
Страница 183: ...183 1 Open the front cover 2 Raise the control panel ...
Страница 264: ...264 Caution Do not touch the flat white cable or the metal bar inside your product 3 Close the scanner unit ...

