128
4.
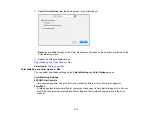
Select
Scan
.
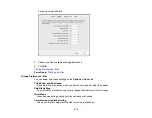
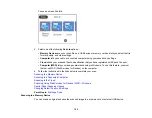
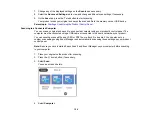
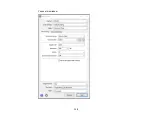
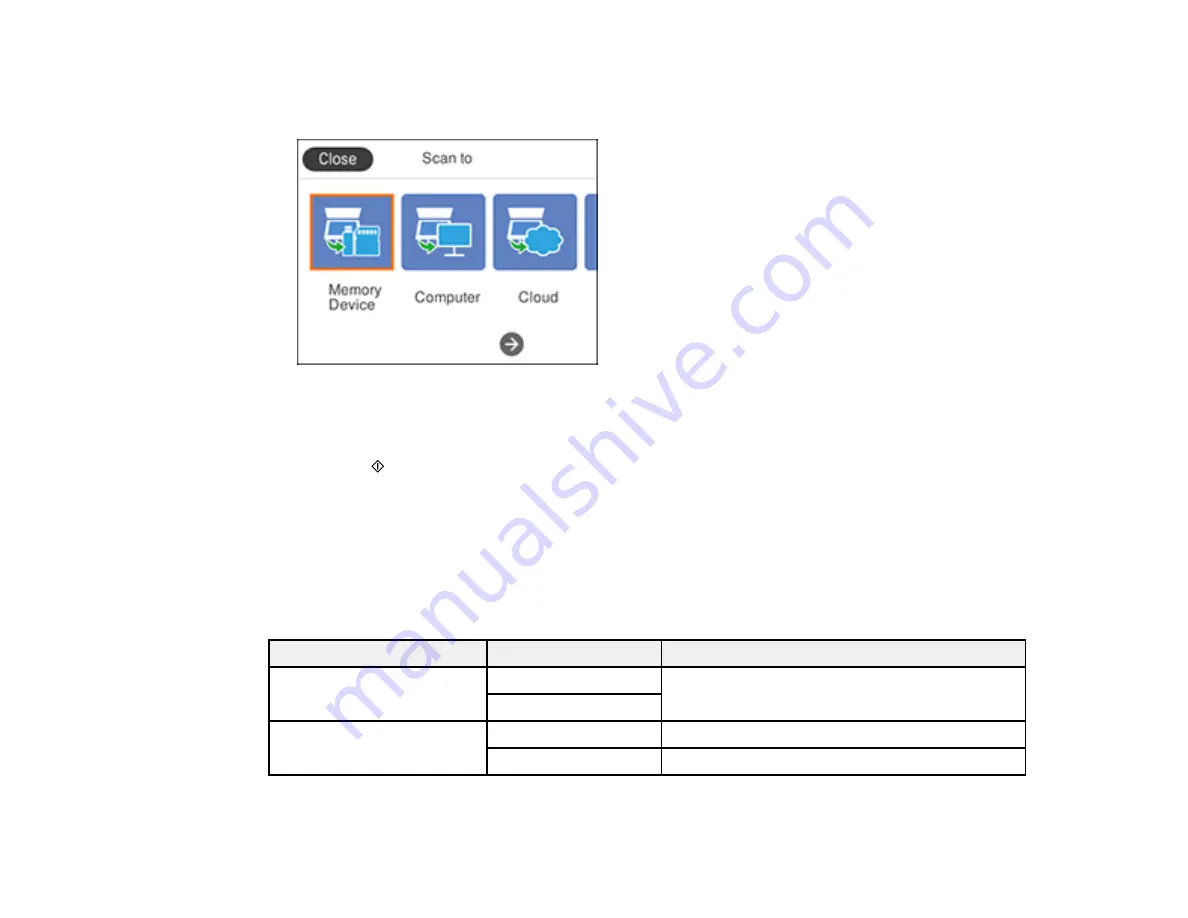
You see a screen like this:
5.
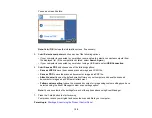
Select
Computer (WSD)
.
6.
Select a computer.
7.
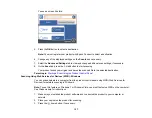
Press the
start button to start scanning.
Your product scans your original and saves the scanned file to the selected computer.
Parent topic:
Starting a Scan Using the Product Control Panel
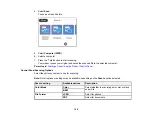
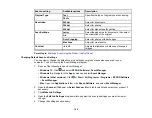
Control Panel Scanning Options
Select the options you want to use for scanning.
Note:
Not all options or settings may be available, depending on the
Scan to
option selected.
Scan to setting
Available options
Description
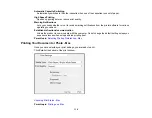
Color Mode
Color
Select whether to scan images in color or black
and white
B&W
File Format
JPEG
Select for photos
Select for documents
Содержание Expression Premium XP-6005
Страница 1: ...XP 6000 User s Guide ...
Страница 2: ......
Страница 13: ...13 XP 6000 User s Guide Welcome to the XP 6000 User s Guide For a printable PDF copy of this guide click here ...
Страница 24: ...24 Product Parts Inside 1 Document cover 2 Scanner glass 3 Memory card slot ...
Страница 57: ...57 1 Slide in the output tray 2 Open the front cover until it clicks ...
Страница 58: ...58 3 Pull on the front cover to slide out the lower paper cassette 4 Slide the edge guides outward ...
Страница 131: ...131 You see an Epson Scan 2 window like this ...
Страница 133: ...133 You see an Epson Scan 2 window like this ...
Страница 135: ...135 You see this window ...
Страница 178: ...178 2 Select Settings and press the OK button 3 Select Camera Print Settings and press the OK button ...
Страница 183: ...183 1 Open the front cover 2 Raise the control panel ...
Страница 264: ...264 Caution Do not touch the flat white cable or the metal bar inside your product 3 Close the scanner unit ...


