Connecting a parallel printer
2-14
014–002250–01
Connecting a parallel printer
This section describes how to connect a parallel printer with a
Centronics LPT1 interface.
You’ll need one of the following 25–pin to 36–position cables to
connect a parallel printer to the rear panel connector, plus a small,
flat–blade screwdriver or similar tool. :
Parallel Devices
5–ft Centronics LPT1
30–ft Centronics LPT1
005–023915
005–033762
10235
15293E030
Cable or Cord Type
Part Number Model Number
DB25 male to 36–position CHAMP
"
Complete these steps to connect a parallel printer. Reverse the
order of these steps to remove or replace the printer cable.
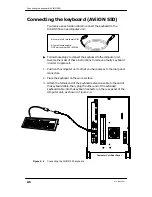
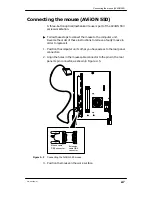
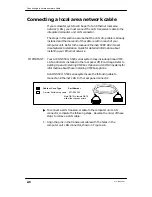
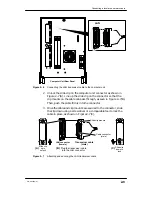
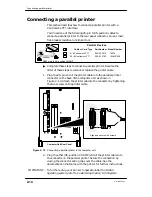
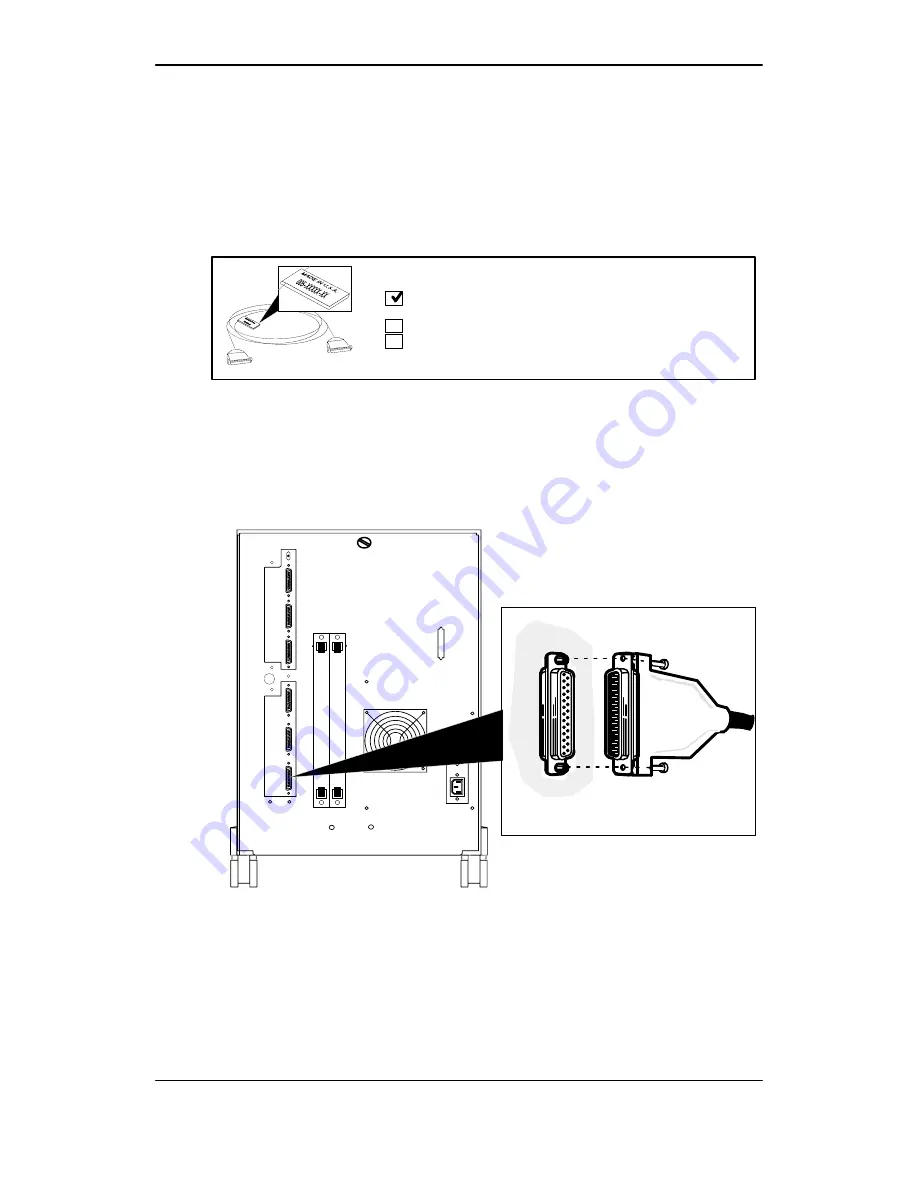
1. Plug the 25–pin end of the printer cable into the parallel printer
connector on the back of the computer unit as shown in
Figure 2–10. Attach the printer cable to the connector by tightening
the two screws on the printer cable.
Computer Unit Rear Panel
Align and secure with screws
Figure 2–10 Connecting a parallel printer to the computer unit
2. Plug the other (36–position CHAMP) end of the printer cable into
the connector on the parallel printer. Secure the connection by
closing the connector spring clips over the cable. See the
documentation that came with the printer for further instructions.
IMPORTANT:
To further set up your printer to operate under the DG/UX
operating system, refer to Customizing the DG/UX
System.
Содержание AViiON 550 Series
Страница 2: ......
Страница 6: ......
Страница 12: ...Joining our users group x 014 002250 01 ...
Страница 86: ...Opening and closing the computer unit 4 12 014 002250 01 ...
Страница 96: ...Installing a drive assembly 5 10 014 002250 01 ...
Страница 188: ......
Страница 191: ......


