Managing the System
Administration
Cisco Small Business NSS300 Series Smart Storage Administration Guide
98
3
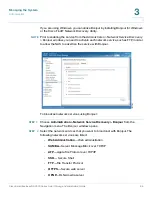
To view the users:
STEP 1
Choose
Administration > Users
from the Navigation menu. The
Users
window
opens and displays the following information.
•
User Name
—A list of the users assigned to this NAS.
•
Quota
—Space allocated for this user.
•
Action
—An action to perform for this user. Options are Change Password,
Edit Account, User Groups, and Private Network Share.
STEP 2
From the drop-down list, you can select to view:
•
Local Users
—Select to view the local users assigned to this NAS.
•
Domain Users
—Select to view the domain users assigned to this NAS.
STEP 3
Type a user name in the search field to search for a specific user.
STEP 4
From the drop-down list,
Displays entries per page
, select the number of entries
to display.
STEP 5
Click the arrows in the lower right to navigate forward and back on the User
window.
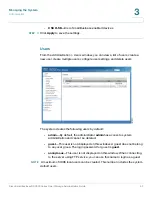
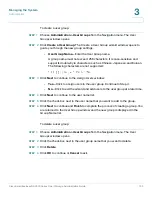
To create a user:
STEP 1
Choose
Administration > Users
from the Navigation menu. The
Users
window
opens.
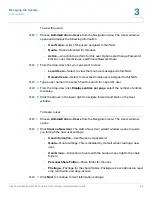
STEP 2
Click
Create a New User
. The
Add a New User
wizard window opens to guide
you through the new user settings.
•
User Information
—User Name and password.
•
Quota
—Quota settings. This is disabled by default when creating a new
user.
•
User Group
—Collection of users with the same access right to the share
folders.
•
Personal Share Folder
—Share folder for the user.
•
Privilege
—Privilege for the share folders. Privilege access options are read
only, read/write, and deny access.
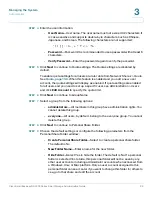
STEP 3
Click
Next
to continue to User Information settings.

