Managing the System
Administration
Cisco Small Business NSS300 Series Smart Storage Administration Guide
68
3
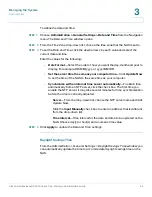
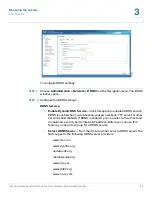
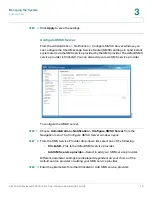
To configure the hardware related functions:
STEP 1
Choose
Administration > Hardware
from the Navigation menu. The
Hardware
window opens.
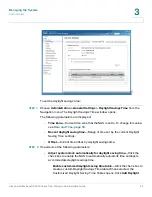
STEP 2
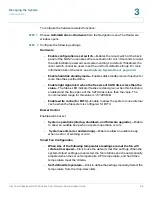
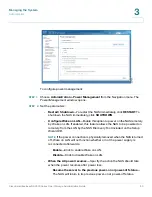
Configure the following settings.
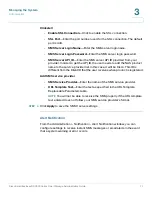
Hardware
•
Enable configuration reset switch
—Enables the reset switch at the back
panel of the NAS. You can press the reset button for 3 or 10 seconds to reset
the administrator password and system settings to default. If disabled, the
reset switch cannot be used to set the unit to its default settings. For more
information about the reset, see
Hardware System Reset, page 242
.
•
Enable hard disk standby mode
—Enables disk standby mode if inactive for
more than the specified time.
•
Enable light signal alert when the free size of SATA disk is less than the
value
—The Status LED indicator flashes red and green when this function is
enabled and the free space of the SATA disk is less than the value. The
recommended range for this value is 1-51200 MB.
•
Enable write cache (for EXT4)
—Enable to allow the system to use internal
cache when the filesystem is configured for EXT4.
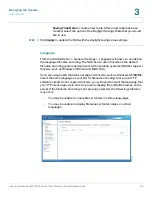
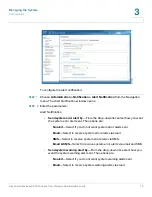
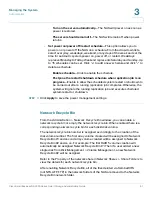
Buzzer Control
Enable alarm buzzer
•
System operations (startup, shutdown, and firmware upgrade)
—Enable
to allow an audible beep when a system operation occurs.
•
System events (error and warning)
—Enable to allow an audible beep
when an error or warning occurs.
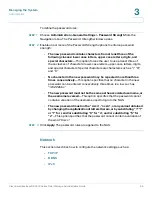
Smart Fan Configuration
•
When ALL of the following temperature readings are met the fan will
rotate at low speed
—Click to use the default smart fan settings. When the
system default settings are selected, the fan rotation speed is automatically
adjusted when the server temperature, CPU temperature, and hard drive
temperature meet the criteria.
•
Self-defined temperature
—Click to define the settings manually. Select the
temperature from the drop-down lists.

