Managing the System
Disk Management
Cisco Small Business NSS300 Series Smart Storage Administration Guide
110
3
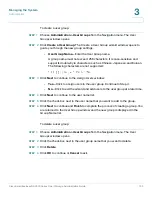
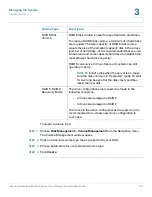
To scan for bad blocks on a disk:
STEP 1
Choose
Disk Management > Volume Management
from the Navigation menu.
The
Volume Management
window opens.
STEP 2
Click
Scan Now
for the drive that you want to scan. The status of the scan is
shown in the Status column.
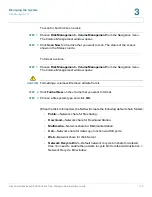
To format a volume:
STEP 1
Choose
Disk Management > Volume Management
from the Navigation menu.
The
Volume Management
window opens.
!
CAUTION
Formatting a volume will remove all data from it.
STEP 2
Click
Format Now
on the volume that you want to format.
STEP 3
Choose a file system type and click
OK
.
When the disk is formatted, the NAS will create the following default share folders:
•
Public
—Network share for file sharing.
•
Download
—Network share for Download Station.
•
Multimedia
—Network share for Multimedia Station.
•
Usb
—Network share for data copy function via USB ports.
•
Web
—Network share for Web Server.
•
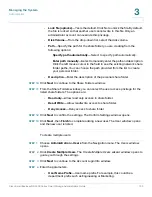
Network Recycle Bin 1
—Default network recycle bin share for deleted
files. You need to enable the network recycle bin from the
Administration >
Network Recycle Bin
window.

