OPERATION
Roadie 25K User’s Manual
3-39
Image Orientation
Set the orientation of the image according to the orientation of your projector. If the
setting is incorrect, projected images will be reversed and/or upside down.
NOTE: This projector can be used in the Front orientation only, as it cannot be
inverted or tilted beyond 15° in any direction during use.
Auto Power-up
Enter a checkmark to enable the projector to automatically power up after losing
power due to a power failure or due to unplugging the projector during operation.
Note that unsaved display adjustments may be lost.
Set Date & Time
Enter/read the current year-month-day and hour-minute-second. Changes here reset
the projector’s real-time clock.
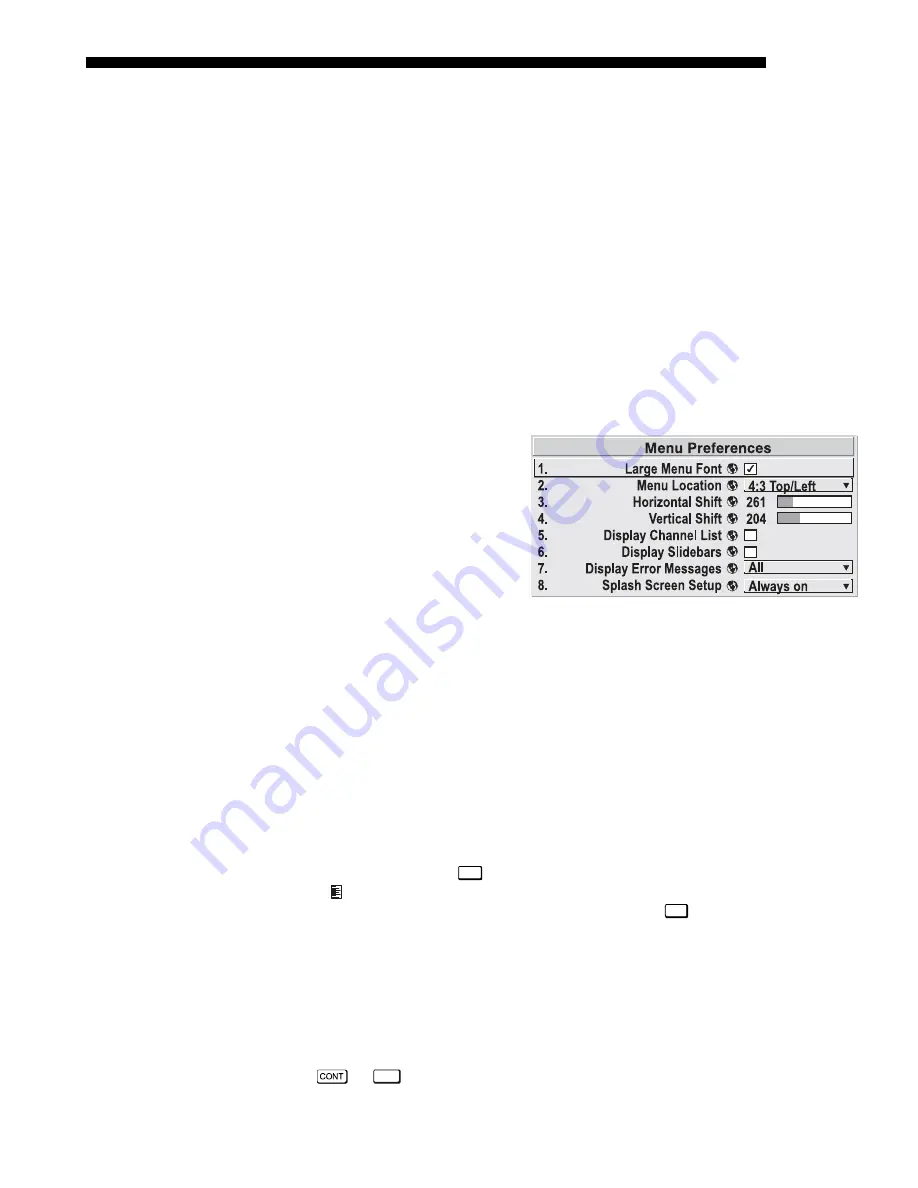
Menu Preferences
— SUBMENU
Use the options in this submenu
to adjust the appearance, content
and/or location of on-screen
menus and messages.
LARGE MENU FONT
—
Enter a
checkmark to enlarge menus and
their text. You may have to
adjust “Menu Location” to
accommodate the increased
menu area.
MENU LOCATION
—
Use the pull down list to choose a pre-defined default or
customized location for the display of all on-screen menus.
To create a custom menu location quickly, choose a preset that is closest to the
desired location. Then adjust the slidebars of Horizontal Shift and Vertical Shift to
move the menu to the desired location. To prevent cropping of larger menus, avoid
locations too close to a corner or edge.
HORIZONTAL AND VERTICAL SHIFT
—
Shift your menus as desired, creating a
customized menu location.
DISPLAY CHANNEL LIST —
Enter a checkmark if you want to see a scrollable channel
list whenever you press
Chan
from your presentation. Channels marked with a list
icon in the Channel Setup menu will then appear here. The Display Channel List
option also enables on-screen feedback when using the
Input
key. If you prefer to hide
the channel list and input dialog box while switching channels and sources during a
presentation, clear the checkbox.
NOTE: The Channel List and input dialog box cannot be hidden during use of the
menus.
DISPLAY SLIDEBARS
—
Enter a checkmark to superimpose a small slidebar over the
current image whenever an adjustable parameter is selected directly with a key such
as
or
Bright
. If “Display slidebars” is unchecked, these slidebars can still be
Содержание Roadie 25K
Страница 6: ......
Страница 15: ...INSTALLATION AND SETUP Roadie 25K User s Manual 2 9 Figure 2 10 Switching Between Flat Scope Displays ...
Страница 56: ......
Страница 153: ...SPECIFICATIONS Roadie 25K User s Manual 6 7 ...
Страница 164: ......
Страница 165: ...Appendix B Remote Keypad Roadie 25K User s Manual B 1 Figure B 1 Standard Remote Keypad ...
Страница 166: ......
Страница 168: ...SERIAL COMMUNICATION CABLES C 2 Roadie 25K User s Manual ...
Страница 169: ...SERIAL COMMUNICATION CABLES Roadie 25K User s Manual C 3 ...
Страница 170: ......
Страница 186: ......


