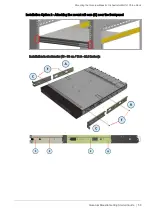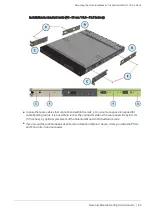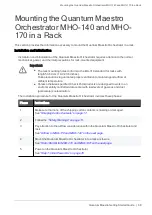
Mounting the Quantum Maestro Orchestrator MHO-175 in a Rack
Quantum Maestro Getting Started Guide | 61
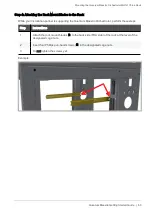
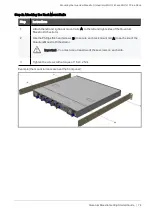
Step 1: Attaching the Rack Mount Rails
Step
Instructions
1
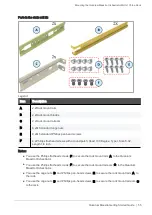
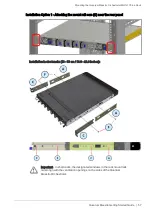
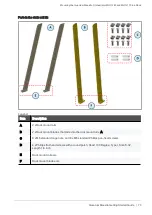
Attach the left and right rack mount rails (
A
) to the left and right sides of the Quantum
Maestro Orchestrator.
2
Gently push the pins on the sides through the slider key holes, until the rails lock.
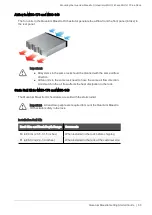
Important - In short racks (430-580 mm), the designated windows in the rack
mount rails must align with the ventilation openings on the sides of the Quantum
Maestro Orchestrator.
2
Use the Phillips flat-head screws (
F
) to secure each rack mount rail (
A
) to each side of the
Quantum Maestro Orchestrator.
Important - You must use one screw on each side.
3
Tighten the screws with a torque of 1.5±0.2 Nm.
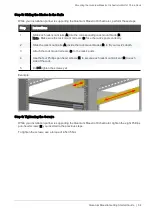
Step 2: Attaching the Rack Mount Ears
Step
Instructions
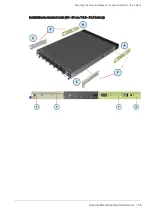
1
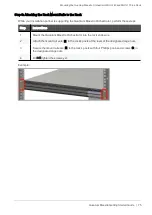
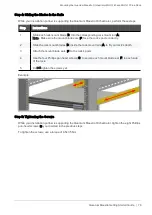
Attach the left and right rack mount rail ears (
C
) to the left and right sides of the Quantum
Maestro Orchestrator.
2
Gently push the pins on the sides through the slider key holes, until the rack mount rail ears
lock.
Important - In short racks (430-580 mm), the designated windows in the rack
mount rails must align with the ventilation openings on the sides of the Quantum
Maestro Orchestrator.
2
Use the Phillips flat-head screws (
F
) to secure each rack mount rail ear (
C
) to each side of
the Quantum Maestro Orchestrator.
Important - You must use one screw on each side.
3
Tighten the screws with a torque of 1.5±0.2 Nm.
Содержание QUANTUM MAESTRO
Страница 1: ... Classification Protected 11 November 2021 QUANTUM MAESTRO Getting Started Guide ...
Страница 88: ...Connecting Two Quantum Maestro Orchestrators for Redundancy Quantum Maestro Getting Started Guide 88 Example ...
Страница 159: ...Dual Site with four Switches Quantum Maestro Getting Started Guide 159 Diagram ...

