S T E P 9
S T E P 9 – C o n t r o l l e r
70
docs.carbide3d.com
71
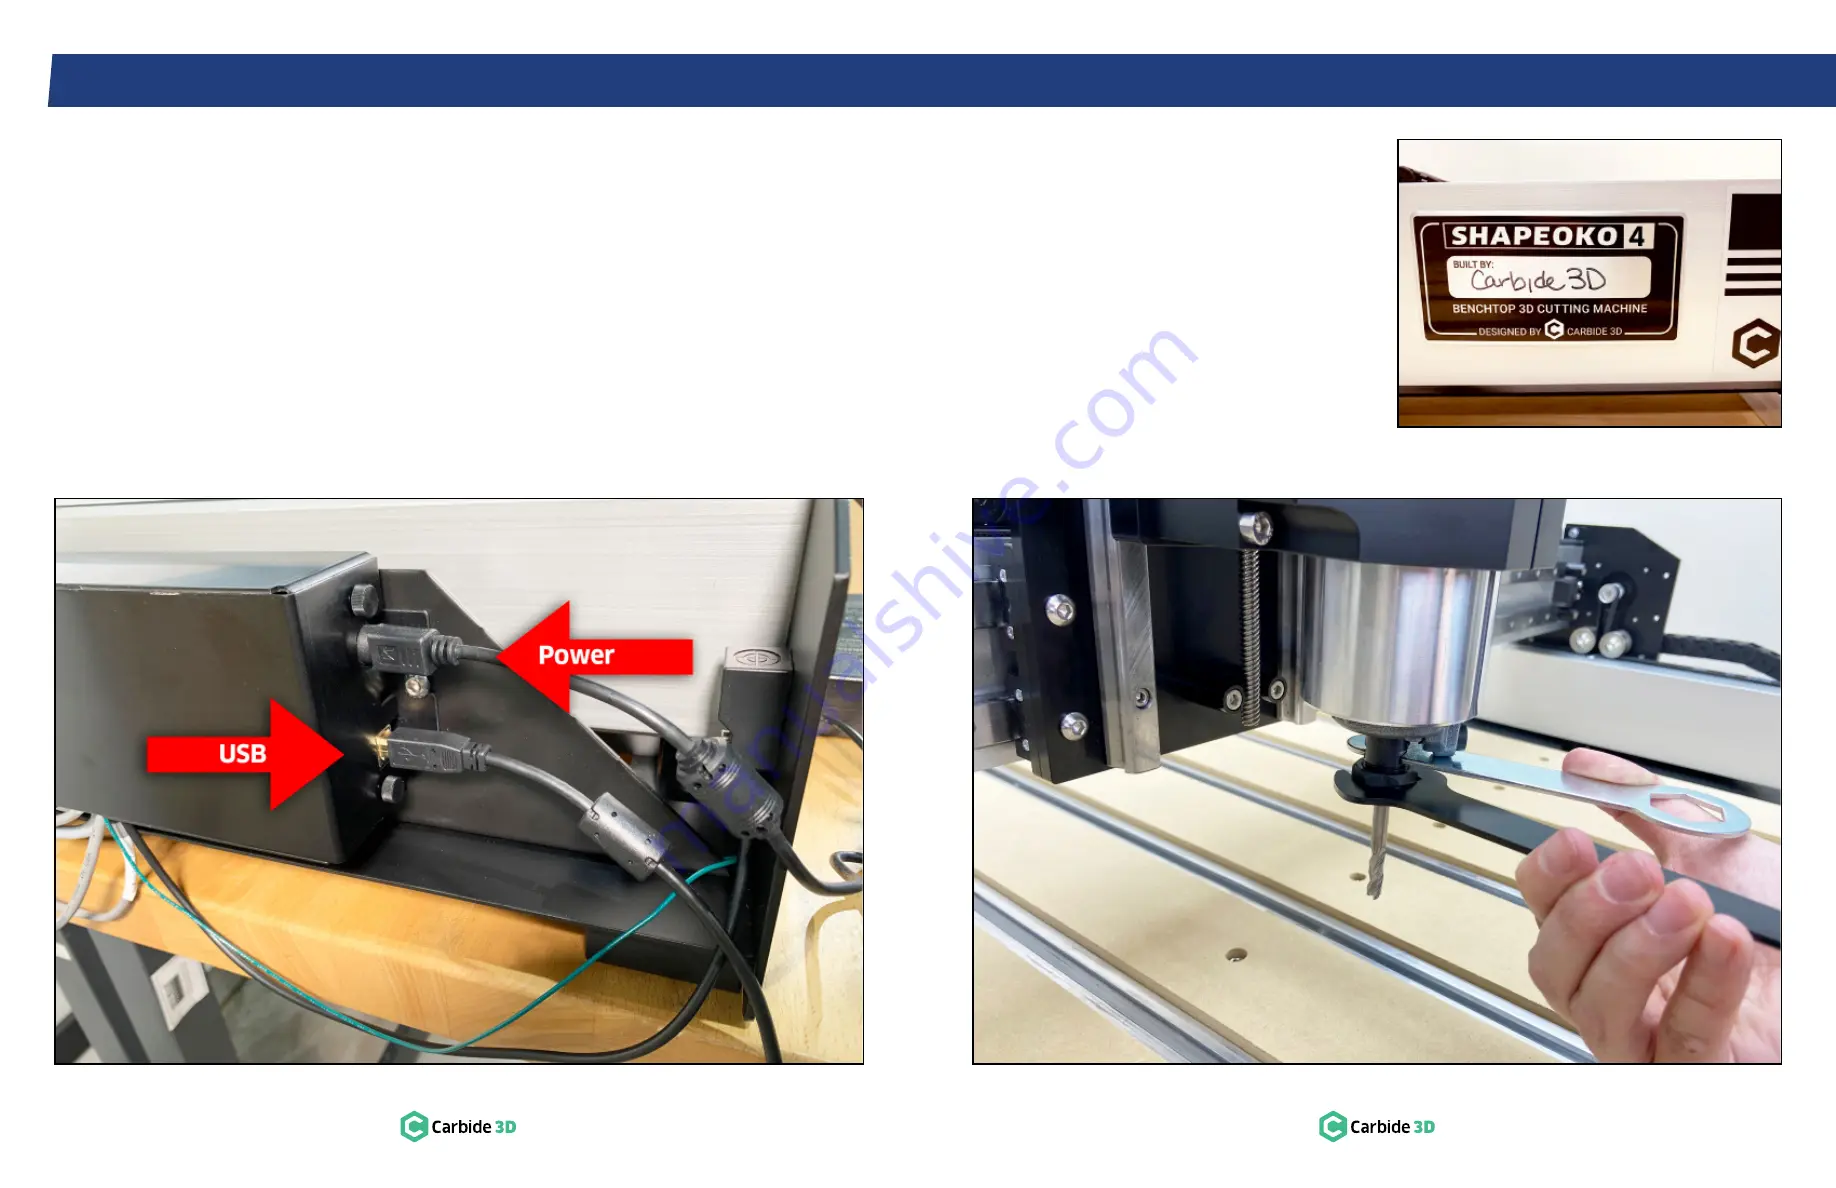
9.8 Connect Power and USB
1. Plug the power cable into the power port at
the back of the controller.
See
Fig. 9-9
.
a. Flat side of the connector faces out.
2. Plug the USB cable into the USB port below
the power port.
Figure 9-9
Figure 9-10
Figure 9-11
9.9 Install an End Mill
These instructions are specific to the Carbide
Compact Router. For all other routers, refer to the
router manual for operating, safety, and end mill
installation information.
The Carbide Compact Router includes a 0.25″
collet and nut, 22mm collet nut wrench, and 13mm
spindle wrench.
1. Replace the stock collet with the included
0.25″ precision collet.
2. Insert the end mill shank into the loosened
collet a minimum of 0.75
″
(20mm), the entire
length of the collet and nut.
3. Use the 22mm and 13mm wrenches to tighten
the collet nut securely.
See
Fig. 9-10
.
WARNING:
Never tighten the collet nut without an
end mill inserted in the collet.
Congratulations, the assembly is complete!
All that’s left to do is sign and proudly display your
Shapeoko 4 build plate.
See
Fig. 9-11
.
IMPORTANT:
Before homing your machine,
Содержание Shapeoko 4 XXL
Страница 1: ...Shapeoko 4 XXL ASSEMBLY GUIDE...


