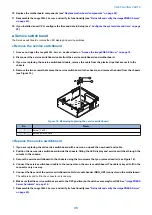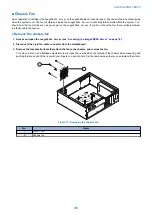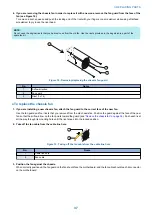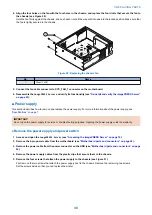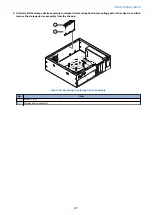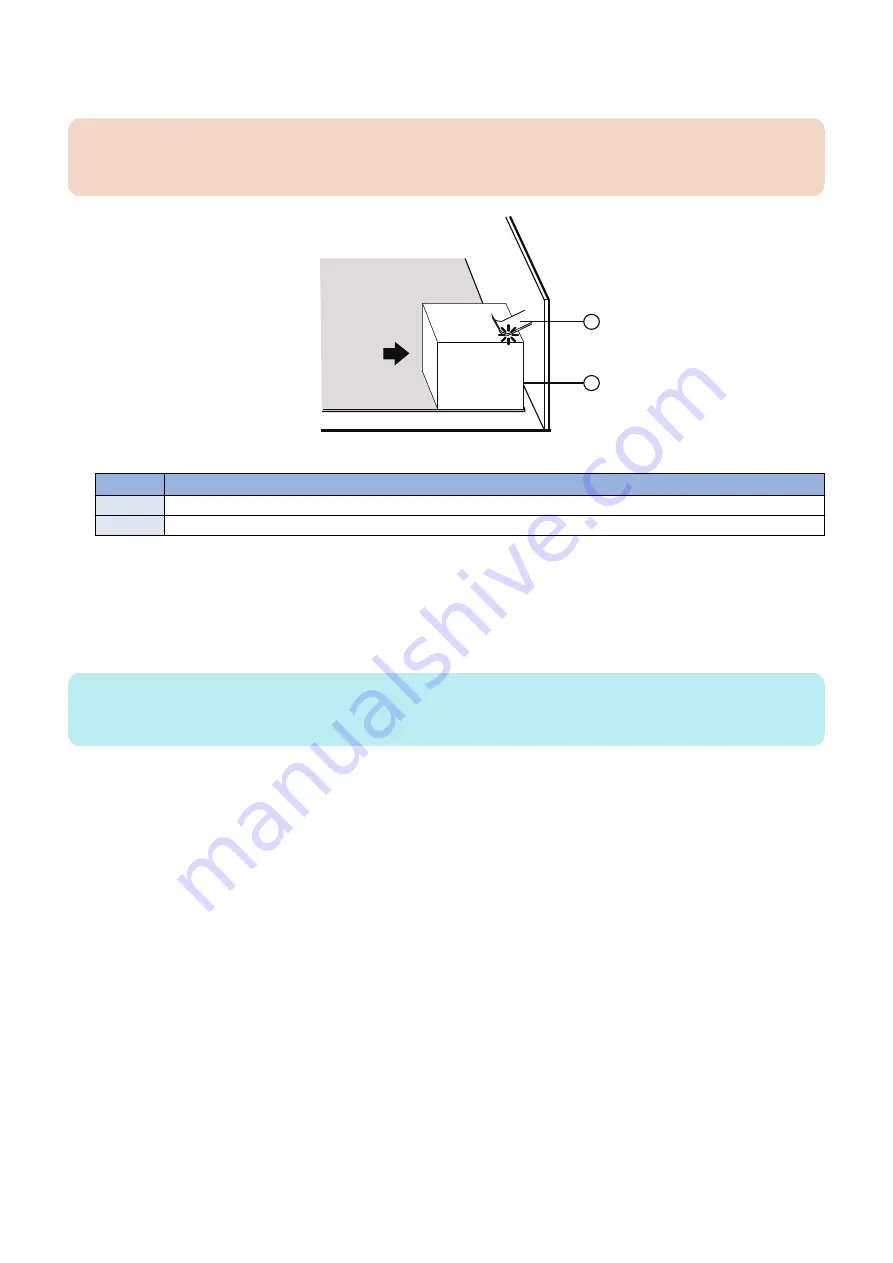
2. Angle the motherboard so that the connectors on the motherboard fit into the cutouts in the connector panel of the
chassis, and gently slide the motherboard into the chassis (see
“Remove the motherboard” on page 27
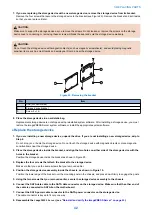
IMPORTANT:
Be sure to fit the motherboard Ethernet connectors under the metal grounding tabs in the cutouts. Failure to position the
grounding tabs correctly may result in permanent damage to the motherboard and power supply.
1
2
Figure 12: Fitting the connectors under the metal grounding tab
No.
Name
1
Metal grounding tab
2
Motherboard connector
3. Align the mounting holes on the motherboard with the screw holes located in the base of the chassis (see
“Motherboard parts and connectors” on page 26
).
4. Insert the six mounting screws that attach the motherboard to the chassis.
Partially tighten each screw before completely tightening any one screw. Do not overtighten the screws; doing so could
damage traces on the motherboard.
NOTE:
Always install the CPU and cooling assemblies before installing the motherboard mounting screws. You may flex and damage the
motherboard if you perform the installations in the wrong order
Now you are ready to replace the remaining motherboard components to complete the motherboard installation.
● Replace motherboard components
1. Replace the following cables to the motherboard (see
“Check internal cable connections” on page 19
• 10-pin power button cable
Connect one end of the 10-pin power button cable to J351 connector on the printer interface board. Connect the other
end to the J29 connector on the motherboard. The cable connector is keyed to fit only one way.
• Service switchboard cable
• 4-pin power cable. The cable connector is keyed to fit only one way.
• Storage device cables
• SATA data cable
• Power supply cable
• Chassis fan cable
2. Replace the printer interface board (see
“To replace the printer interface board” on page 22
).
3. Reassemble the
imagePRESS Server
“Reinstall and verify the imagePRESS Server” on page 43
).
■ Verifying new motherboard installation, and transferring options and BIOS
information
After you install a new motherboard and reassemble the system, do the following:
3. REPLACING PARTS
29
Содержание P 400
Страница 7: ...Introduction 1 Introduction 2 Specifications 7...
Страница 16: ...Using the imagePRESS Server 2 Using the imagePRESS Server 11...
Страница 21: ...REPLACING PARTS 3 Replacing parts 16...
Страница 51: ...INSTALLING SYSTEM SOFTWARE 4 Installing system software 46...
Страница 73: ...TROUBLESHOOTI NG 5 Troubleshooting 68...

