3- 20
Printing from Windows
TOP
Chapter 3
Printing Methods for
Different Objectives
Chapter 4
Maintaining the
Printer
Chapter 5
Using the Printer in a
Network Environ-
ment
Chapter 6
Troubleshooting
Chapter 7
Operation of the
Function Menus
Index
Contents
Chapter 2
Using a Variety of
Media
Chapter 1
Basic Procedures
<To print a high-precision image with borderless
printing>
z
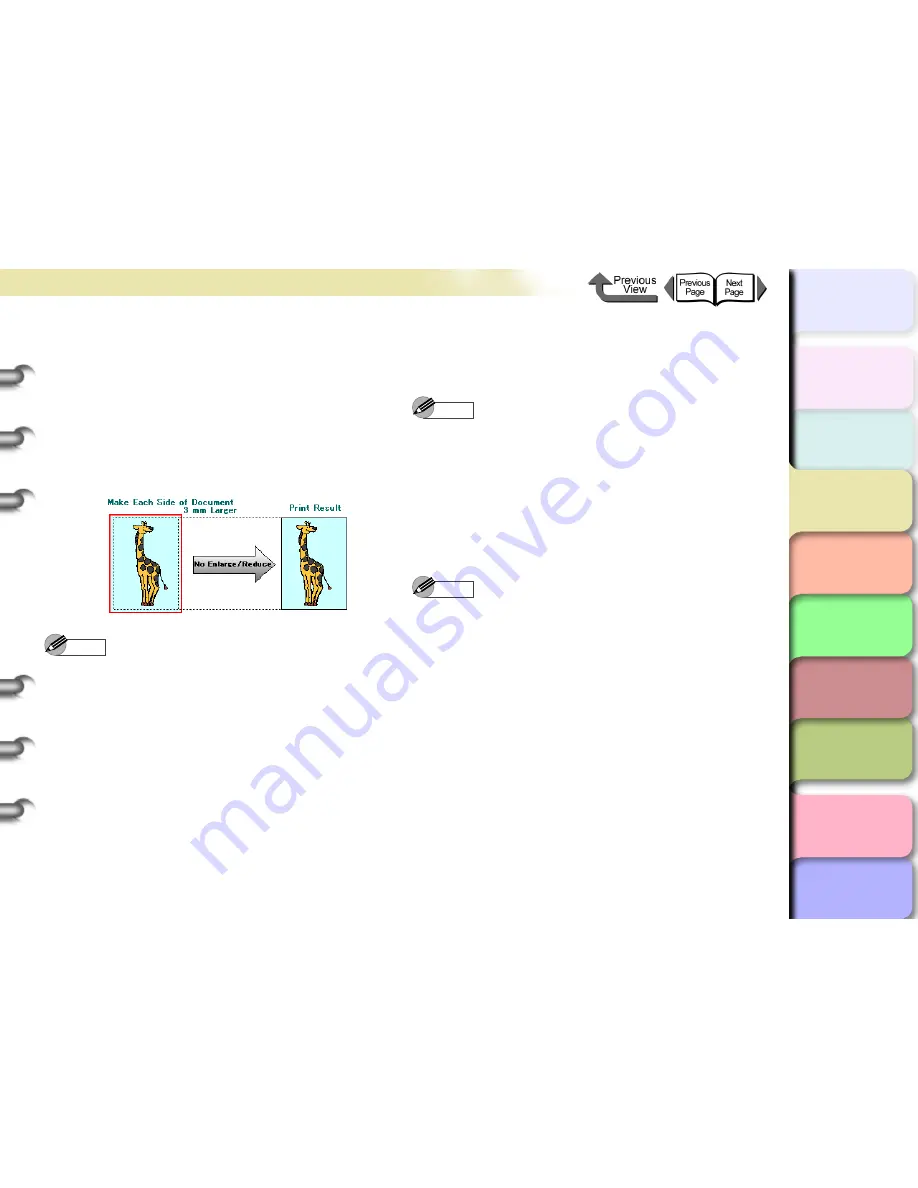
Print Image with Actual Size
This takes an image that would otherwise overlap the
margins and sizes it to 3 mm margins and then prints it
with borderless printing on a media size that is the
same as the sized original. Use this method when you
want to avoid a deterioration in the quality of the image
caused by enlargement or reduction.
Note
z
If you perform the print job with
Borderless Printing
Method
set for either
Scale to fit the Page Size
or
Scale to fit Roll Paper Width
, some slight
deterioration in the quality of the image may occur
because the printer driver automatically sizes the
portions of the image that would otherwise overlap the
margins. If you select
Print Image with Actual Size
for the
Borderless Printing Method
, however, you
can perform print high-precision images with
borderless printing just as they are. Select this setting
when you need to print fine lines, photographs, or with
any image where the priority is on accuracy and
quality.
1
In the software application create an image
with borders (top, bottom, right, left) 3 mm
larger than the original document.
Note
z
Example: If the media size is JIS B2 (515 x 728 mm),
set the dimensions for the original as 521 x 734 mm.
z
If you are using MS-Word or another application,
before you create the original select
Page Setup
from
the
File
menu and select the page size and
orientation.
2
Open the printer driver dialog box from the
dialog box of the application.
Note
z
For more details about how to open the printer driver
dialog box, please refer to
“Printing”
in
Chapter 1
“Basic Procedures”
. (
→
P.1-40
)


