4- 7
Replacing Ink Tanks
TOP
Chapter 3
Printing Methods for
Different Objectives
Chapter 4
Maintaining the
Printer
Chapter 5
Using the Printer in a
Network Environ-
ment
Chapter 6
Troubleshooting
Chapter 7
Operation of the
Function Menus
Index
Contents
Chapter 2
Using a Variety of
Media
Chapter 1
Basic Procedures
6
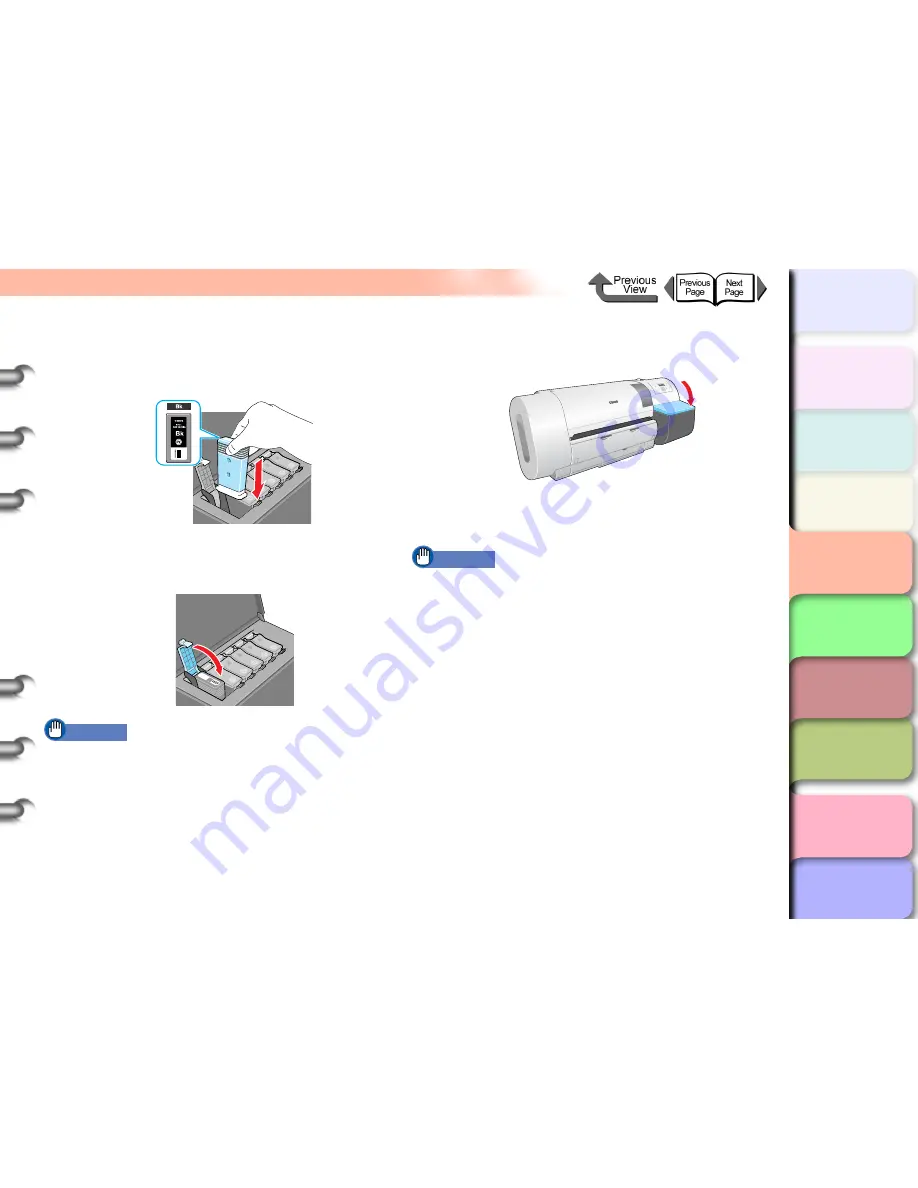
With the ink supply port facing down and the
label facing front as shown, insert the ink
tank into its holder.
7
Close the ink tank cover until you hear it
catch.
Important
z
The ink tanks are shaped so the cover will not close If
you set the wrong ink tank in a holder. If the ink tank
cover does not close, confirm that the color labels on
the holder match the color of the ink tank and the
direction of the ink tank.
8
To replace an ink tank of any other color,
repeat
Step 3
to
Step 7
.
9
When you finish replacing ink tanks, close
the right cover.
The printer returns to the
Online
or
Offline
mode.
Printing restarts if the
Rep. Ink Tank
message
displayed during a print job.
Important
z
If an ink tank has not been installed, then in the printer
display you will see a
Exxxx
error code in the top line
and the
No X Ink Tank
message in the bottom line. Go
to
Step 2
to correct this problem and make sure that all
the color ink tanks are installed.


