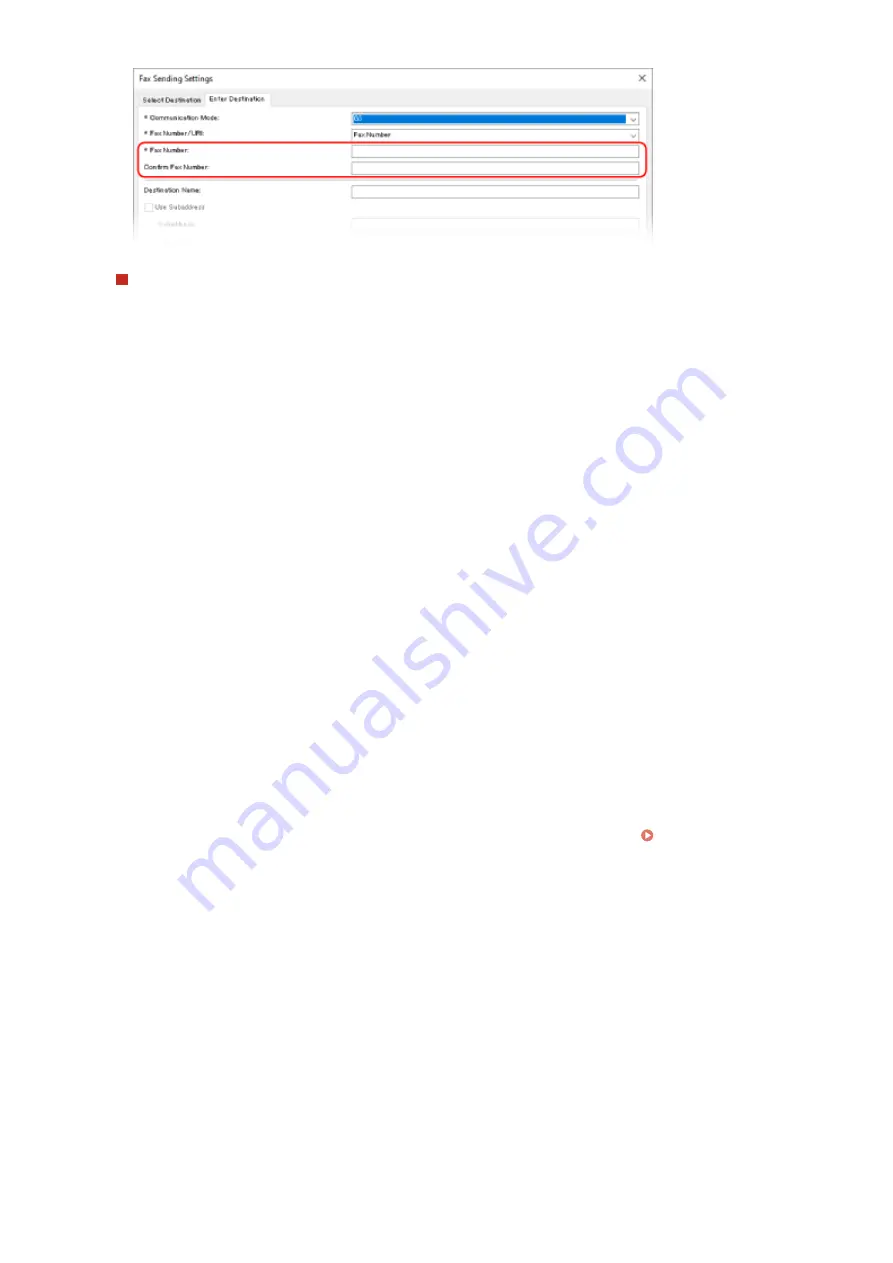
When Entering Multiple Fax Numbers
1
In [Select Destination] tab, click [Add Destination].
➠
The [Add Destination] screen is displayed.
2
Enter the destination name and fax number, and click [Add Next Destination].
When [Confirm Fax Number] can be entered, enter the same fax number.
3
Repeat Step 2, and after entering all destinations, click [OK].
5
Configure the cover sheet, the setting for saving the TX Job Log, and other fax
setting, as needed.
●
To configure the cover sheet details, click [Cover Sheet].
●
To save the TX Job Log to the computer, select the [Store Sent Fax Information and Image] checkbox.
●
For more information about the other fax settings, click [Help] on the [Fax Sending Settings] screen to display
help.
6
Click [Send].
➠
A screen confirming the send destination is displayed.
7
Check that the destination is correct, and click [OK].
➠
The fax is sent via the machine.
●
Use [Status Monitor] on the operation panel to view the sending status and log. Checking the Status and
Log for Sent and Received Faxes(P. 243)
●
When sending a fax with the [Store Sent Fax Information and Image] checkbox selected, you can view the log
also from the [Sent Fax Information and Image] tab of the fax driver.
◼
When Using macOS
1
Open the document you are sending on your computer.
2
In the application used to open the document, click [Print].
➠
The printing dialog box appears.
Faxing
234
Содержание imageCLASS MF273dw
Страница 1: ...imageCLASS MF275dw MF273dw MF272dw User s Guide USRMA 7868 00 2022 12 en Copyright CANON INC 2023 ...
Страница 66: ... Shared Key Encryption for WPA WPA2 TKIP AES CCMP IEEE 802 1X Authentication Setting Up 57 ...
Страница 90: ... The settings are applied Setting Up 81 ...
Страница 130: ...Basic Operations 121 ...
Страница 148: ...Paper with logo in landscape orientation Basic Operations 139 ...
Страница 153: ... You can change the paper size displayed on the screen in Step 3 Hiding Unused Paper Sizes P 147 Basic Operations 144 ...
Страница 172: ... The destination is specified If you entered an incorrect number press to clear the numbers Basic Operations 163 ...
Страница 225: ...If the job list screen is displayed select the job to cancel and press Yes Scanning 216 ...
Страница 285: ...If the job list screen is displayed select the job to cancel and press Cancel Yes Copying 276 ...
Страница 319: ...8 Log out from Remote UI Security 310 ...
Страница 444: ... Custom 2 Confirm Destination Scan PC Settings Menu Items 435 ...
Страница 490: ...Specify to increase the density and to reduce it Maintenance 481 ...
Страница 598: ...Manual Display Settings 94LS 0HR Appendix 589 ...


