Copyright 2020 Baker Hughes Company. All rights reserved.
Page 104 of 277
In most cases, the only changes required are the Modbus Address and the Baud rate. Set both
as needed to work with your SCADA system. Use the F1 and F5 function buttons to navigate
between fields. Use the Up and Down Arrow buttons to change values.
When complete, press the OK function button to return to the Other Initial Setup menu.
Press the Exit function button again to return to the Main Menu.
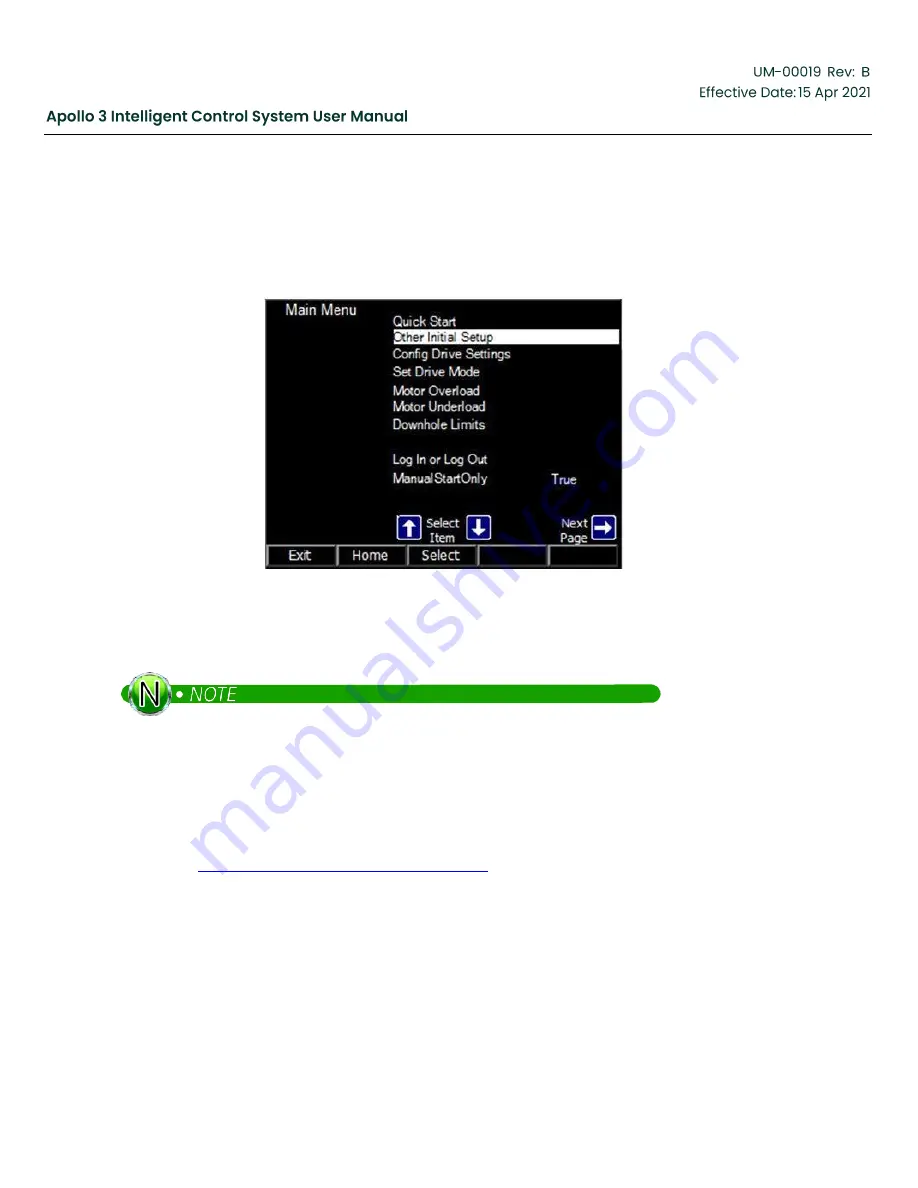
Figure 82: Main Menu
4.5
Configure Drive Settings
Note that you are probably well versed at highlighting an item on a menu and pressing Select
at this time. This manual will use the phrase
“Select xxx” to designate that the specified menu
entry should be highlighted using the up and down arrows and that the Select function button
should then be pressed.
Use the Drive Settings menu to configure parameters associated with low level drive (power module)
operations. Select Config Drive Settings from the Main Menu. The first page of the Drive Settings menu
is shown in
Figure 83: Drive Settings Screen, page 105
. This page contains the parameters that are
most often changed in an install.
Содержание Apollo 3
Страница 1: ...Copyright 2020 Baker Hughes Company All rights reserved Page 1 of 277...
Страница 46: ...Copyright 2020 Baker Hughes Company All rights reserved Page 46 of 277 Figure 20 Backspin Probes Drawing 2...
Страница 139: ...Copyright 2020 Baker Hughes Company All rights reserved Page 139 of 277 Figure 116 Murphy Switch Trigger Example 1...
Страница 266: ...Copyright 2020 Baker Hughes Company All rights reserved Page 266 of 277 Figure 227 USB Menu...
Страница 267: ......
Страница 276: ......
Страница 277: ...Index 129112 28 197705 28 197349 28 800638 28 197350 28 810280 28 197351 29...


