CHAPTER 13 Network
Mediant 4000 SBC | User's Manual
You can assign Ethernet ports to IP network interfaces. This is done by first configuring an Ethernet
Device with the required Ethernet Group containing the port or ports (see
). Then by assigning the Ethernet Device to the IP network interface in the IP
Interfaces table (see
Configuring IP Network Interfaces
). This enables physical separation of
network interfaces, providing a higher level of segregation of sub-networks. Equipment connected
to different physical ports is not accessible to one another; the only connection between them can
be established by cross connecting them with media streams (VoIP calls).
The port names (strings) displayed in the Ethernet Groups table represent the physical ports on the
device. For the mapping of these strings to the physical ports, see
●
If you want to assign a port to a different Ethernet Group, you must first remove the
port from its current Ethernet Group. To remove the port, configure the 'Member'
field so that no port is selected or select a different port.
●
Two different MAC addresses are assigned to the Ethernet ports: one to ports GE
1-4 (upper ports) and another to ports GE 5-8 (lower ports).
●
If you configure an Ethernet Group with two port members, the ports must belong to
the same MAC address (see note above - – both GE 1-4 or both GE 5-8). For
example, you can configure an Ethernet Group with ports 1 and 3, but not with ports
1 and 5.
●
Ports with the same MAC address (e.g., GE 1-4 ports) must each be connected to
a different Layer-2 switch.
●
When implementing 1+1 Ethernet port redundancy, each port in the Ethernet Group
(port pair) must be connected to a different switch (but in the same subnet).
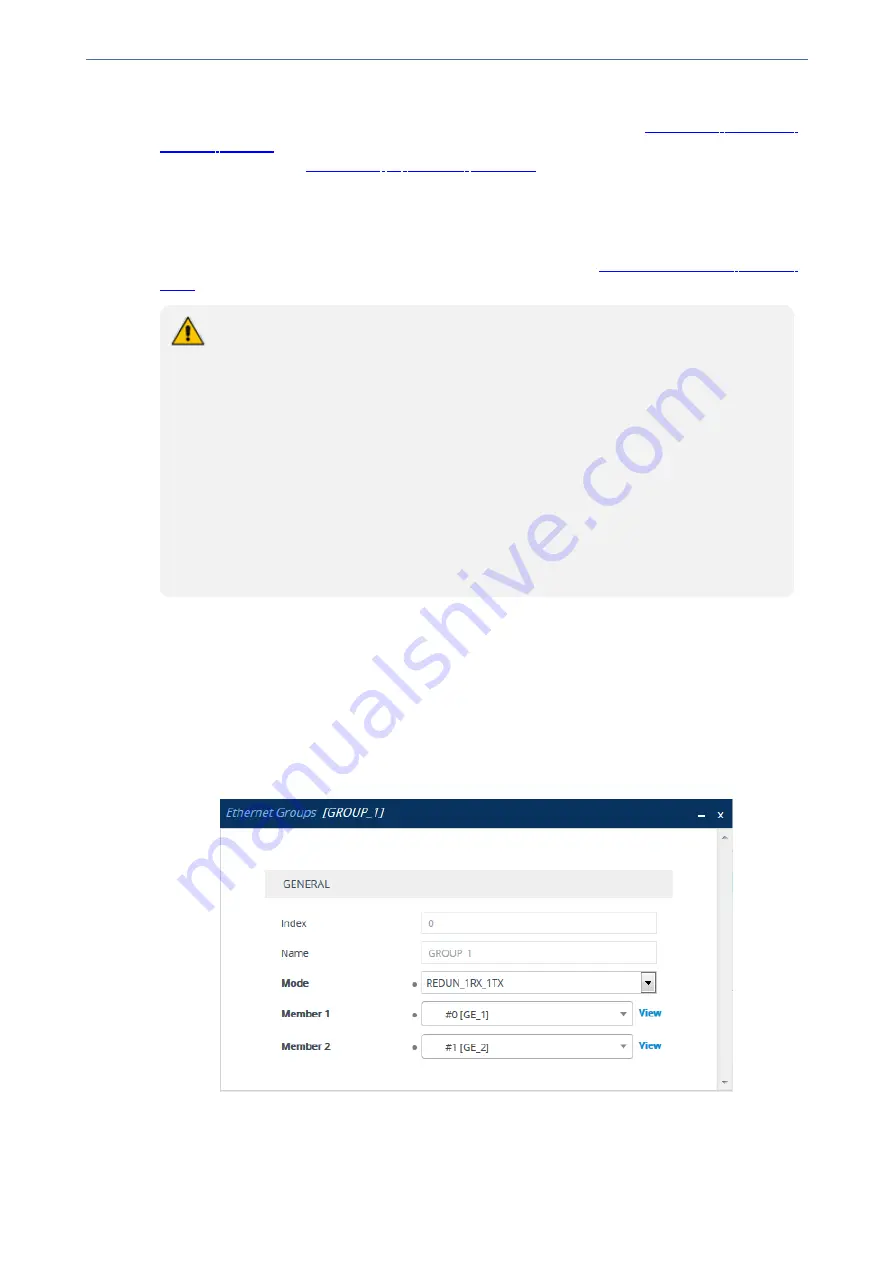
The following procedure describes how to configure Ethernet Groups through the Web interface.
You can also configure it through ini file [EtherGroupTable] or CLI (
configure
network
>
ether-group
).
➢
To configure Ethernet Groups:
1.
Open the Ethernet Groups table (
Setup
menu >
IP Network
tab >
Core Entities
folder >
Ethernet Groups
).
2.
Select the Ethernet Group that you want to configure, and then click
Edit
; the following dialog
box appears:
3.
Configure the Ethernet Group according to the parameters described in the table below.
4.
Click
Apply
, and then reset the device with a burn-to-flash for your settings to take effect.
- 92 -
Содержание Mediant 4000 SBC
Страница 1: ...User s Manual AudioCodes Series of Session Border Controllers SBC Mediant 4000 SBC Version 7 2...
Страница 40: ...Part I Getting Started with Initial Connectivity...
Страница 48: ...Part II Management Tools...
Страница 113: ...Part III General System Settings...
Страница 118: ...Part IV General VoIP Configuration...
Страница 525: ...Part V Session Border Controller Application...
Страница 654: ...Part VI Cloud Resilience Package...
Страница 663: ...Part VII High Availability System...
Страница 685: ...Part VIII Maintenance...
Страница 759: ...Part IX Status Performance Monitoring and Reporting...
Страница 844: ...Part X Diagnostics...
Страница 888: ...Part XI Appendix...
Страница 1036: ...This page is intentionally left blank CHAPTER 62 Technical Specifications Mediant 4000 SBC User s Manual 1003...


