73
WC651A
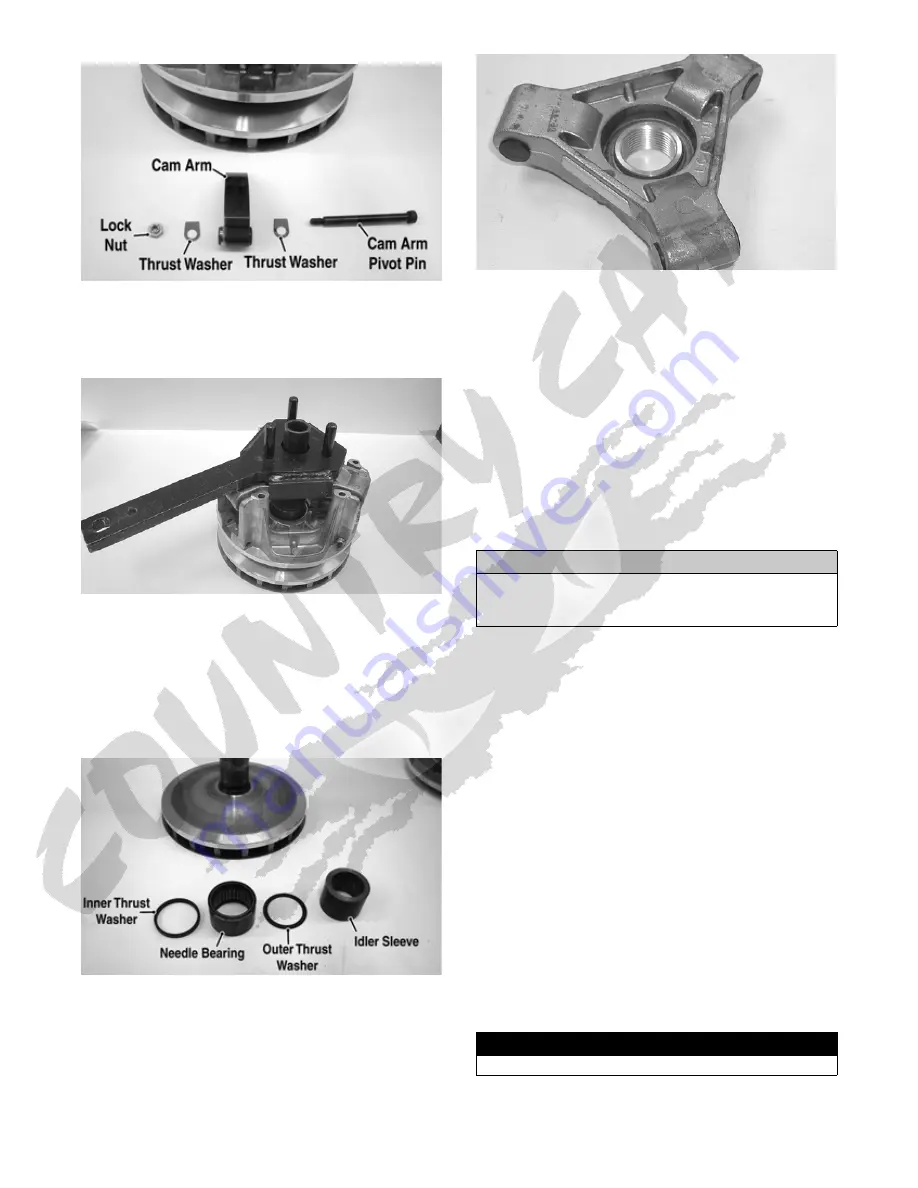
6. Using a small torch, heat the threaded area of the spi-
der. Place an appropriate spider removal tool over the
heated spider and break the spider loose by turning it
clockwise (left-hand threads).
WC650
NOTE: Applying heat to the spider threaded area
will aid in clutch disassembly. The heat will loosen
the Loctite used during assembly.
7. Remove the drive clutch from the clutch holder.
8. Remove the spider, idler sleeve, needle bearing, and
thrust washers from the fixed drive sheave hub.
WC647A
NOTE: The spider is a non-serviceable component.
If damaged or worn parts are found, the clutch
assembly must be replaced.
MS405
Cleaning and Inspecting
NOTE: If any components other than flyweights, pins,
spring, needle bearings, rollers, and thrust washers are
damaged or worn, clutch replacement is necessary.
1. Using parts-cleaning solvent, wash grease, dirt, and
foreign matter off all components; dry with com-
pressed air.
NOTE: If the needle bearing is washed, re-pack the
bearing with hi-temp molybdenum wheel bearing grease.
2. Remove any drive belt dust accumulation from the
stationary sheave, movable sheave, and bushings
using parts-cleaning solvent only.
3. Inspect stationary sheave, movable sheave, spider, and
cover for cracks or imperfections in the casting.
4. Inspect the cam arm pins for wear or bends.
5. Inspect the bushing in the cover for wear, damage, or
cracks.
6. Inspect the bushing in the movable sheave for wear,
damage, or cracks.
7. Inspect the spring for cracking or twisting.
8. Inspect all threaded areas for any cracked or stripped
threads.
9. Inspect the roller bushings for damage or fraying.
10. Inspect the needle bearings for missing needles or torn
or missing seals.
11. Inspect the stationary sheave and shaft for damage or
wear.
Assembling
NOTE: Steps 1-6 are for models with a shift stop
only. For models with a nut, proceed to step 7.
CAUTION
Do not use steel wool or a wire brush to clean compo-
nents having a bushing; damage to the bushing will
result.
! WARNING
Never reuse the lock nuts on the cam arm pins.


