15
PR242
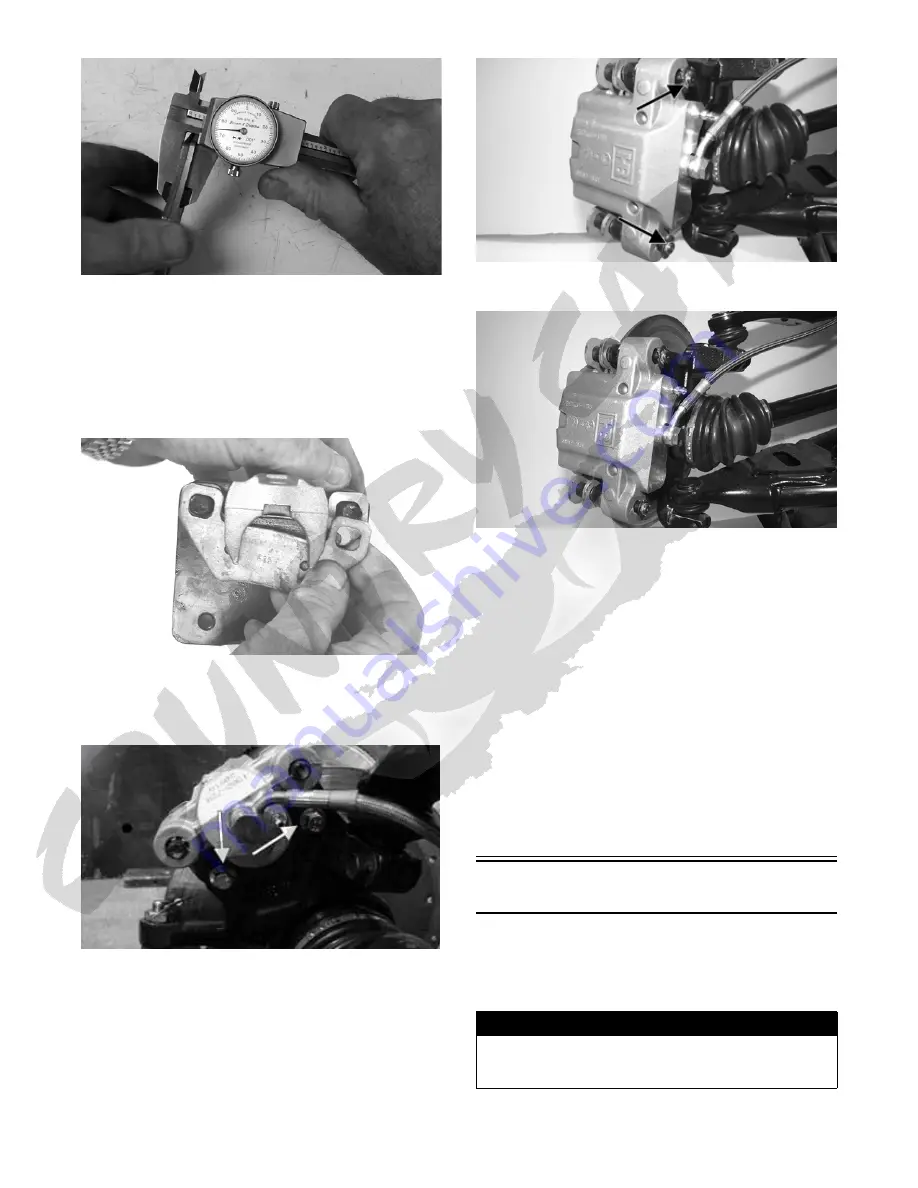
3. If thickness of either brake pad is less than 1.0 mm
(0.039 in.), the brake pads must be replaced.
NOTE: The brake pads should be replaced as a set.
4. To replace the rear brake pads, use the following procedure.
A. Remove the cap screws securing the caliper holder to
the knuckle; then remove the pads from the caliper.
PR237
B. Install the new brake pads.
C. Secure the caliper holder to the knuckle with new
“
patch-lock
”
cap screws. Tighten to 20 ft-lb.
WC268A
5. To replace the front brake pads, use the following pro-
cedure.
A. Remove the E-clips from the inboard end of the
caliper anchor bolts; then remove the anchor bolts
from the knuckle.
WC611A
B. Remove the caliper and pads from the vehicle.
WC610
NOTE: It will be necessary to retract the pistons to
accommodate new pads. It may be necessary to open
the bleed screw slightly.
C. Install the new brake pads; then secure the caliper
and pads to the knuckle with the anchor bolts.
Tighten to 35 ft-lb and install the E-clips.
6. Install the wheel; then using a crisscross pattern,
tighten the wheel nuts in 20 ft-lb increments to a final
torque of 80 ft-lb.
7. Burnish the brake pads.
BRAKE DISC
Using a micrometer, measure the thickness of the brake
disc in the contact surface. If thickness is 0.125-in. or less,
the disc must be replaced. To replace the brake disc, see
Drive System – Hub.
Burnishing Brake Pads
Brake pads must be burnished to achieve full braking
effectiveness. Braking distance will be extended until
brake pads are properly burnished. To properly burnish the
brake pads, use the following procedure.
1. Choose an area large enough to safely accelerate the
vehicle to 30 mph and to brake to a stop.
! WARNING
Failure to properly burnish the brake pads could lead to
premature brake pad wear or brake loss. Brake loss can
result in severe injury.


