


A Quick reference
BenchCel Diagnostics - Labware tab
174
BenchCel Microplate Handler User Guide
Sensors area
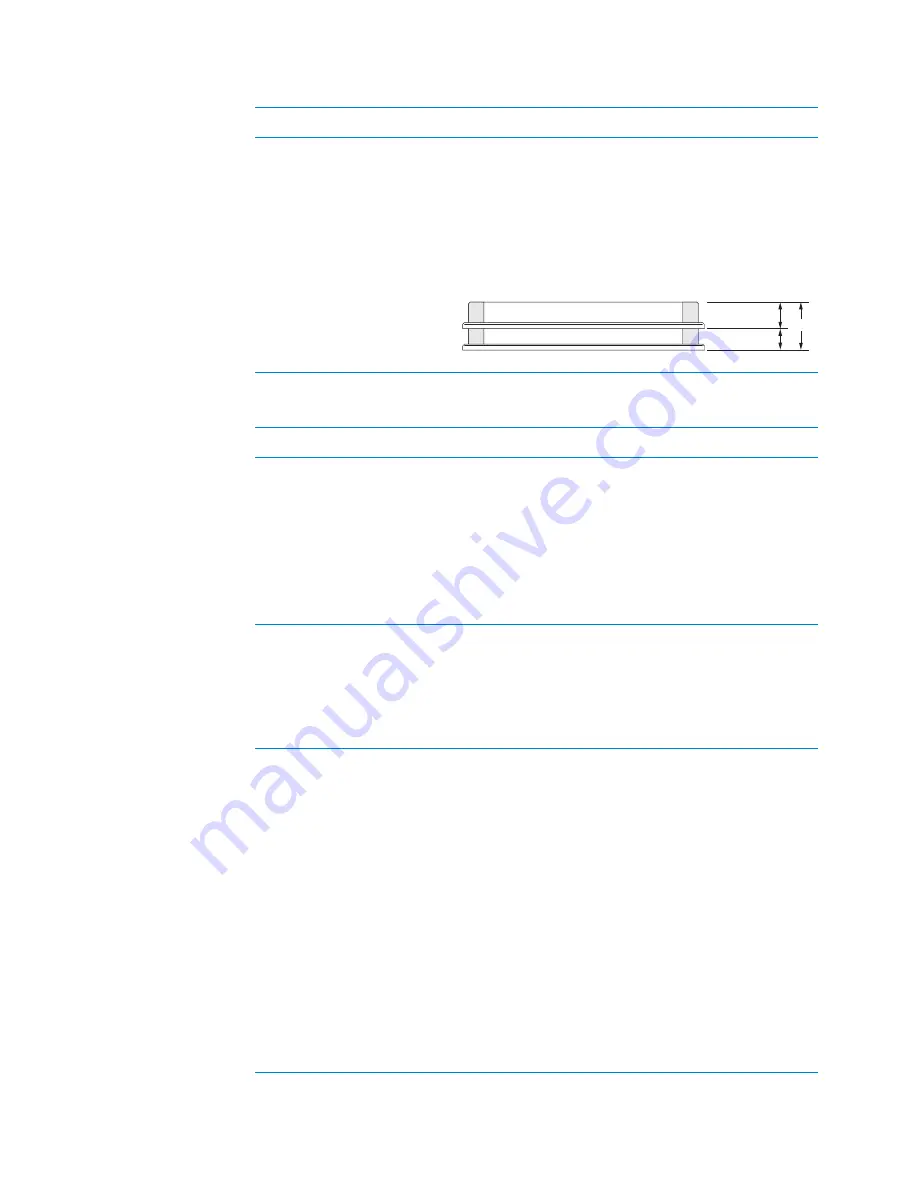
Stacking thickness
The thickness (mm) of two stacked plates minus the
thickness of one plate.
For example:
Thickness of two stacked plates (
x
) = 23.14 mm
Thickness of one plate = 14.14 mm
Stacking thickness: 23.14 mm - 14.14 mm = 9.00 mm
Parameters
Description
Orientation threshold
The value that determines the presence of a
microplate notch. A notch is present if the value is
below this value. If the sensor value is above this
threshold, no notch is reported.
To check the sensors and for adjustment guidelines,
see
“Setting sensor thresholds” on page 99
.
Note:
The setting is also available in the Jog/Teach
tab.
Plate presence threshold
The value that determines if a microplate is detected.
Any value equal to or greater than the threshold
means a microplate is present. A lesser value means
there is no microplate.
Note:
The setting is also available in the Jog/Teach
tab.
Intensity (all sensors)
The intensity of the emitting sensor light. The value is
a percent of the maximum intensity.
Default: 50%.
Some microplates are more reflective than others.
Increase the intensity if microplate sensor readings
are too low (not significantly higher than the
corresponding threshold value) when either a
microplate is present, or a notch is absent.
Note:
This setting applies to the plate-presence
sensor, orientation sensor, and the rack-presence
sensor.
Changing this setting affects the sensor readings of
the four orientation sensors. Always adjust the
intensity and threshold values together. To check the
sensors and for adjustment guidelines, see
.
Parameters
Description
Vstack
plate a
n
d stacki
n
g thick
n
ess
00022
Plate Thick
n
ess
Stacki
n
g Thick
n
ess
x
00022


