113
3D Systems, Inc
.
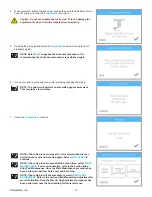
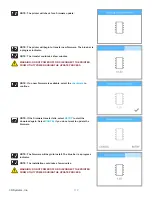
4 . When prompted, press and release the
power button
and wait until the display
turns on .
NOTE: It may take a minute for the display to turn on .
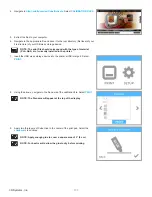
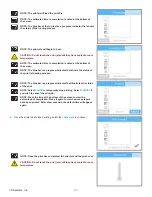
5 . Perform the Auto Level and Auto Gap procedures .
NOTE: For more information, refer to the section titled
Print Pad
Calibration
.
REPACKING THE PRINTER
If the printer should ever need to be transported, the printer must be properly repackaged using the original packaging materials . If
you no longer have your original packaging materials, contact cubifysupport@cubify .com for assistance in obtaining the appropriate
packaging materials .
NOTE: Material cartridges should be properly removed from the printer before the printer is repacked .
1 . Power off the printer by pressing and holding the button next to the touchscreen
display .
2 . Disconnect the power cord from utility power and disconnect the cord from the
power supply .
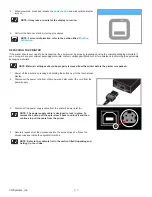
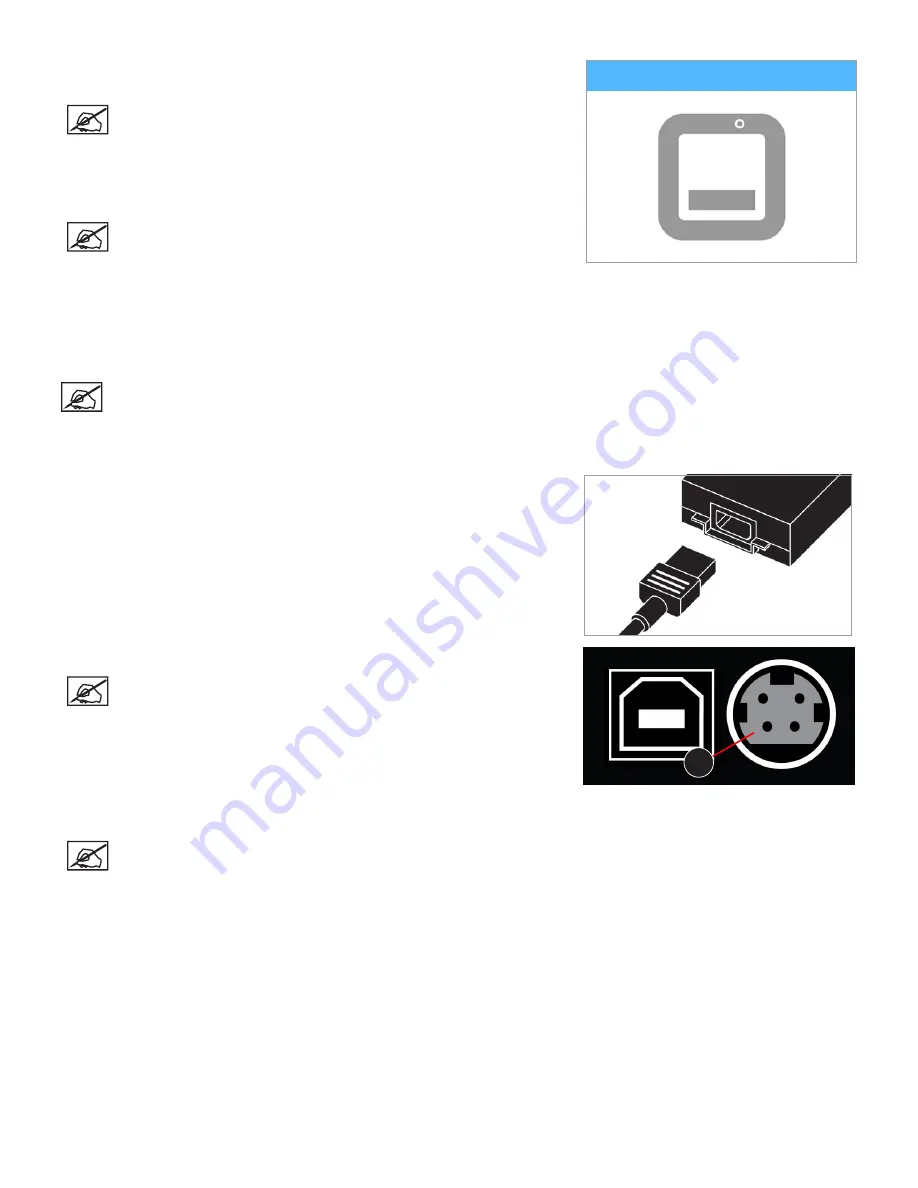
3 . Disconnect the power supply cable from the printer’s power inlet (A) .
NOTE: The power supply cable is designed to lock in place . To
remove the cable, pull the outer sleeve back to unlock it and then
continue to pull the cable from the printer .
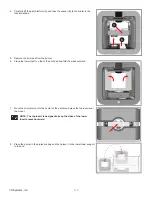
4 . Securely repack all of the accessories into the accessories box . Place the
accessories box inside the original printer box .
NOTE: Refer to the contents list in the section titled Unpacking and
Setting Up Your Cube .
A
Содержание CUBE
Страница 1: ...Cube Personal 3D Printer User Guide Original Instructions 3rd Generation ...
Страница 42: ...38 3D Systems Inc 4 Enter Cubify in the search box 5 Select the Cubify application and install it ...
Страница 59: ...55 3D Systems Inc Information Select Information A to view the printer status A ...
Страница 72: ...68 3D Systems Inc Change Views Select Change Views and then select the camera viewing angle ...
Страница 78: ...74 3D Systems Inc 1 Select an item from My Shelf 2 Select Print Now ...

