10
3D Systems, Inc
.
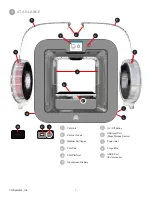
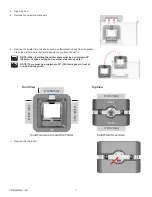
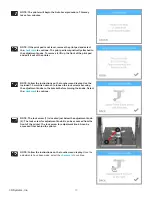
4 . Fold the sides inward and remove the lower insert from the printer .
5 . Manually raise the print platform (A) and remove the spacer (B) from the printer .
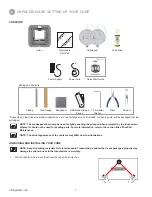
6 . Open the accessories box and unpack the material cartridge(s)*, the USB mass
storage device, the power supply and cord, and the bottle of Cube Glue .
NOTE: Keep all packing materials for future repacking .
NOTE: *Depending on your configuration, you may receive 1 or 2
cartridges with your printer .
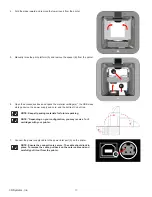
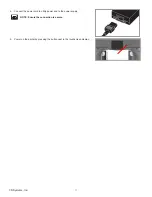
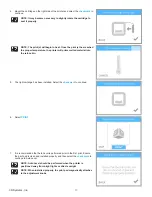
7 . Connect the power supply cable to the power inlet port (A) on the printer .
NOTE: Ensure the connection is secure . The cable should lock in
place . To remove the cable, pull back on the outer cable end and
carefully pull it out from the printer .
A
A
B
Содержание CUBE
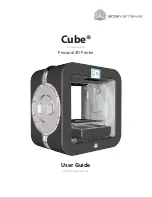
Страница 1: ...Cube Personal 3D Printer User Guide Original Instructions 3rd Generation ...
Страница 42: ...38 3D Systems Inc 4 Enter Cubify in the search box 5 Select the Cubify application and install it ...
Страница 59: ...55 3D Systems Inc Information Select Information A to view the printer status A ...
Страница 72: ...68 3D Systems Inc Change Views Select Change Views and then select the camera viewing angle ...
Страница 78: ...74 3D Systems Inc 1 Select an item from My Shelf 2 Select Print Now ...

