100
3D Systems, Inc
.
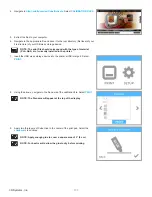
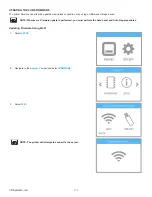
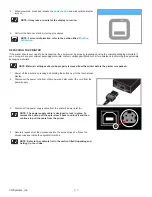
4 . Navigate to
http://cubify .com/en/Cube/Activate
. Select
CALIBRATION FILES
.
5 .
Extract the files to your computer.
6 .
Navigate to the appropriate file and save it to the root directory (first level of your
file structure) of your USB mass storage device.
NOTE: The print file should correspond with the type of material
(PLA, ABS, etc .) currently installed in the printer .
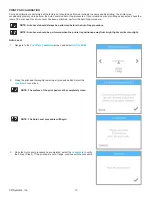
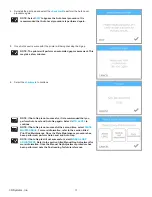
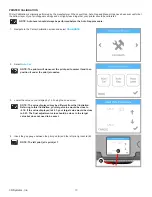
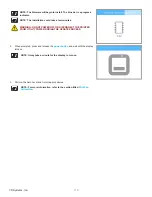
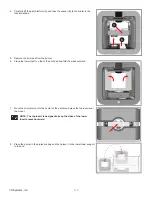
7 . Insert the USB mass storage device into the printer’s USB inlet port . Select
.
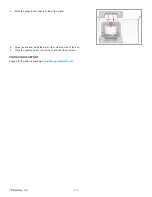
8 .
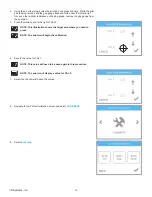
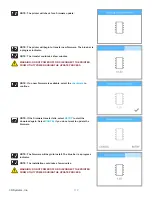
Using the arrows, navigate to the file name of the calibration file. Select
.
NOTE: The file name will appear at the top of the display.
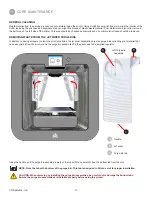
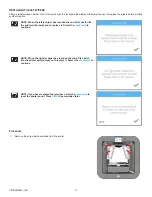
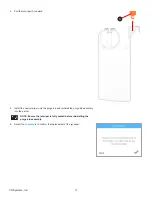
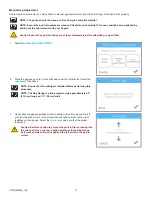
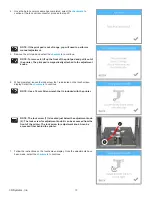
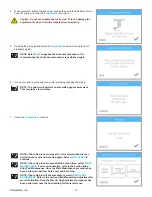
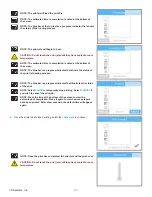
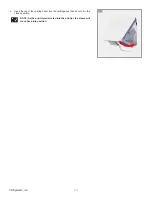
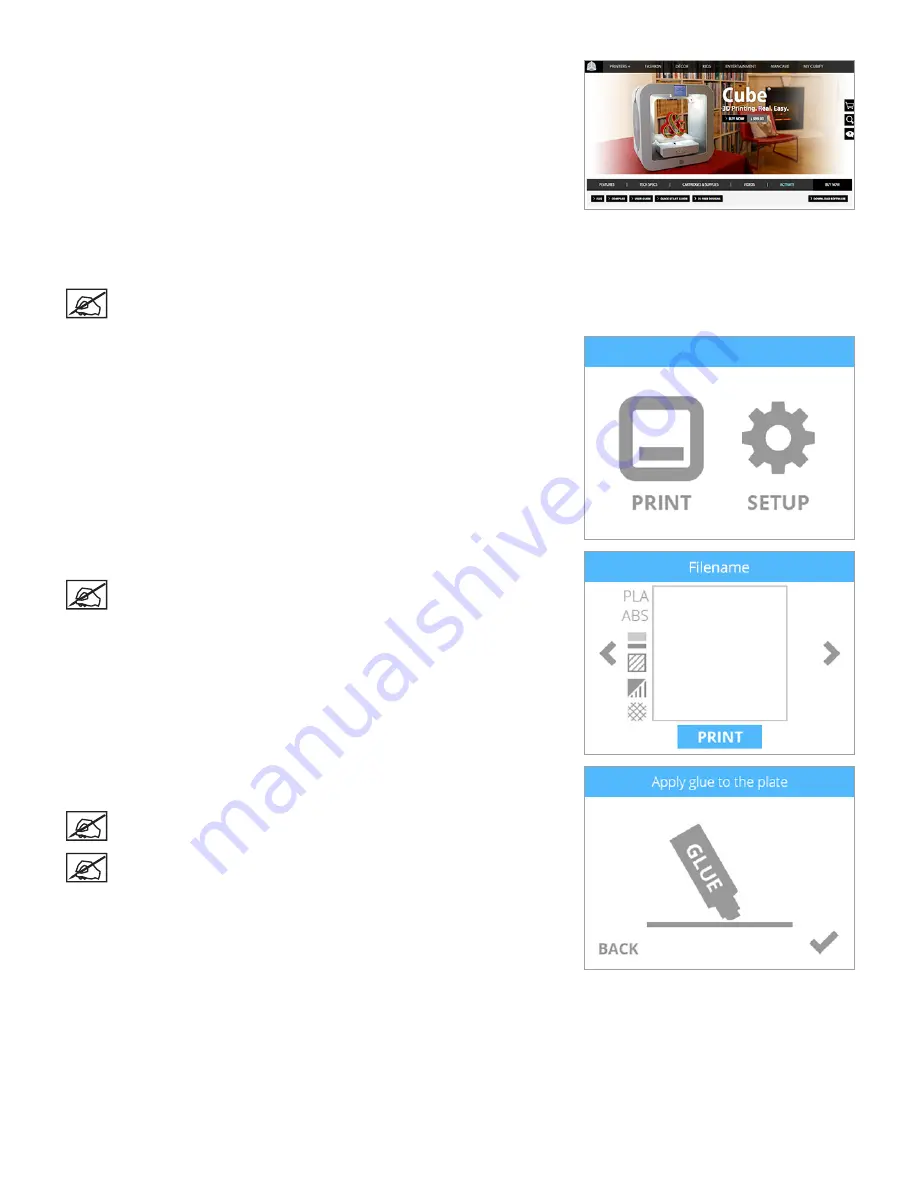
9 . Apply two thin layers of Cube Glue to the center of the print pad . Select the
checkmark
to continue .
NOTE: Apply enough glue to cover a square area of 3” (8 cm) .
NOTE: For best results, allow the glue to dry before printing .
Содержание CUBE
Страница 1: ...Cube Personal 3D Printer User Guide Original Instructions 3rd Generation ...
Страница 42: ...38 3D Systems Inc 4 Enter Cubify in the search box 5 Select the Cubify application and install it ...
Страница 59: ...55 3D Systems Inc Information Select Information A to view the printer status A ...
Страница 72: ...68 3D Systems Inc Change Views Select Change Views and then select the camera viewing angle ...
Страница 78: ...74 3D Systems Inc 1 Select an item from My Shelf 2 Select Print Now ...

