81
3D Systems, Inc
.
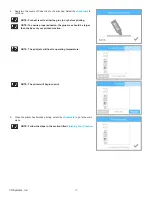
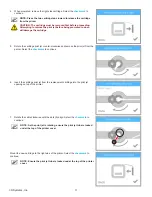
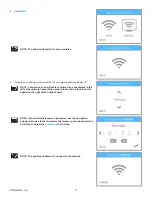
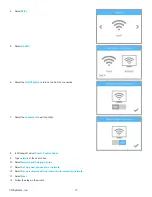
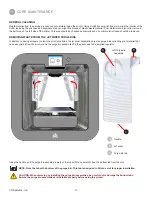
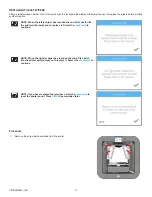
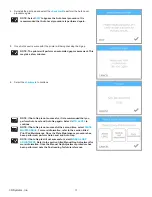
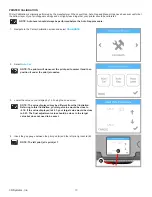
4 . When prompted, remove the right side cartridge . Select the
checkmark
to
continue .
NOTE: Press the two cartridge tabs inward to release the cartridge
from the printer .
CAUTION: The cartridge must be removed first before proceeding.
Attempting to remove the print jet before being prompted to do so
will damage the cartridge .
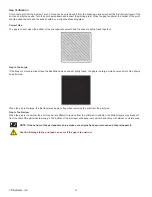
5 . Rotate the cartridge print jet counter-clockwise and remove the print jet from the
printer . Select the
checkmark
to continue .
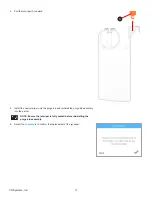
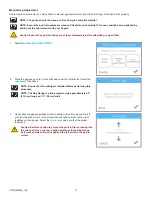
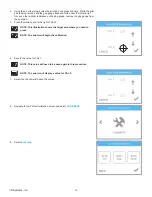
6 . Insert the cartridge print jet from the replacement cartridge into the print jet
opening on top of the printer .
7 . Rotate the cable clockwise until the dots (A) align . Select the
checkmark
to
continue .
NOTE: As the print jet is rotating, ensure the print jet tube is tucked
under the top of the printer cover .
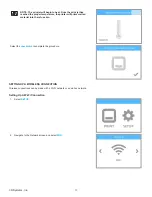
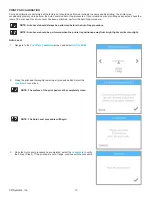
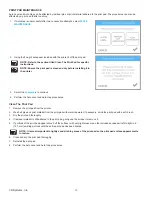
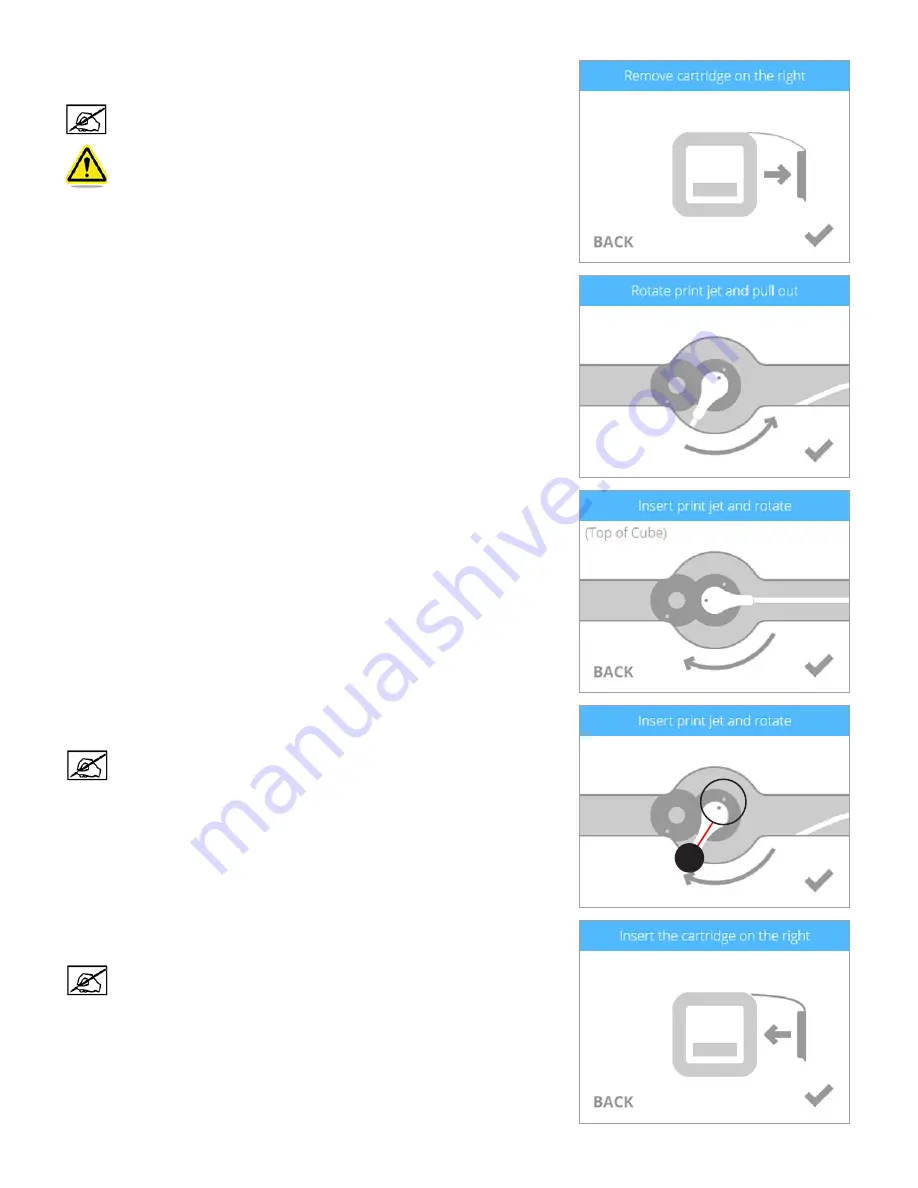
Mount the new cartridge to the right side of the printer . Select the
checkmark
to
continue .
NOTE: Ensure the print jet tube is tucked under the top of the printer
cover .
A
Содержание CUBE
Страница 1: ...Cube Personal 3D Printer User Guide Original Instructions 3rd Generation ...
Страница 42: ...38 3D Systems Inc 4 Enter Cubify in the search box 5 Select the Cubify application and install it ...
Страница 59: ...55 3D Systems Inc Information Select Information A to view the printer status A ...
Страница 72: ...68 3D Systems Inc Change Views Select Change Views and then select the camera viewing angle ...
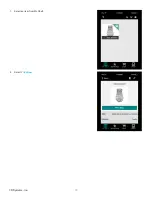
Страница 78: ...74 3D Systems Inc 1 Select an item from My Shelf 2 Select Print Now ...

