18
3D Systems, Inc
.
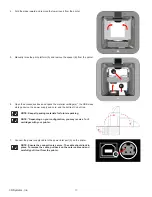
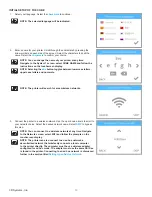
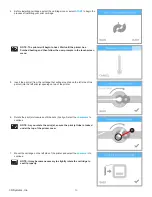
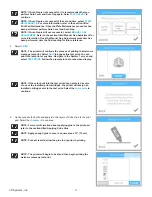
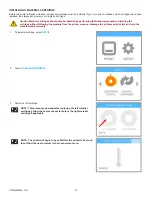
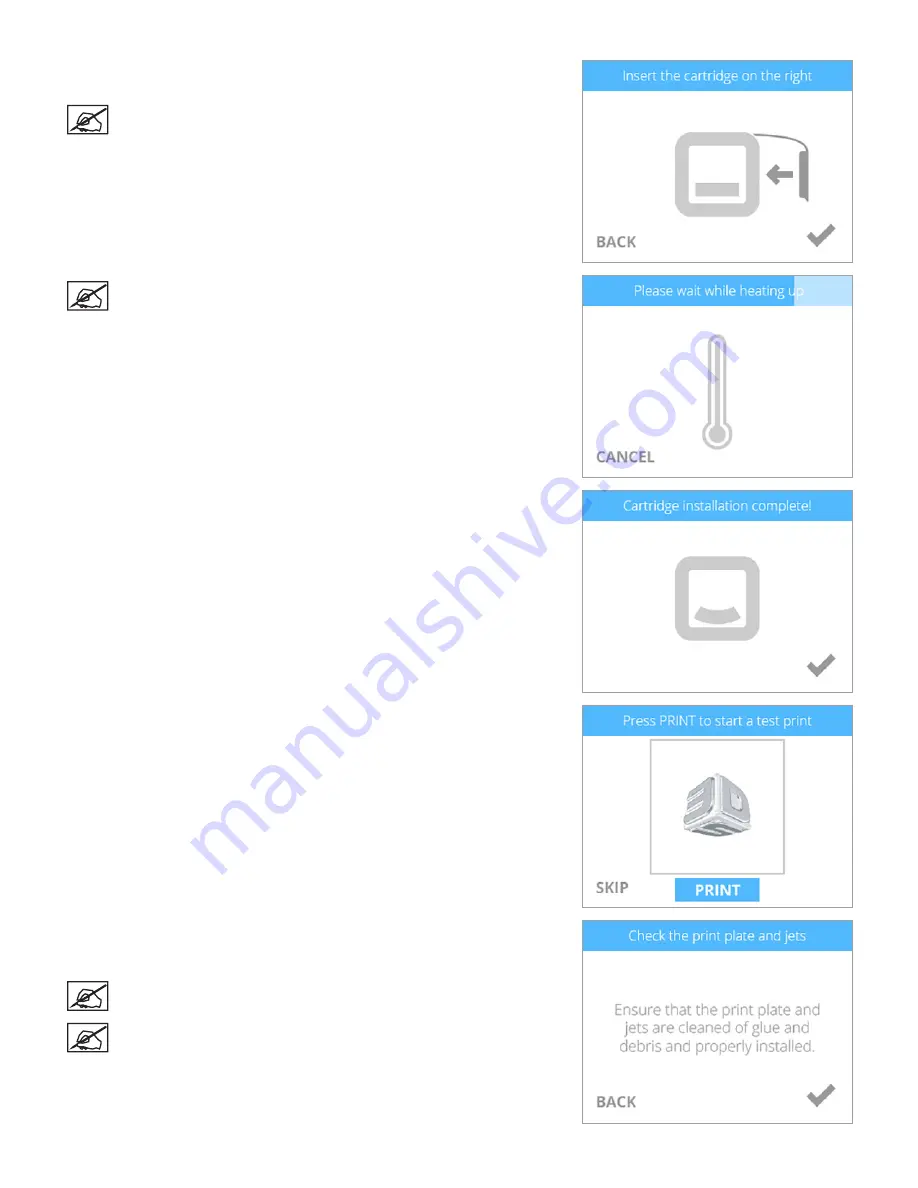
4 . Mount the cartridge on the right side of the printer and select the
checkmark
to
continue .
NOTE: It may become necessary to slightly rotate the cartridge to
seat it properly .
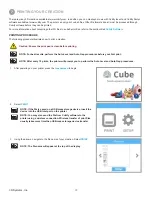
NOTE: The print jet will begin to heat . Once the print jet has reached
the proper temperature, the printer will prime melted material into
the refuse bin .
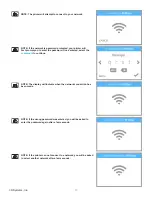
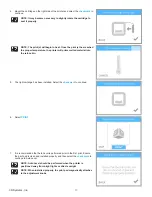
5 . The right cartridge has been installed . Select the
checkmark
to continue .
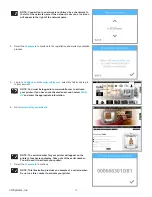
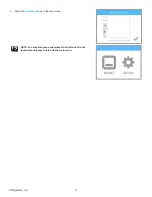
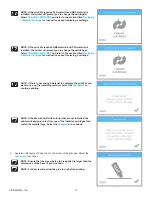
6 . Select
.
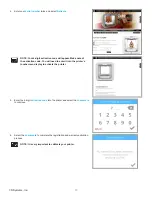
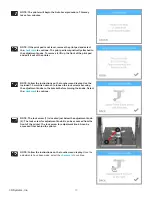
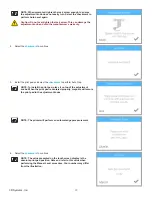
7 .
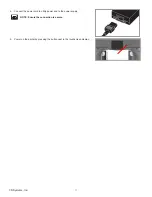
It is recommended that Auto Level is performed prior to the first print. Ensure
the print pad is clean and installed properly and then select the
checkmark
to
continue to Auto Level .
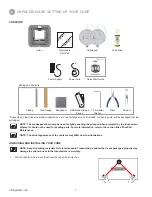
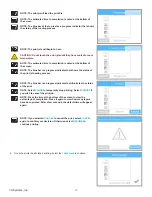
NOTE: Auto Level should be performed when the printer is
positioned away from bright lights or direct sunlight .
NOTE: When installed properly, the print pad magnetically attaches
to the adjustment knobs .
Содержание CUBE
Страница 1: ...Cube Personal 3D Printer User Guide Original Instructions 3rd Generation ...
Страница 42: ...38 3D Systems Inc 4 Enter Cubify in the search box 5 Select the Cubify application and install it ...
Страница 59: ...55 3D Systems Inc Information Select Information A to view the printer status A ...
Страница 72: ...68 3D Systems Inc Change Views Select Change Views and then select the camera viewing angle ...
Страница 78: ...74 3D Systems Inc 1 Select an item from My Shelf 2 Select Print Now ...

