


96
3D Systems, Inc
.
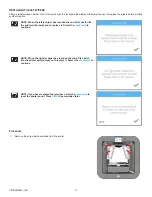
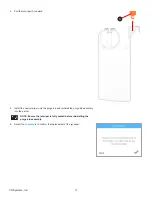
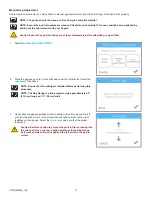
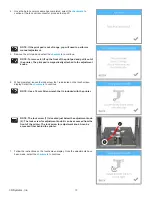
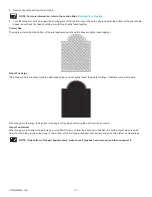
4 . Using the up arrow, slowly raise the print pad one press at a time . While the print
pad is being raised, slide the gap gauge back and forth under the left print jet .
Once you feel a slight resistance on the gap gauge, remove the gap gauge from
the print pad .
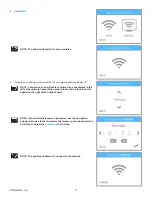
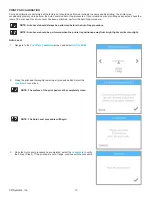
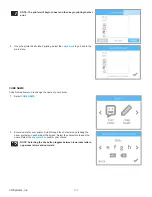
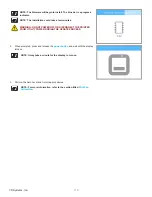
5 . Press the white space to the right of CAL 2: .
NOTE: This illustration shows the target area where you need to
press .
NOTE: The printer will begin the calibration .
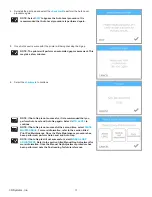
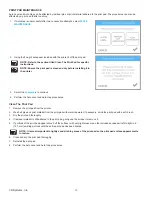
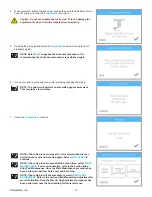
6 . Record the value for CAL 1: .
NOTE: This value will need to be used again in this procedure .
NOTE: The printer will display a value for CAL 2: .
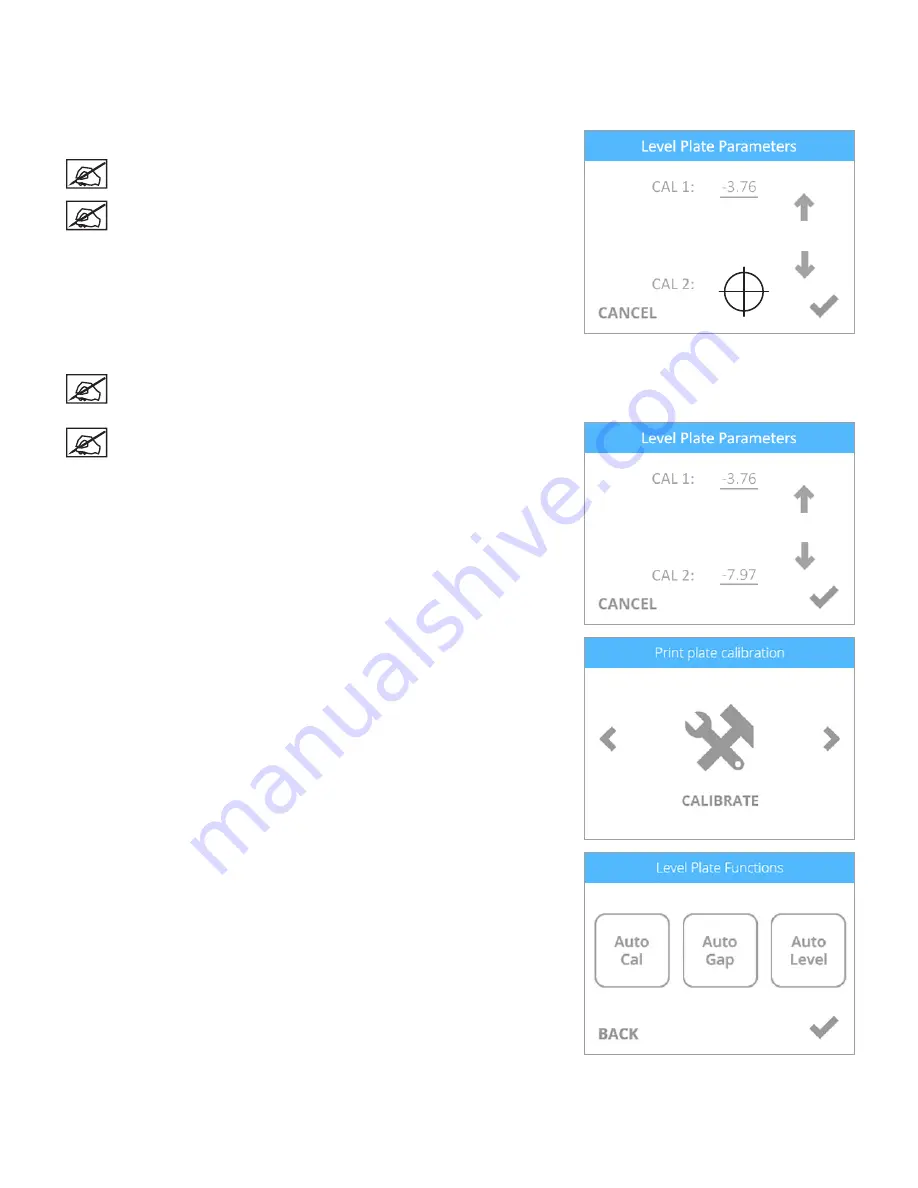
7 . Select the checkmark to save the values .
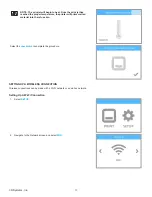
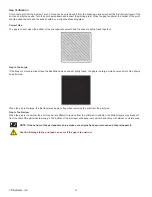
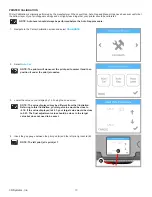
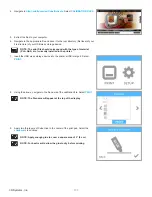
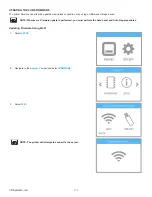
8 . Navigate to the Printer Calibration screen and select
CALIBRATE
.
9 . Select
Auto Gap
.
Содержание CUBE
Страница 1: ...Cube Personal 3D Printer User Guide Original Instructions 3rd Generation ...
Страница 42: ...38 3D Systems Inc 4 Enter Cubify in the search box 5 Select the Cubify application and install it ...
Страница 59: ...55 3D Systems Inc Information Select Information A to view the printer status A ...
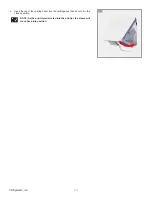
Страница 72: ...68 3D Systems Inc Change Views Select Change Views and then select the camera viewing angle ...
Страница 78: ...74 3D Systems Inc 1 Select an item from My Shelf 2 Select Print Now ...