99
3D Systems, Inc
.
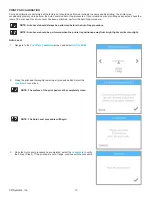
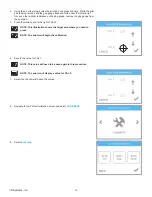
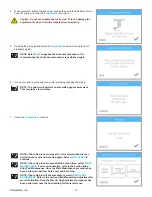
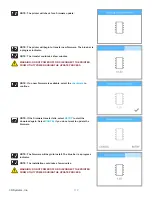
4 . When prompted, tighten the lock screw enough to ensure the adjustment knob
does not easily turn . Select the
checkmark
to continue .
Caution: Do not over-tighten the lock screw . This can damage the
adjustment knob and void the manufacturer’s warranty.
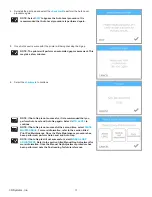
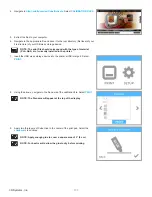
5 . Reinstall the print pad and select the
checkmark
to perform the Auto Level
procedure again .
NOTE: Select
SKIP
to bypass the Auto Level procedure . It is
recommended that Auto Level procedure is performed again .
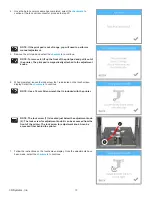
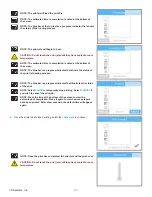
6 . Once Auto Level is successful, the printer will being checking the Z-gap .
NOTE: The printer will perform an automated gap measurement .
This may take a few minutes .
7 . Select the
checkmark
to continue .
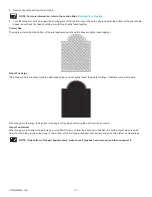
NOTE: If Auto Gap is not successful, it is recommended that you
perform Auto Level and Auto Gap again . Select
AUTO LEVEL
to
continue .
NOTE: If Auto Gap is not successful the second time, select
PLATE
MAINTENANCE
. For more information, refer to the section titled
Print Pad Maintenance . Once the Plate Maintenance procedure has
been performed, perform Auto Level and Auto Gap .
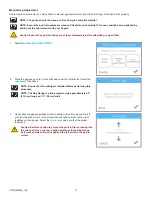
NOTE: If Auto Gap is still not successful, select
MANUAL GAP
ADJUSTMENT
. Refer to the section titled Manual Gap Adjustment for
more information . Once the Manual Gap Adjustment procedure has
been performed, note the final reading for future reference.
Содержание CUBE
Страница 1: ...Cube Personal 3D Printer User Guide Original Instructions 3rd Generation ...
Страница 42: ...38 3D Systems Inc 4 Enter Cubify in the search box 5 Select the Cubify application and install it ...
Страница 59: ...55 3D Systems Inc Information Select Information A to view the printer status A ...
Страница 72: ...68 3D Systems Inc Change Views Select Change Views and then select the camera viewing angle ...
Страница 78: ...74 3D Systems Inc 1 Select an item from My Shelf 2 Select Print Now ...

