94
3D Systems, Inc
.
PRINT PAD MAINTENANCE
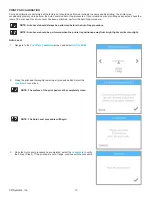
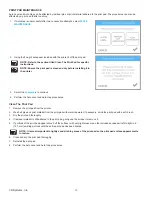
Auto Level and Auto Gap can be affected by residual glue or print material adhered to the print pad . The procedures can also be
affected by a print pad that is too shiny .
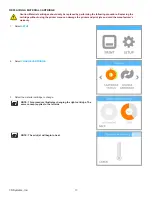
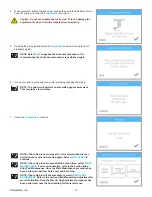
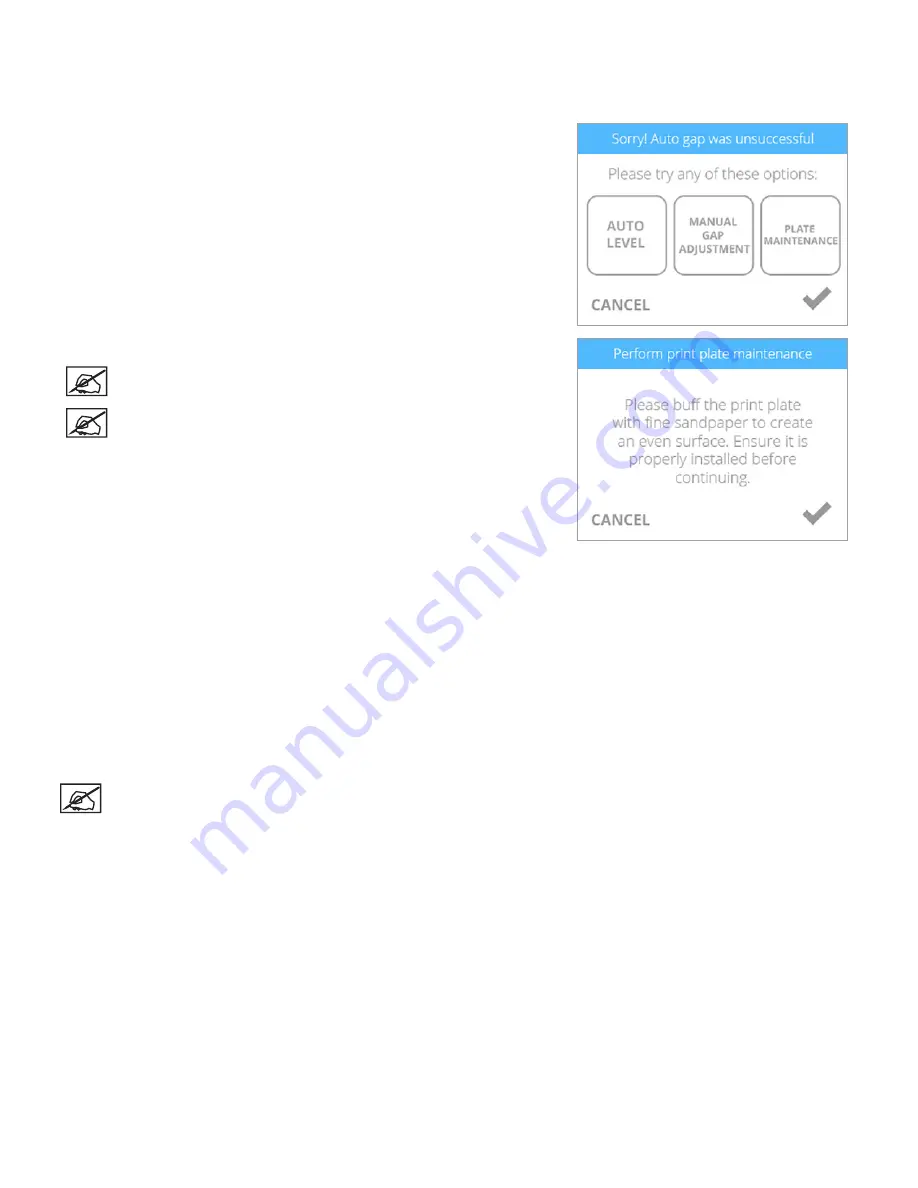
1 . If Auto Gap is unsuccessful after two consecutive attempts, select
PLATE
MAINTENANCE
.
2 .
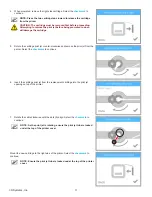
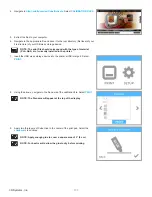
Using the fine-grit sandpaper included with the printer, buff the print pad.
NOTE: Refer to the section titled Clean The Print Pad for specific
instructions .
NOTE: Ensure the print pad is clean and dry before installing it in
the printer .
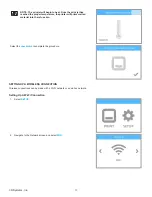
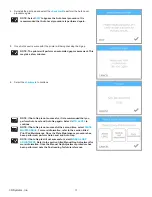
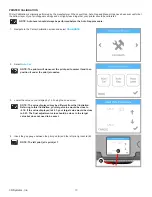
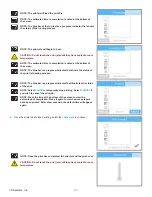
3 . Select the
checkmark
to continue .
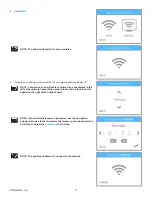
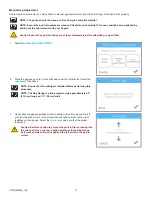
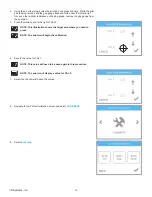
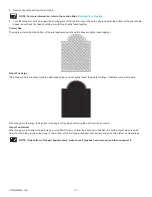
4 . Perform the Auto Level and Auto Gap procedures .
Clean The Print Pad
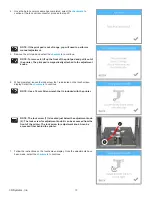
1 . Remove the print pad from the printer .
2 . Wash all glue and print material from the print pad with warm tap water . If necessary, scrub the print pad with a soft brush .
3 . Dry the print pad thoroughly .
4 . If residual material is still adhered to the print pad, gently use the scraper to remove it .
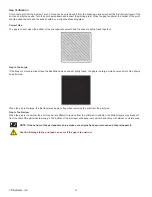
5 . If portions of the print pad appear shiny, buff the surface (with very light pressure on the included sandpaper) left-to-right in .5”
(12 .7 mm) swirling motions until the entire print pad has been treated .
NOTE: It is most important to lightly sand all shiny areas of the print pad so the print pad surface appears matte
in texture .
6 . Clean and dry the print pad thoroughly .
7 . Reinstall the print pad .
8 . Perform the Auto Level and Auto Gap procedures .
Содержание CUBE
Страница 1: ...Cube Personal 3D Printer User Guide Original Instructions 3rd Generation ...
Страница 42: ...38 3D Systems Inc 4 Enter Cubify in the search box 5 Select the Cubify application and install it ...
Страница 59: ...55 3D Systems Inc Information Select Information A to view the printer status A ...
Страница 72: ...68 3D Systems Inc Change Views Select Change Views and then select the camera viewing angle ...
Страница 78: ...74 3D Systems Inc 1 Select an item from My Shelf 2 Select Print Now ...

