


Information Bar
The Information Bar contains operating
help text, tracking, topset and lock
indicators, memory meter and clock.
The operating help text relates to the
current position of the cursor on the
main screen or popup window
displayed on the monitor.
When Tracking is enabled, “TRK” is
displayed in the Information Bar.
When Topset has been adjusted,
“TOP” is displayed in the Information
Bar.
When the desk is locked, a padlock
icon is displayed in the Information
Bar.
The Memory Meter indicates the
number of memory blocks left (see
chapter 5 for further details).
The clock field shows the current time
and date. The time is in 24 hour format
and the date in dd/mm/yy format.
Mouse Interface
A mouse interface is available for use
on all the monitor screens (Setup,
Memories etc.)
The mouse must be plugged in before
the desk is switched on.
Activating screen buttons and selecting
fields in data tables can be achieved
using the mouse pointer and left
mouse button.
On fields where several options are
available (eg. memory type, direction
etc.) left clicking in the field will scroll
through the available options.
Where appropriate, right clicking on a
selected item or window will bring up a
menu of options.
This allows certain functions (eg.
programming memories) to be done
entirely using the mouse and external
keyboard, if preferred. See the relevant
chapters for further details.
Remote Switches
The Remote Switches socket on the
back panel of the desk allows up to six
remote switches be connected to the
desk.
Each of these remote switches can be
assigned to a front panel button or
macro.
Remote switches can only be assigned
to certain front panel buttons and
cannot be assigned to faders or rotary
controls.
For details on setting up, assigning,
enabling and testing remote switches
see chapter 3 .
Pressing a remote switch which is
assigned to a front panel button will
have the same effect as pressing the
front panel button.
Pressing a remote switch which is
assigned to a macro will have the
same effect as running that macro.
NOTE
Selecting Soft Buttons from the Front
Panel
Where soft buttons are displayed (without
corresponding front panel button), use the
cursor keys to select the required soft button,
then press the ENTER key to activate it.
1 - 8
Introduction
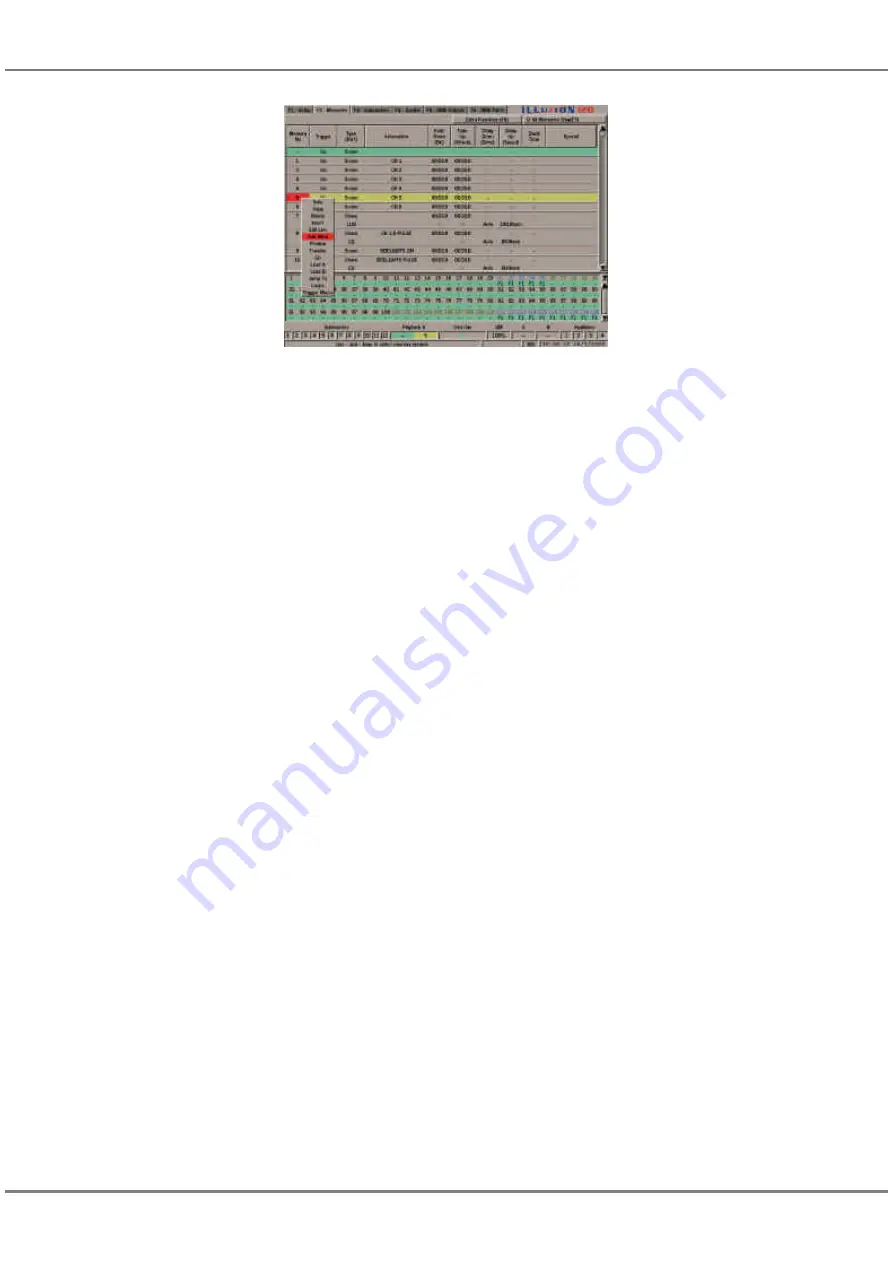
Figure 1 - 7: Memories Screen showing Drop Down Menu
Summary of Contents for ILLUSION 120
Page 1: ...ILLUSION 120 240 OPERATING MANUAL...
Page 2: ......
Page 6: ...Contents...
Page 103: ...User Notes 13 1 Figure 13 1 Illusion Lighting Desk...
Page 104: ...13 2 User Notes...
Page 105: ......


