


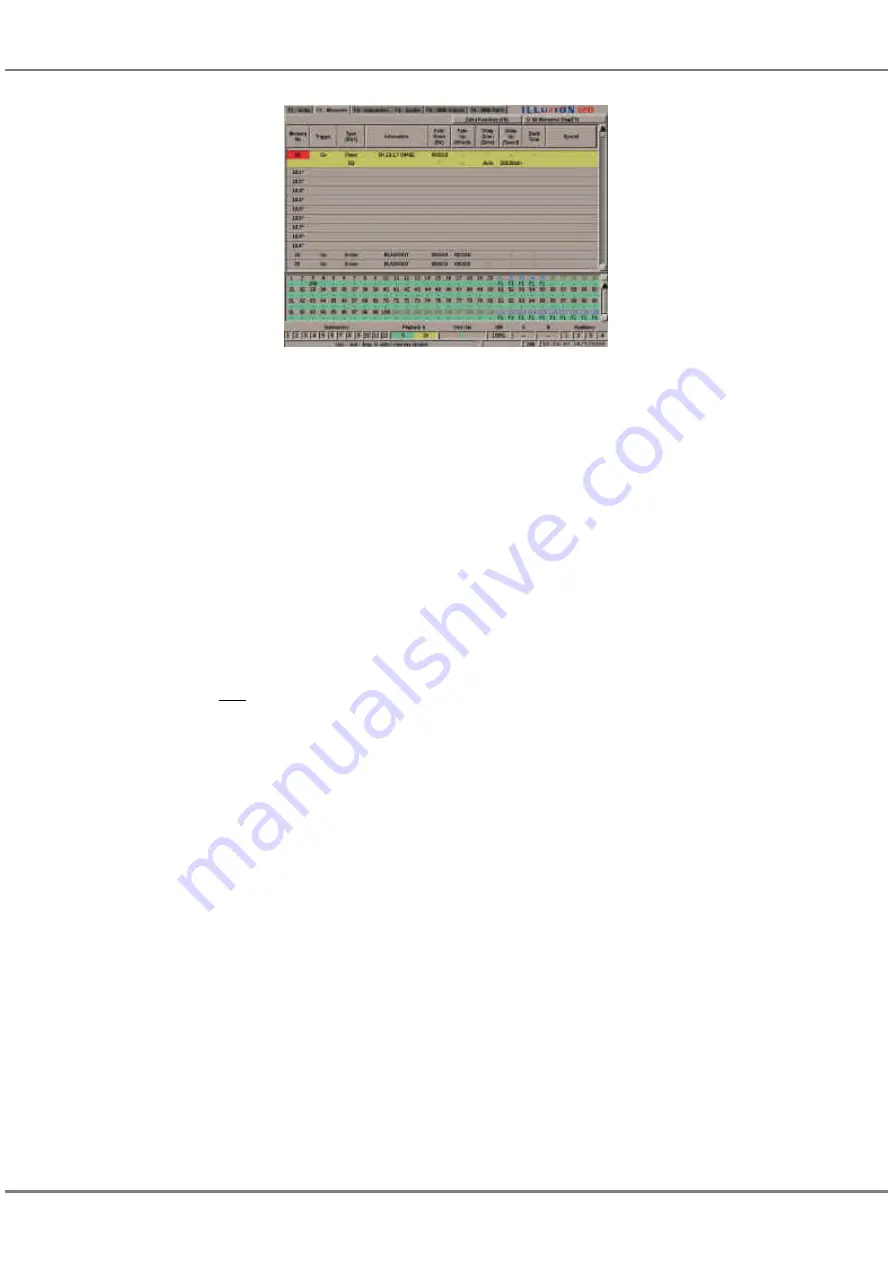
Inserting Memories
The desk provides the facility to insert
nine point memories between two
whole number memories.
For example, memory numbers 3.1,
3.2, 3.3 … 3.9 may be inserted
between memories 3 and 4.
Select a whole number memory. Press
the F8 button on the front panel and
select the Insert option from the menu,
or right click and select the Insert
option from the menu. The point
memories will be inserted after the
selected memory.
NOTE
Inserting Memories
The Memory screen will switch automatically
to showing all memories when the Insert
function is performed, so that the inserted
memories are visible on the screen.
Once memories have been inserted, they
cannot be removed. They can be renumbered
in Super User, if required (see chapter 10).
If an attempt is made to insert memories
where they already exist, an error message is
displayed.
Previewing a Memory
Previewing a memory allows the
channel data for the memory to be
examined without affecting the outputs.
When previewing it is not possible to
edit the channel data.
Select a programmed memory. Press
the PREVIEW button, or right click and
select the
Preview
option from the
menu. The light in the PREVIEW
button is illuminated and the Channel
Data Window is opened.
To preview other memories in the
memory stack, use the left and right
arrow keys or click on the
Previous
or
Next
buttons in the CDW header.
To exit Preview mode, press the
PREVIEW button. The light in the
PREVIEW button goes out, the
Channel Data Window is closed.
NOTES
Previewing Chases
If a chase is previewed, it ‘runs’ at the
programmed speed, direction, attack etc.
Previewing Sound to Light Memories
If a sound to light or ripplesound memory is
previewed, it ‘runs’, providing there is a
sound input connected to the desk.
Previewing Multi-Part Scenes
The whole memory or individual parts may be
previewed by selecting the memory number
or part number prior to pressing the
PREVIEW button.
Deleting a Memory
Select a programmed memory, then
press the CLEAR button on the front
panel, or right click and select the
Clear
option from the menu. A
confirmation window is displayed.
Select the
Delete
button to confirm
deletion of the memory or the
Cancel
button to abandon the operation.
NOTES
Deleting Memories
If a deleted memory had previously been
transferred to one or more submasters, the
relevant submaster(s) are also cleared.
If a deleted memory was the first or last
memory in a loop in the memory stack, an
additional warning is displayed in the
confirmation window. Deleting the memory
also deletes the loop.
5 - 17
Memories
Figure 5 - 16: Memories Screen showing Inserts
Summary of Contents for ILLUSION 120
Page 1: ...ILLUSION 120 240 OPERATING MANUAL...
Page 2: ......
Page 6: ...Contents...
Page 103: ...User Notes 13 1 Figure 13 1 Illusion Lighting Desk...
Page 104: ...13 2 User Notes...
Page 105: ......


