68
FI
FUEL INJECTION SYSTEM
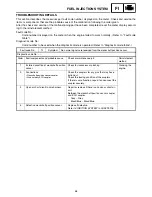
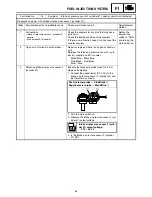
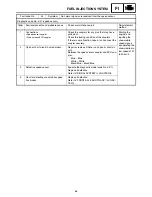
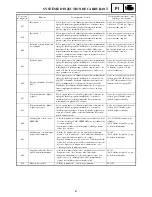
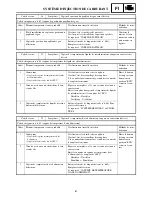
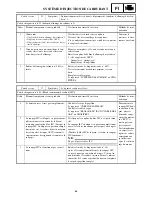
Fault code No.
44
Symptom
Error is detected while reading or writing on EEPROM (CO adjustment
value).
Diagnostic No. d:60 (EEPROM improper cylinder indication)
Order
Item/components and probable cause
Check or maintenance job
Reinstatement
method
1
Malfunction in ECU.
Execute the diagnostic mode (code No. d:60).
1. Check the faulty cylinder. (If multiple cylinders
are defective, the display alternates every 2
seconds.)
2. Readjust the CO of the displayed cylinder.
Replace ECU if defective.
Setting the
engine stop
switch to “RUN”
and turning the
main switch on.
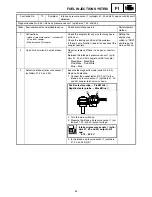
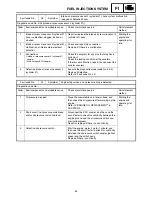
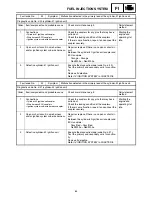
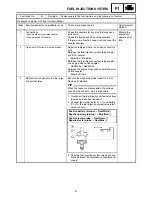
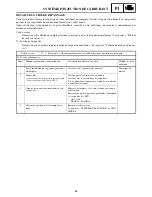
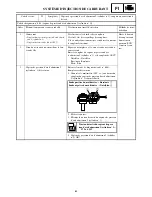
Fault code No.
46
Symptom
Power supply to the ECU is not normal.
Diagnostic code No. – –
Order
Item/components and probable cause
Check or maintenance job
Reinstatement
method
1
Connections
• Wire harness ECU coupler
Check the coupler for any pins that may have
pulled out.
Check the locking condition of the coupler.
If there is a malfunction, repair it and connect the
coupler securely.
Starting the
engine and
operating it at
idle.
2
Faulty battery.
Replace or charge the battery.
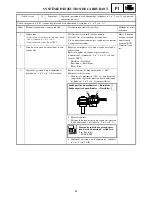
Refer to “BATTERY INSPECTION” in CHAPTER
2.
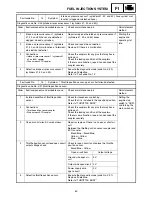
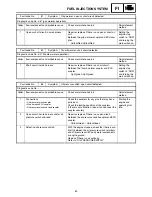
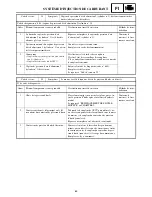
3
Malfunction in rectifier/regulator.
Replace if defective.
Refer to “CHARGING SYSTEM” in CHAPTER 8.
4
Open or short circuit in wire harness.
Repair or replace if there is an open or short cir-
cuit.
Between the battery and main fuse coupler.
Red – Red
Between the main fuse coupler and fuse box ter-
minal (ignition fuse).
Red – Red
Between the fuse box terminal (ignition fuse) and
main switch coupler.
Red/Yellow – Red/Yellow
Between the main switch coupler and engine stop
switch coupler.
Brown – Brown
Between the engine stop switch coupler and ECU
coupler.
Red/White – Red/White
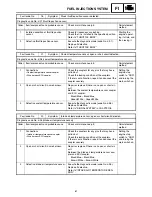
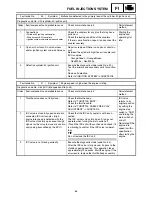
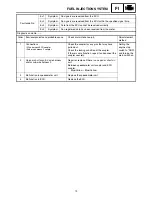
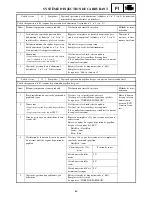
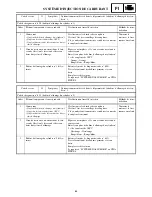
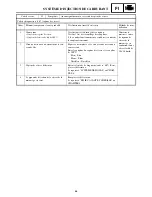
Fault code No.
50
Symptom
Faulty ECU memory. (When this malfunction is detected in the ECU, the
fault code number might not appear on the meter.)
Diagnostic code No. – –
Order
Item/components and probable cause
Check or maintenance job
Reinstatement
method
1
Malfunction in ECU.
Replace the ECU.
Setting the
engine stop
switch to “RUN”
and turning the
main switch on.
Summary of Contents for RST90GTY
Page 12: ......
Page 15: ...CABLE ROUTING 102 ...
Page 19: ...ALLMÄN VÄGLEDNING FÖR ÅTDRAGNINGSMOMENT 101 DEFINITION AV ENHETER 101 KABELDRAGNING 102 ...
Page 127: ...FI ...
Page 183: ...FI ...
Page 271: ...SPEC ...
Page 272: ...102 SPEC CABLE ROUTING 8 9 0 A B C E F G C C D 1 2 3 4 5 5 6 7 A B A B ...
Page 294: ......
Page 295: ......

