


32
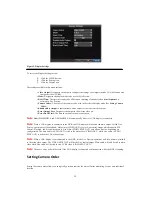
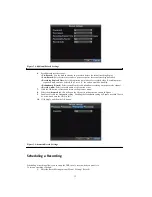
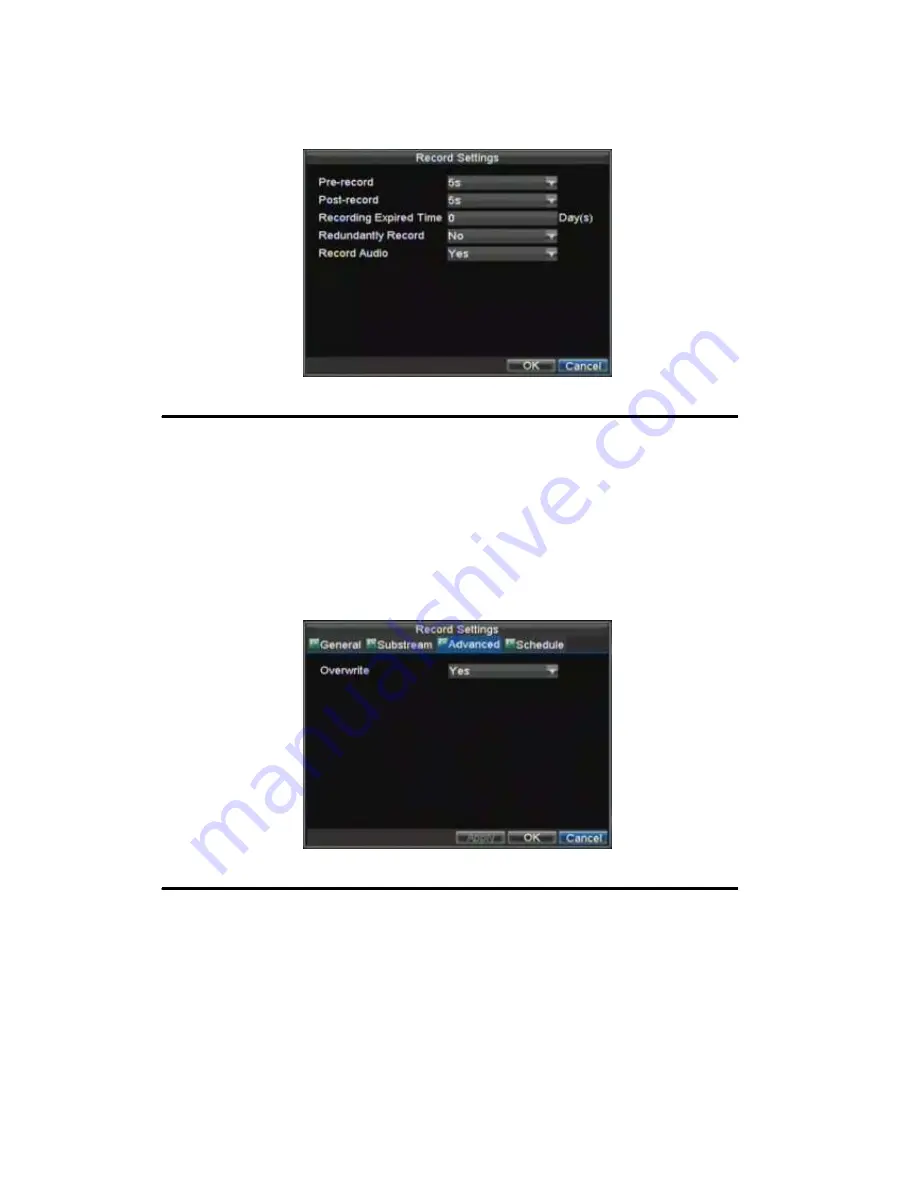
Figure 2. Additional Record Settings
6.
Set additional record settings:
• Pre-Record:
Sets the time in seconds to pre-record before the actual recording begins.
• Post-Record:
Sets the time in seconds to post-record after the actual recording has ended.
• Recording Expired Time:
Sets the expiration time in days for recorded video. Recordings after
expiration time would be deleted. If it’s set to ‘0,’ the option would be disabled.
• Redundantly Record:
Select to enable or disable redundant recording on the particular channel.
• Record Audio:
Select to record audio of the camera or not.
7.
Click the OK button to finish and return to the previous menu.
8.
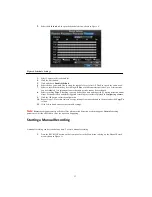
Select the
Advanced
tab, this will open the Advanced settings menu, shown in Figure 3.
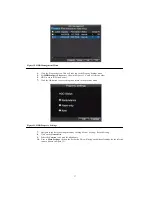
9.
Enable or disable the
Overwrite
setting. Enabling the
Overwrite
setting will cause recorded files to
be overwritten once the HDD is full.
10.
Click Apply and then the OK button.
Figure 3. Advanced Record Settings
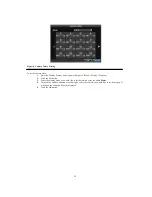
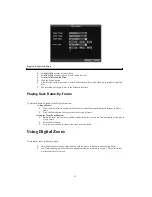
Scheduling a Recording
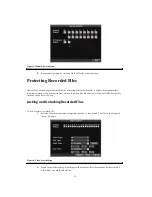
Scheduling a recording allows you to setup the DVR to only record when you want it to.
To setup a recording schedule:
1.
Enter the Record Settings menu (Menu > Setting > Record).
Summary of Contents for XL-HDVR series
Page 1: ...XL HDVR Series USER S MANUAL...
Page 2: ...2...
Page 7: ...7 C H A P T E R 1 Introduction...
Page 17: ...17 C H A P T E R 2 Getting Started...
Page 23: ...23 5 Click the Apply button to save the setting...
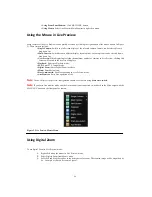
Page 24: ...24 C H A P T E R 3 Live Preview...
Page 30: ...30 C H A P T E R 4 Record Settings...
Page 39: ...39 C H A P T E R 5 Playback...
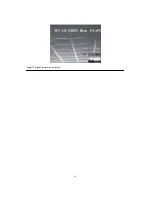
Page 44: ...44 Figure 7 Digital Zoom Area Selection...
Page 45: ...45 C H A P T E R 6 Backup...
Page 50: ...50 C H A P T E R 7 Alarm Settings...
Page 61: ...61 C H A P T E R 8 Network Settings...
Page 69: ...69 C H A P T E R 9 PTZ Controls...
Page 76: ...76 C H A P T E R 1 0 Camera Management...
Page 83: ...83 C H A P T E R 1 1 HDD Management...
Page 89: ...89 C H A P T E R 1 2 DVR Management...
Page 101: ...101 C H A P T E R 1 2 Appendix...


