


54
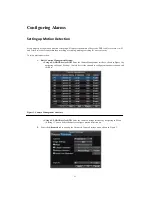
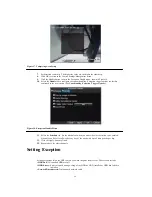
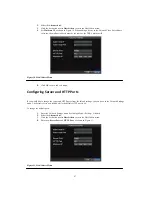
Figure 7. Alarm Management Settings
3.
Set the alarm input type under
Method
. The options available are Normally Opened (N.O.) and
Normally Closed (N.C.).
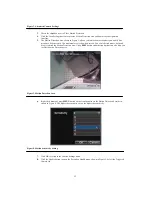
4.
Check the checkbox next to
Setting
and click the Handle button to enter the Alarm Input Handle
menu.
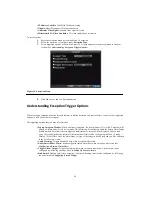
5.
Select the
Triggered Camera
tab.
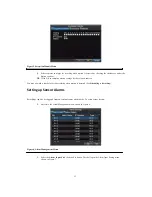
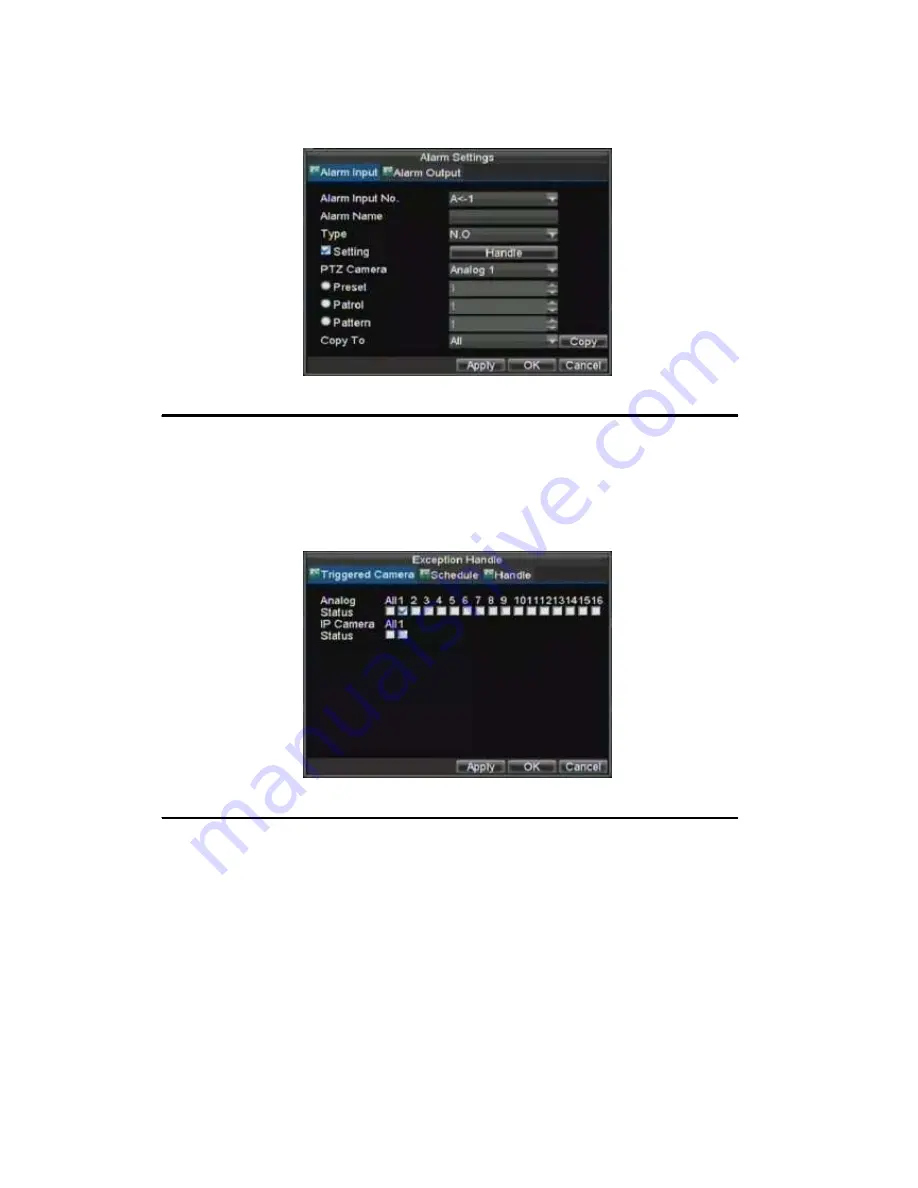
6.
Select cameras to trigger for recording when alarm occurs by checking the checkboxes under the
desired cameras, as shown in Figure 8.
Figure 8. Triggered Cameras Menu
7.
Click the OK button to complete setup.
You may now add a schedule to start recording when an alarm is triggered (See
Scheduling a Recording
).
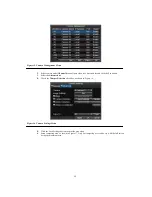
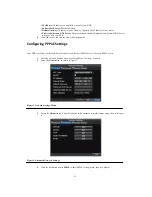
Alarm outputs may also be configured in the Alarm Management menu. To set up Alarm Output:
1.
Select the
Alarm Output
tab. This will bring up the Alarm Output interface, shown in Figure 9.
Summary of Contents for XL-HDVR series
Page 1: ...XL HDVR Series USER S MANUAL...
Page 2: ...2...
Page 7: ...7 C H A P T E R 1 Introduction...
Page 17: ...17 C H A P T E R 2 Getting Started...
Page 23: ...23 5 Click the Apply button to save the setting...
Page 24: ...24 C H A P T E R 3 Live Preview...
Page 30: ...30 C H A P T E R 4 Record Settings...
Page 39: ...39 C H A P T E R 5 Playback...
Page 44: ...44 Figure 7 Digital Zoom Area Selection...
Page 45: ...45 C H A P T E R 6 Backup...
Page 50: ...50 C H A P T E R 7 Alarm Settings...
Page 61: ...61 C H A P T E R 8 Network Settings...
Page 69: ...69 C H A P T E R 9 PTZ Controls...
Page 76: ...76 C H A P T E R 1 0 Camera Management...
Page 83: ...83 C H A P T E R 1 1 HDD Management...
Page 89: ...89 C H A P T E R 1 2 DVR Management...
Page 101: ...101 C H A P T E R 1 2 Appendix...


