


52
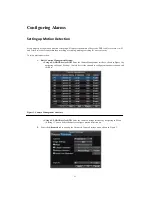
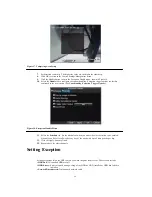
Figure 2. Advanced Camera Settings
3.
Check the checkbox next to Video Motion Detection.
4.
Click the Area Settings button to enter the Motion Detection area and Sensitivity configuration
interface.
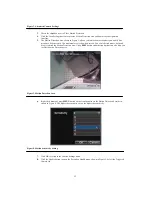
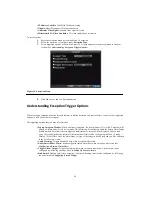
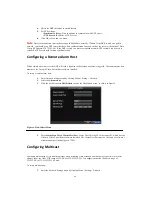
5.
The Motion Detection area, shown in Figure 3, allows you to mask out areas where you would like
motion to be detected in. The maximum area is the whole screen. You can left click mouse, hold and
drag it to mask the Motion Detection area. Using
EDIT
button and direction buttons can also help you
to select Motion Detection area.
Figure 3. Motion Detection Area
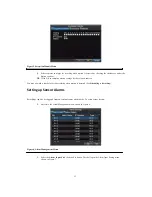
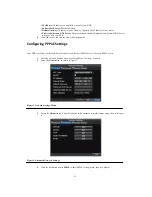
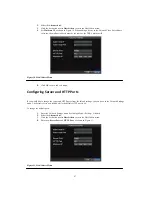
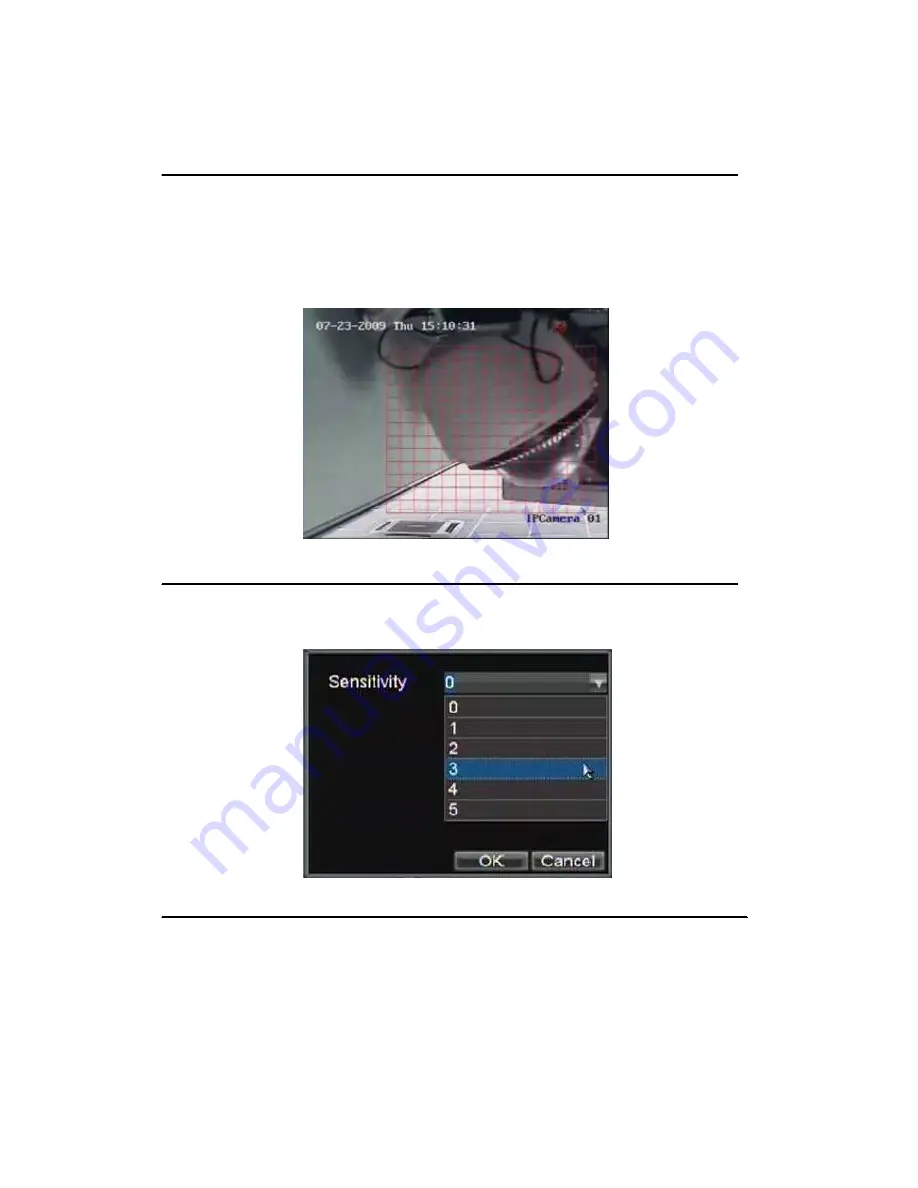
6.
Right click mouse or press
MENU
button on the front panel to set the Motion Detection Sensitivity,
shown in Figure 4. The higher the sensitivity value, the higher the sensitivity.
Figure 4. Motion Sensitivity Setting
7.
Click OK to return to the Camera Settings menu.
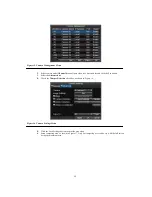
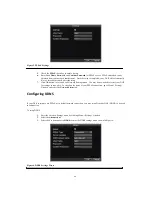
8.
Click the Handle button to open the Exception Handle menu, shown in Figure 5. Select the Triggered
Camera tab
Summary of Contents for XL-HDVR series
Page 1: ...XL HDVR Series USER S MANUAL...
Page 2: ...2...
Page 7: ...7 C H A P T E R 1 Introduction...
Page 17: ...17 C H A P T E R 2 Getting Started...
Page 23: ...23 5 Click the Apply button to save the setting...
Page 24: ...24 C H A P T E R 3 Live Preview...
Page 30: ...30 C H A P T E R 4 Record Settings...
Page 39: ...39 C H A P T E R 5 Playback...
Page 44: ...44 Figure 7 Digital Zoom Area Selection...
Page 45: ...45 C H A P T E R 6 Backup...
Page 50: ...50 C H A P T E R 7 Alarm Settings...
Page 61: ...61 C H A P T E R 8 Network Settings...
Page 69: ...69 C H A P T E R 9 PTZ Controls...
Page 76: ...76 C H A P T E R 1 0 Camera Management...
Page 83: ...83 C H A P T E R 1 1 HDD Management...
Page 89: ...89 C H A P T E R 1 2 DVR Management...
Page 101: ...101 C H A P T E R 1 2 Appendix...


