


60
• IP Address Conflict:
Conflict in IP address setting.
• Illegal Access:
Wrong user ID or password used.
• Abnormal Video Signal:
Instable video signal detected.
• Mismatched I/O Video Standards:
I/O video standards do not match.
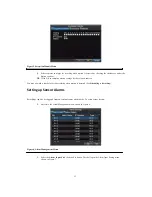
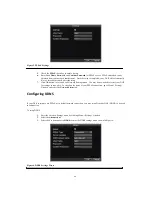
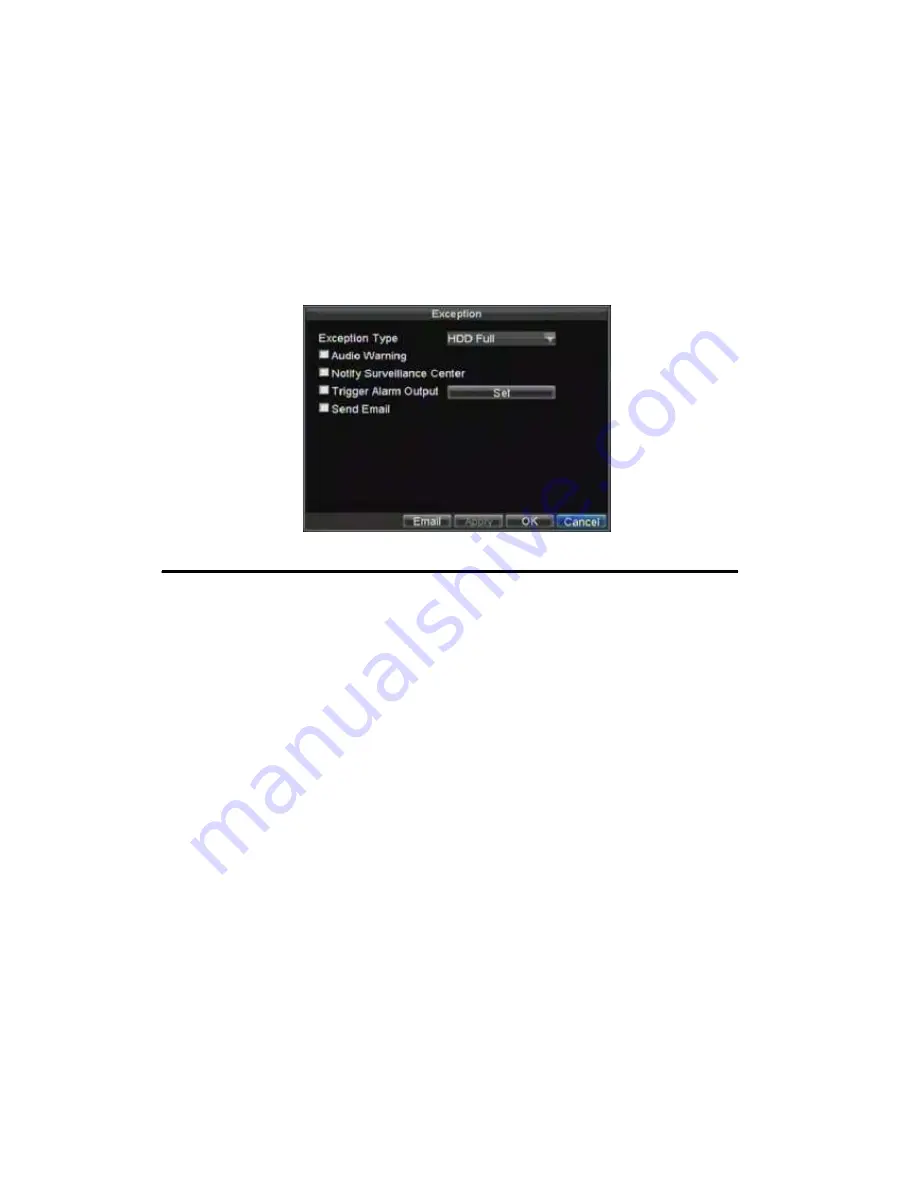
To set exceptions:
1.
Enter the Exception menu by clicking Menu > Exception.
2.
Select the exception to configure under
Exception Type
.
3.
Select triggering options, as shown in Figure 19. Trigger options are further explained in the next
section (See
Understanding Exception Trigger Options
).
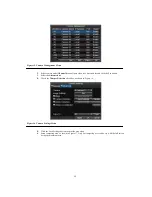
Figure 19. Exception Menu
4.
Click OK to save and exit Exception menu.
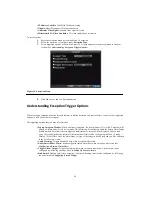
Understanding Exception Trigger Options
When setting up exception handlers for such features as motion detection and sensor alarms, you may select triggering
options to alert you of these exceptions.
The triggering options that you may select include:
• Pop-up Image on Monitor:
When an alarm is triggered, the local monitor (VGA or BNC monitor) will
display an image under Live Preview mode. This alarm can be configured under the Popup Alarm Image
handle method. For alarms that are triggered simultaneously, images will be displayed one at a time
every 10 seconds (default dwell time). A different dwell time can be set by going to Menu > Setting >
Display > Dwell Time. Once the alarm stops, cycling of the images will also stop and you’ll be returned
to the Live Preview screen.
• Audio Warning:
Trigger an audible
beep
when exception is detected.
• Notify Surveillance Center:
Sends a signal to remote alarm host when exception is detected (See
Configuring a Remote Alarm Host
).
• Trigger Alarm Output:
Trigger an alarm output when exception is detected. Alarm output can be
configured by following the steps listed in
Setting Up Sensor Alarms
.
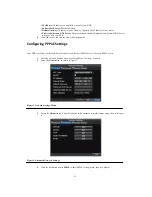
• Send Email:
Sending email when exception is detected. Sending email can be configured by following
the steps listed in
Configuring E-mail Settings
.
Summary of Contents for XL-HDVR series
Page 1: ...XL HDVR Series USER S MANUAL...
Page 2: ...2...
Page 7: ...7 C H A P T E R 1 Introduction...
Page 17: ...17 C H A P T E R 2 Getting Started...
Page 23: ...23 5 Click the Apply button to save the setting...
Page 24: ...24 C H A P T E R 3 Live Preview...
Page 30: ...30 C H A P T E R 4 Record Settings...
Page 39: ...39 C H A P T E R 5 Playback...
Page 44: ...44 Figure 7 Digital Zoom Area Selection...
Page 45: ...45 C H A P T E R 6 Backup...
Page 50: ...50 C H A P T E R 7 Alarm Settings...
Page 61: ...61 C H A P T E R 8 Network Settings...
Page 69: ...69 C H A P T E R 9 PTZ Controls...
Page 76: ...76 C H A P T E R 1 0 Camera Management...
Page 83: ...83 C H A P T E R 1 1 HDD Management...
Page 89: ...89 C H A P T E R 1 2 DVR Management...
Page 101: ...101 C H A P T E R 1 2 Appendix...


